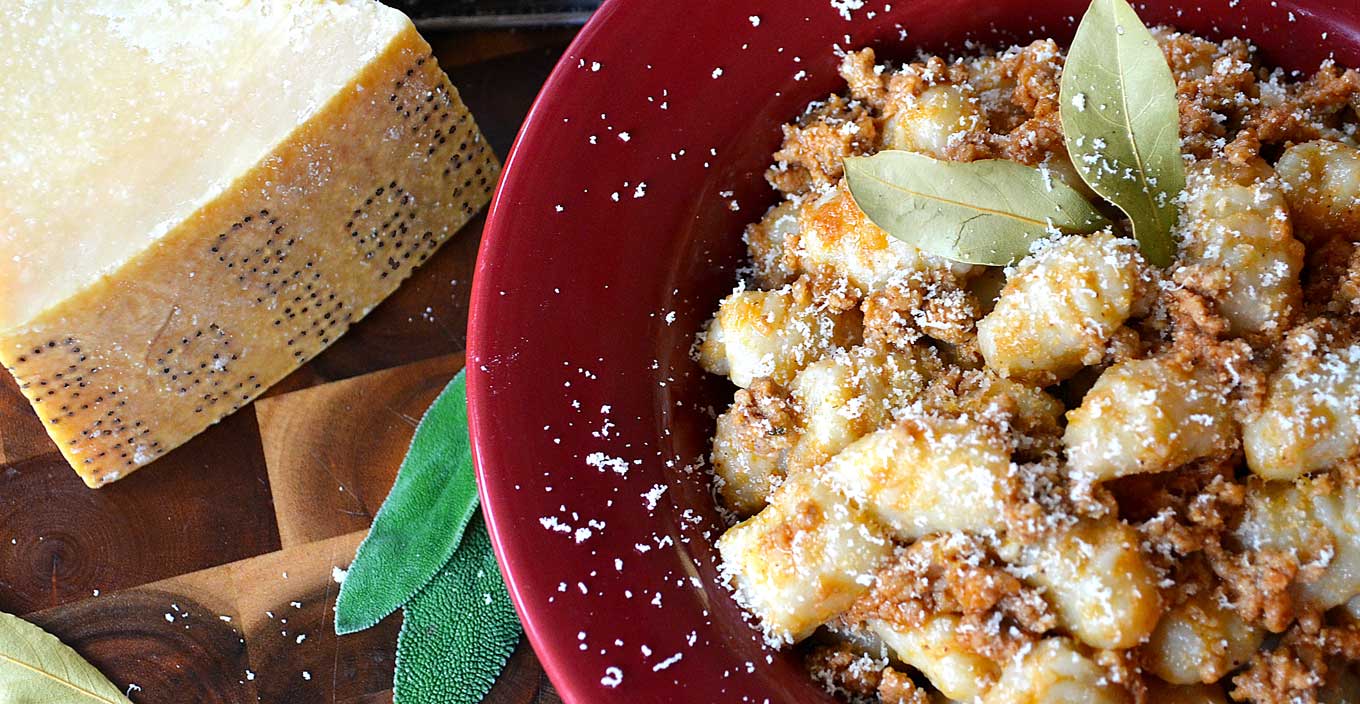
I love it when my 11-year old, Alexia, walks up to me, looks me straight in the eyes and says: ‘Mamma, can you make gnocchi? You haven’t made them in a while…only this time make the aromatic meat sauce & gnocchi version. No…wait! No, make the Gorgonzola sauce…hmmmm, no, do that next time. Definitely make the meat sauce this time.’
I think I can manage that, I say with a smile.
Then she’ll give me a side hug. If I’m lucky, she’ll peck me on the cheek, though I always see her wiping her lips as she walks away. She doesn’t know I notice. Though she feels and cares deeply, love for her is not a contact sport. Erik and I hope that lasts into her dating years…
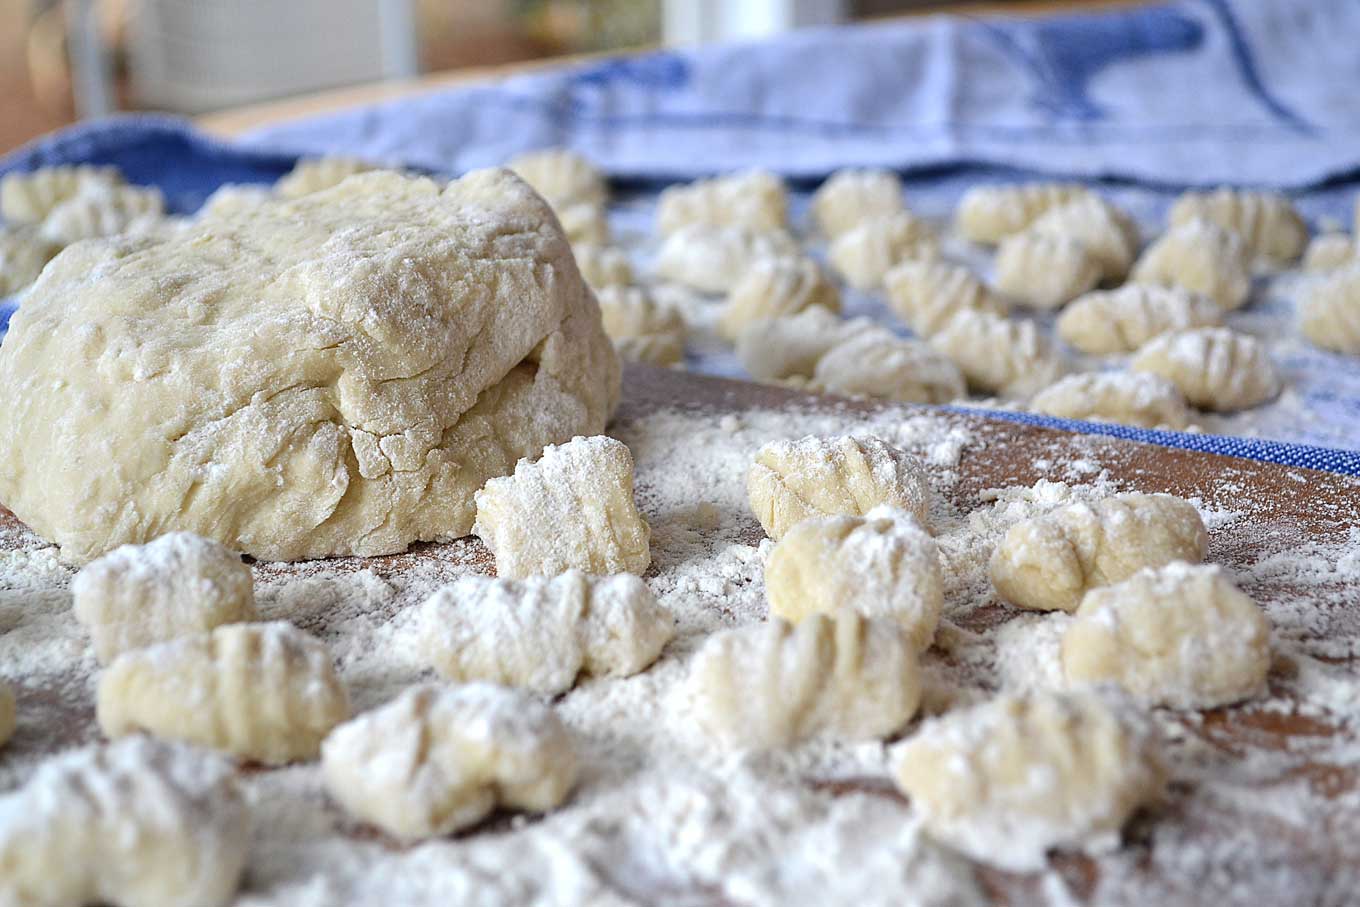
It’s easy to understand why she would want to eat them. Often. I do too, and do. They’re ridiculously delicious. Besides amplifying any savory sauce with which it is paired, it also delivers such a satisfying gnaw. It really makes calling them gnocchi just about perfect, really. Why make gnocchi? To experience the ‘gnocchi gnaw.’
And to appease a daughter.
Gnocchi supposedly originated in the Middle East. I say supposedly not out of disrespect but out of sheer wonder…for where have they gone? I love Middle Eastern food and was lucky enough to eat it in all of its deliciousness as often as I wanted when I lived in New York City, but I never saw gnocchi as a menu option anywhere. I even googled Middle Eastern gnocchi or dumplings to see what I would find, but nothing came up. Hmmm….
Regardless, the world over has been enjoying these little critters. Consider Pierogis, Semmelklöße, Siu Mai, Maultaschen, Knaidlach, Khinkali, Kartoffelknödel, and Gundi. Guess what all of these words have in common? They all mean gnocchi (or dumpling). While many of them have different forms or shapes – some even have fillings – from their Italian counterpart, they are all hearty. They also look quite delicious I might add. I think I may just have to honor them all in future blog posts.
Several South American countries, Argentina and Uruguay in particular, actually designate the 29th of every month as ‘Dia de Ñoquis,’ or Gnocchi Day. So cool! And telling, I might add. The 29thof the month was selected because it fell just a day or two away from people’s next paycheck, a time when many of them were running low of funds. Since eating is not exactly optional, gnocchi became a perfect meal as it was both cheap and filling. I would also add delicious, but now I’m practicing revisionism. During Dia de Ñoquis, people traditionally place a coin under their gnocchi plate, as it’s supposed to bring prosperity. I love it.
I think I see the makings of a new family tradition!
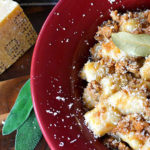
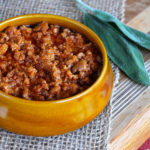
Now, in this particular dish, I’ve seasoned the gnocchi with a sauce I fondly refer to as Signora Sofia’s Meat Sauce (CLICK HERE FOR THE RECIPE)because it was passed down to me by a close family friend by that name. Feel free to use fresh pesto or a Gorgonzola sauce, though.
making aromatic meat sauce & gnocchi
Bring a large pot of water to a boil and add 3 lbs. of potatoes. Yukon Gold are best for this, though Russets will do. Cook them for about 40 minutes or so. They are done when you can easily insert a knife through the thickest part of the potato. Conversely, you can also bake the potatoes. Prick them several times with a fork and bake them on a baking sheet at 400°F for 45 minutes or so.
Allow them to cool so that you can handle them without burning yourself and peel the skin off.
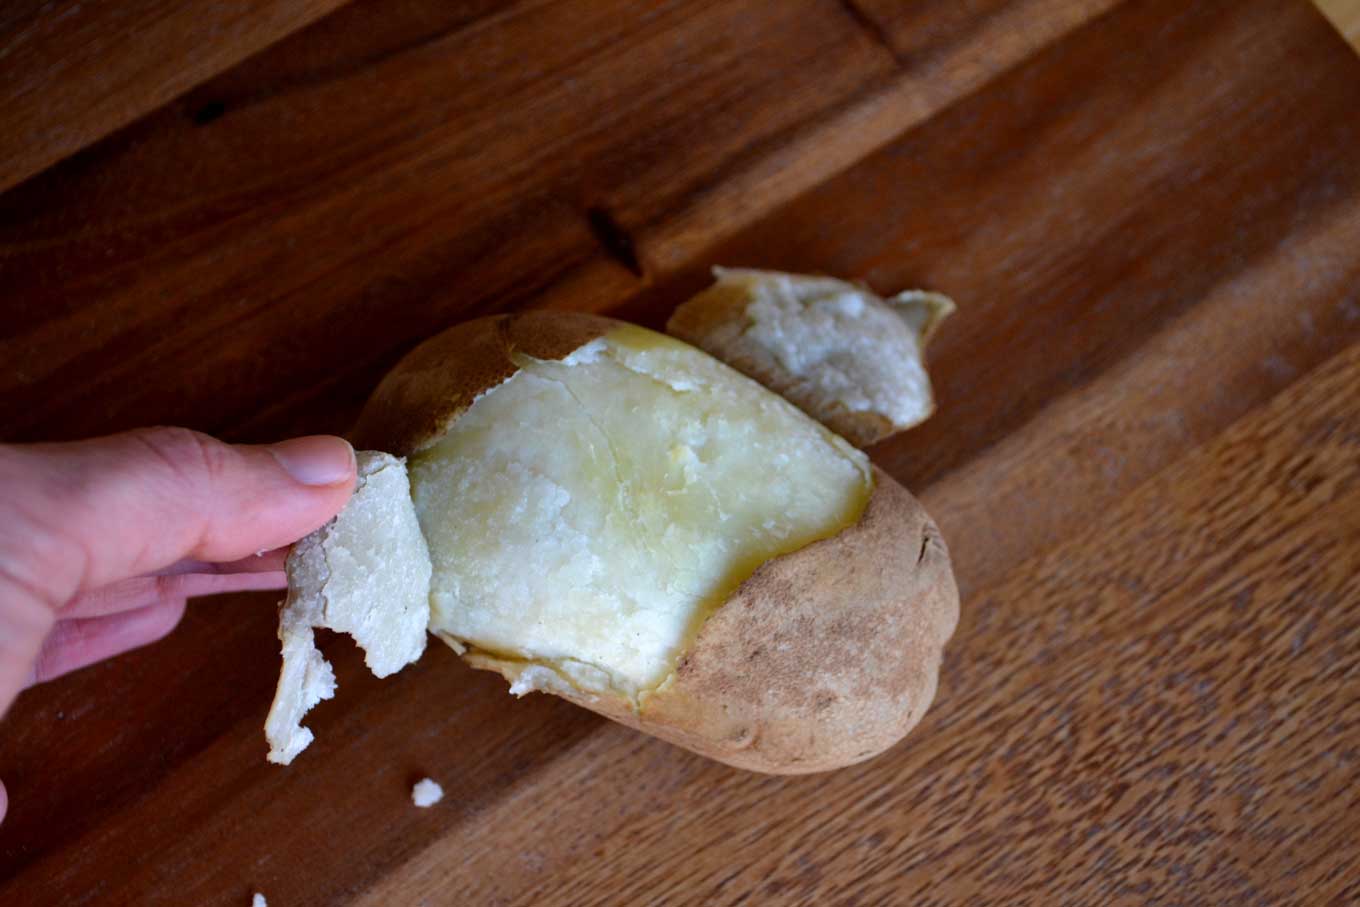
Depending on the potatoes, sometimes the skin comes off easily and other times it just continues to break in very small pieces, which could take a lifetime. When this happens to me, I just cut off the skin with a small kitchen knife. It gets the job done faster.

Once peeled, pass them through a potato ricer.
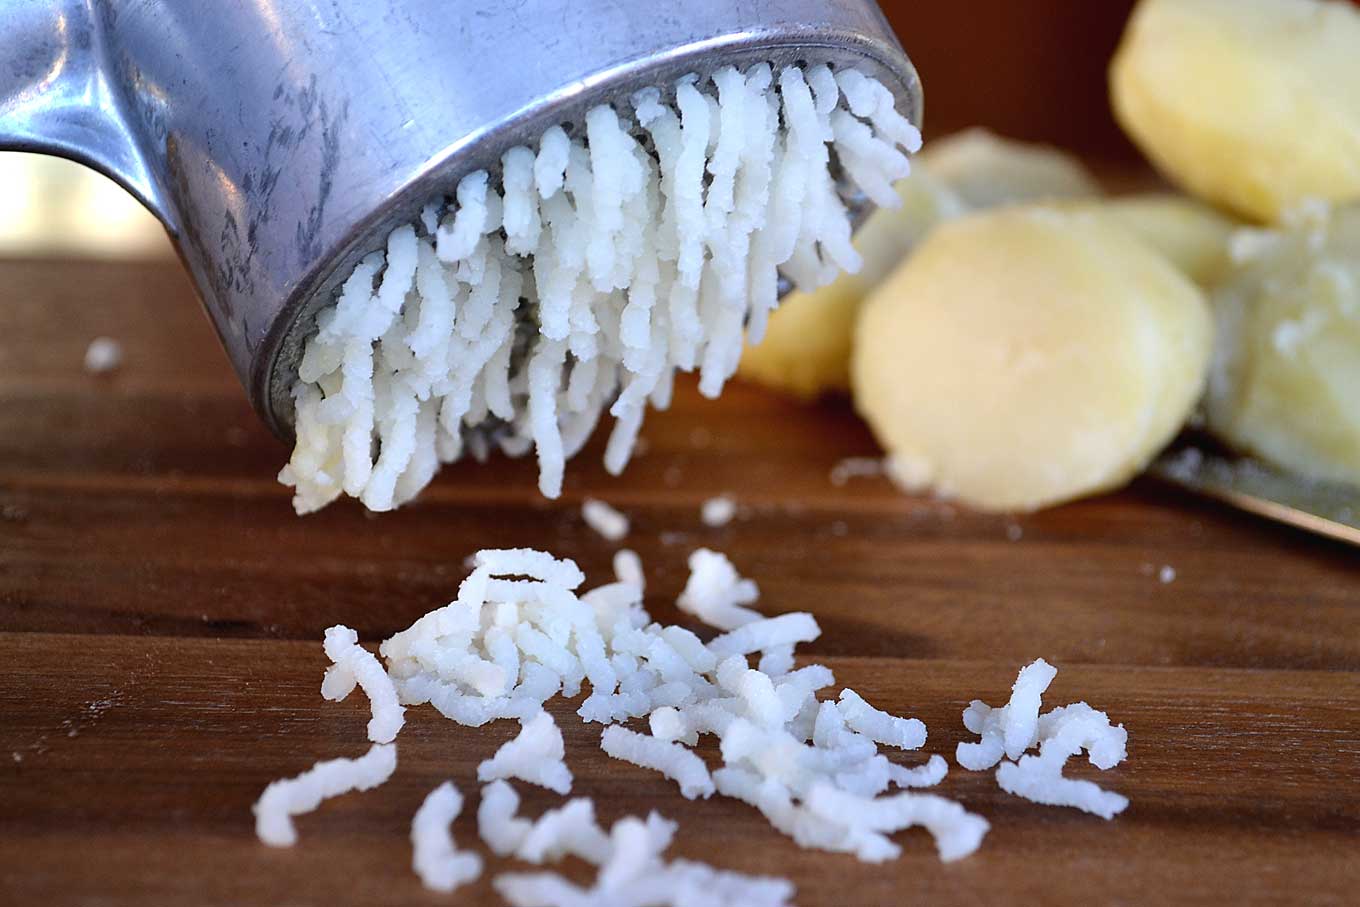
Do not use a food processor or blender, as it works the potatoes too thoroughly and creates a sort of gluey consistency that doesn’t work well for making gnocchi.
Since I am a weakling, I cut my potatoes in half and just press half a potato at a time. It makes the process infinitely easier and doesn’t make that vein on the left side of my forehead bulge out of exertion.
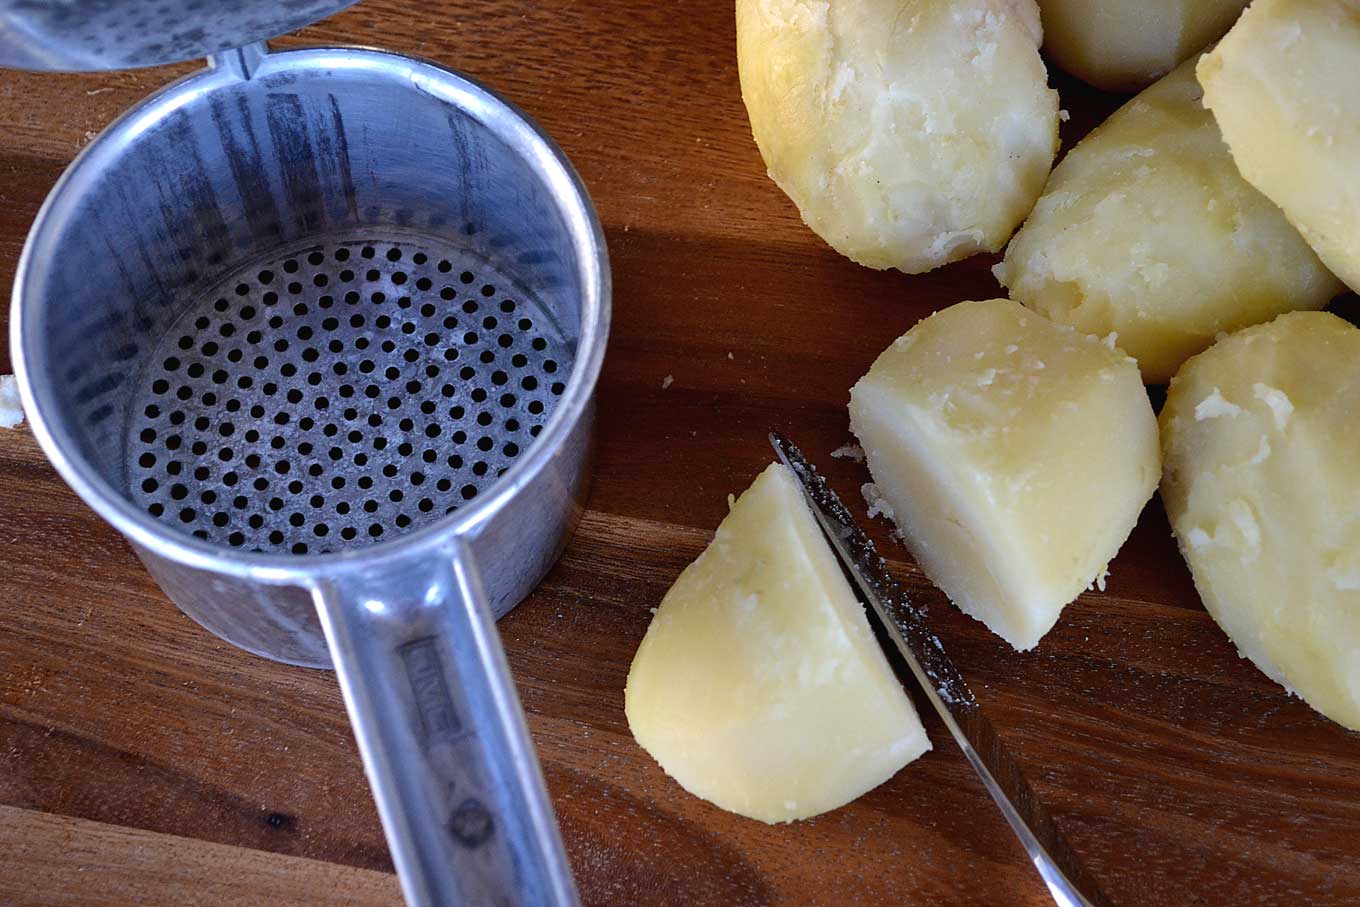
With a knife, ‘cut’ all the potato strands off the ricer.
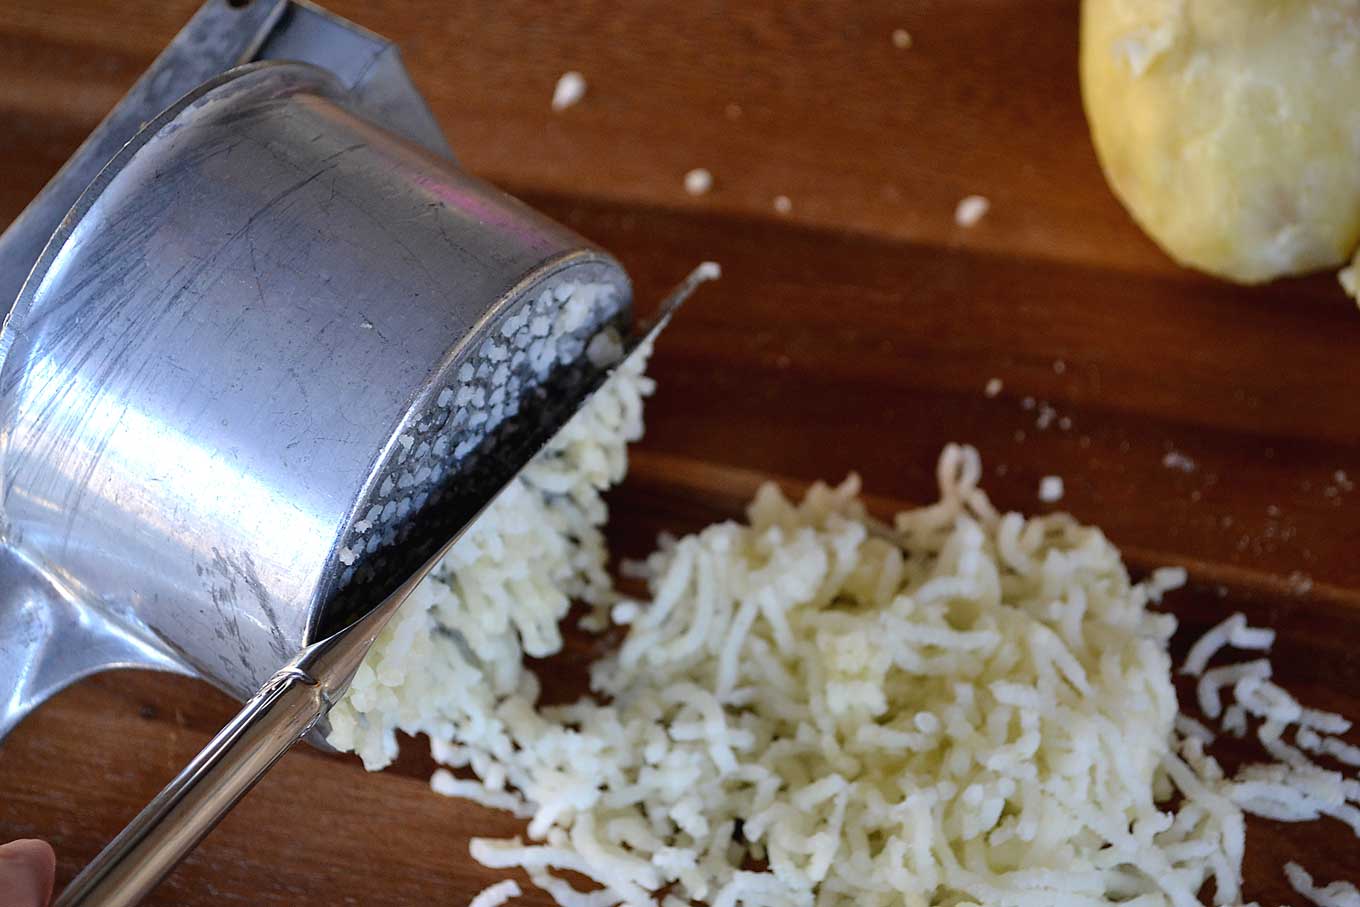
Create a mound on a clean, smooth surface and then, with your hand, create a small crevice in the middle. Add 2 large eggs and a generous pinch of salt.
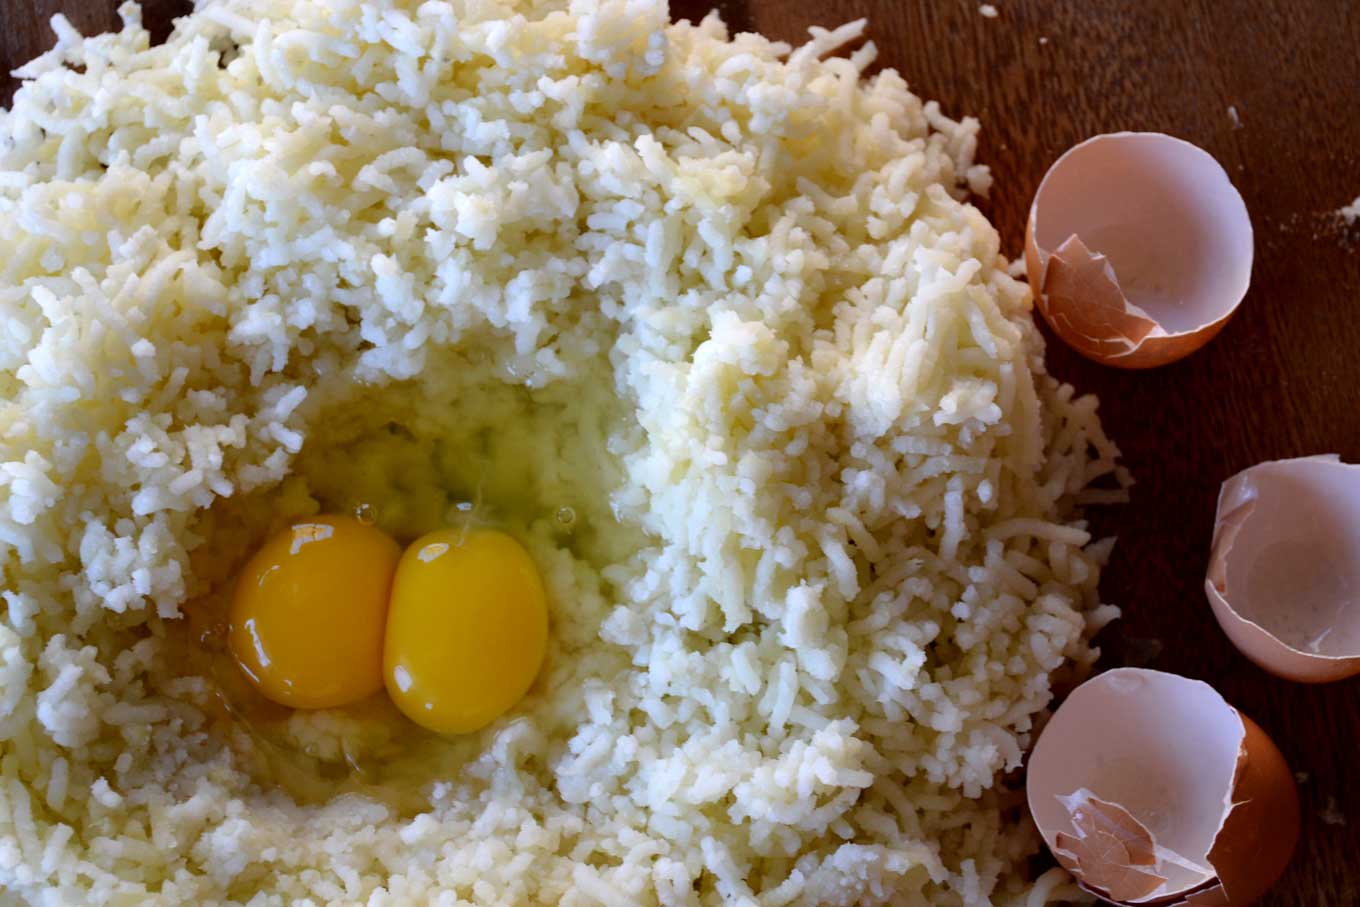
Add 1 ½ cups of the white, unbleached flour and then start working it into a dough with your hands.
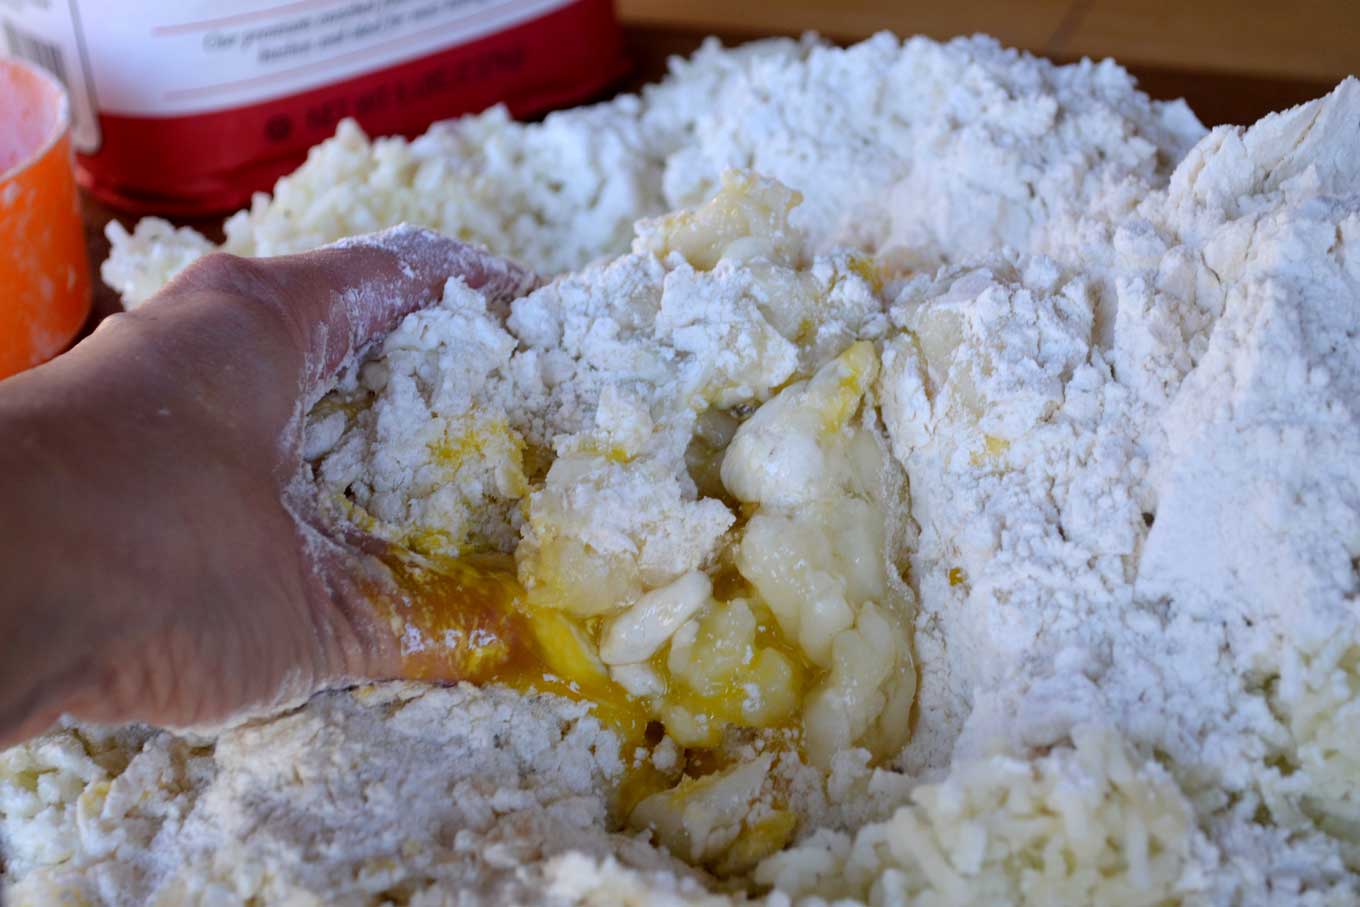
Continue to add the flour, typically another cup of flour or so, as you work the dough.
As soon as it forms into a non-sticky ball of dough, stop adding flour.
The magic to making tender gnocchi is to add just enough flour to make the dough stick together and not a flicker more. At this point, knead the dough as you would bread dough. Press down and away with the heel of your hand, fold the dough over, make a quarter turn, and repeat the process.
Form the dough into a mound. Continue sprinkling your work surface with flour from time to time to prevent sticking.
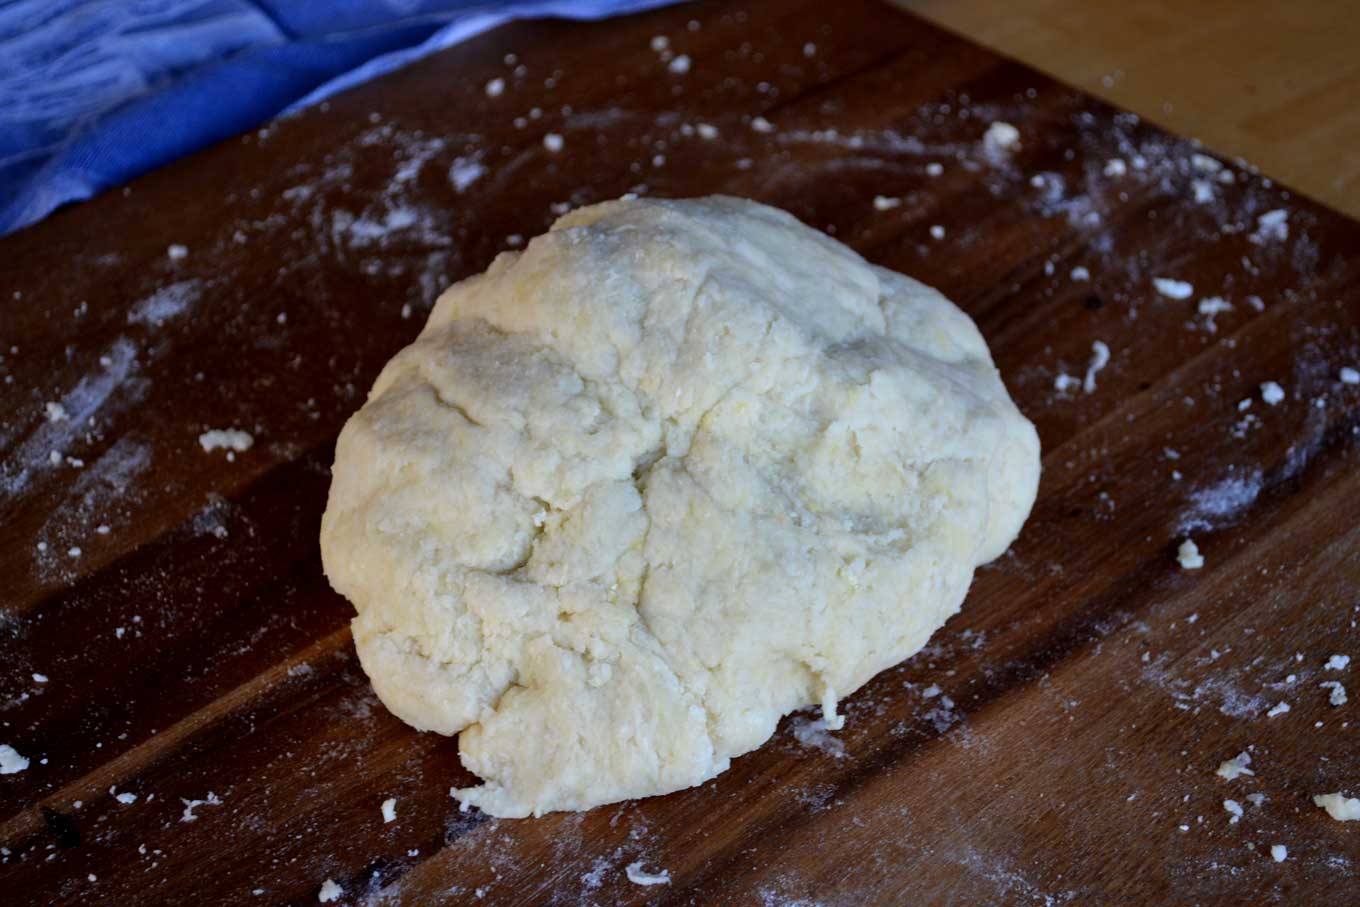
Add some extra flour on your working surface and rip a handful of dough from the dough mound. With both hands shape it into what could be considered a small, emaciated hoagie roll.
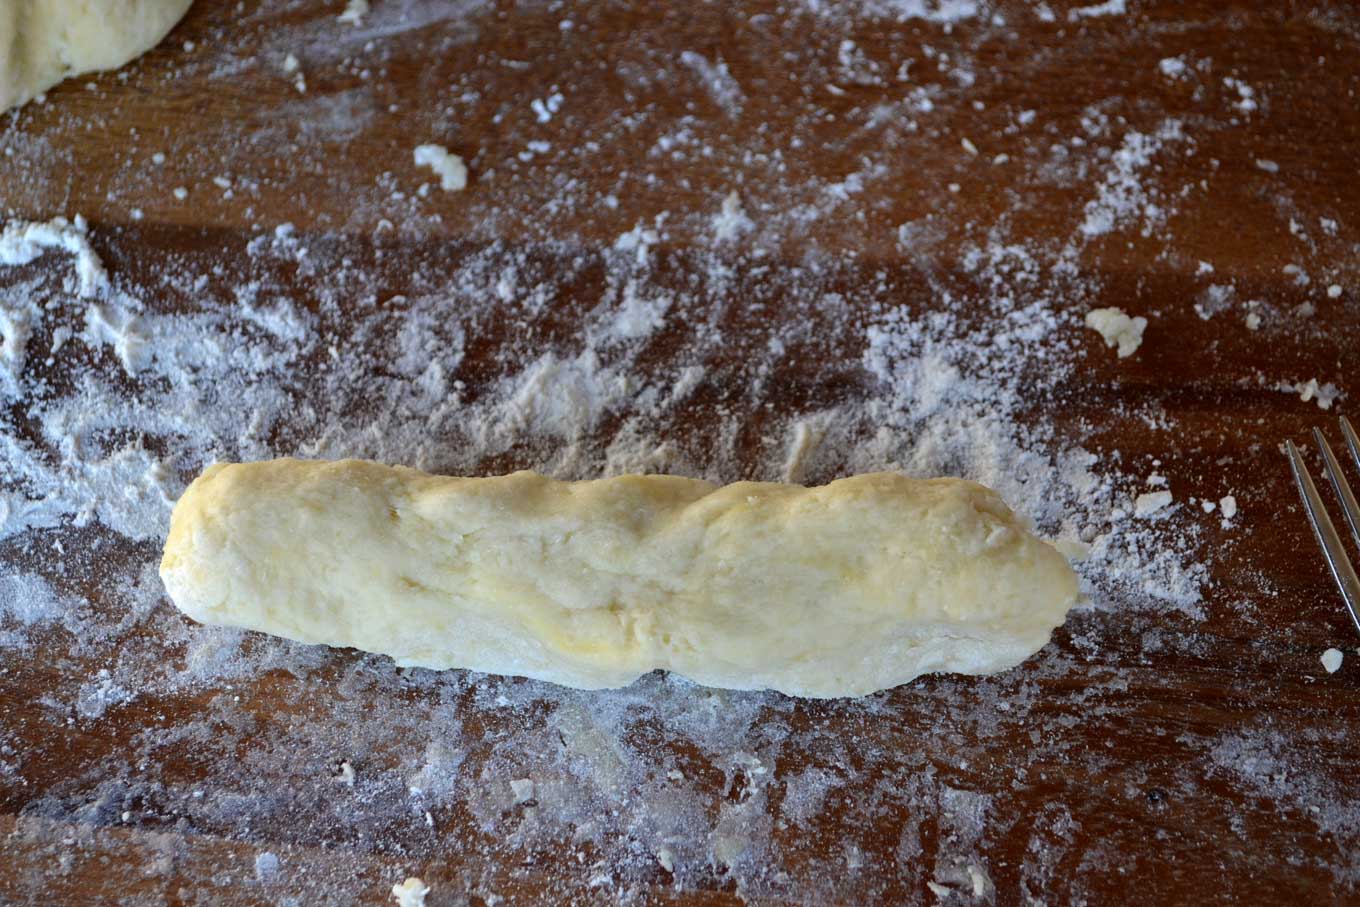
Then, on a lightly floured surface, roll the dough across the floured section of your board using the flat part of your hand.
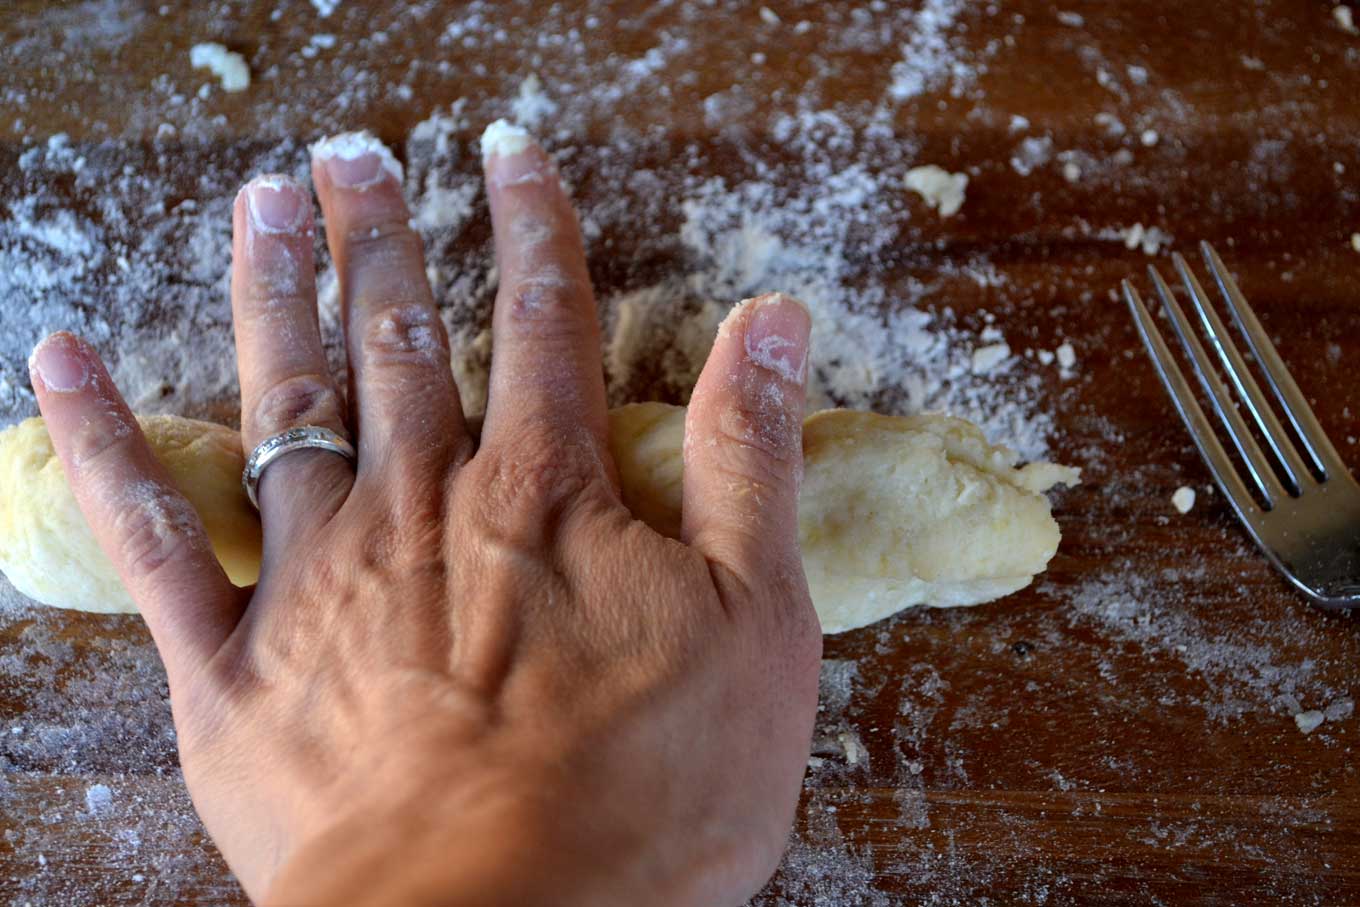
Keep working the dough until it resembles a long rope that’s about 3/4 inch thick.
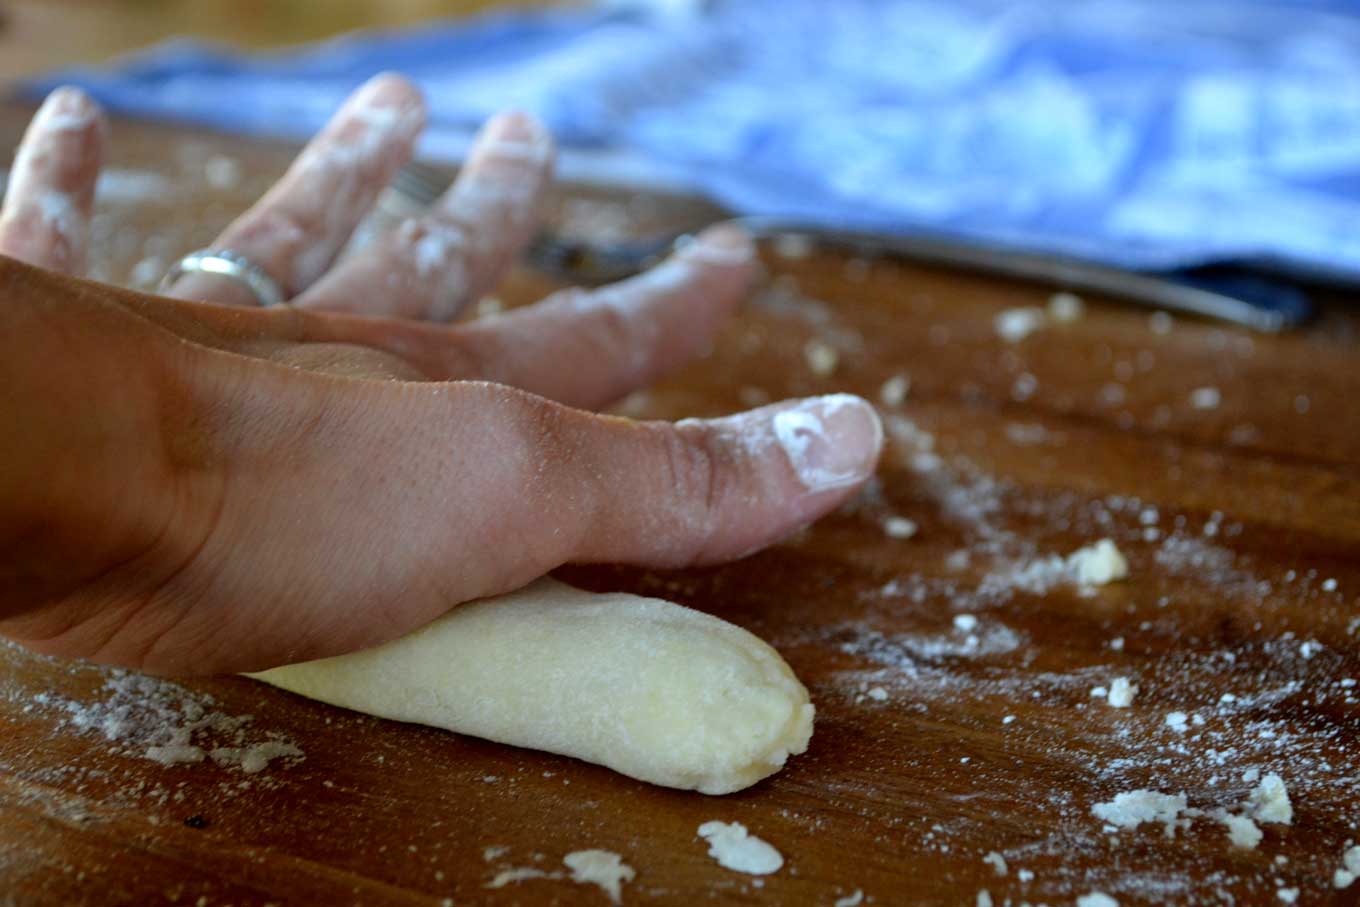
Then cut the ‘rope’ into ½-inch pieces.
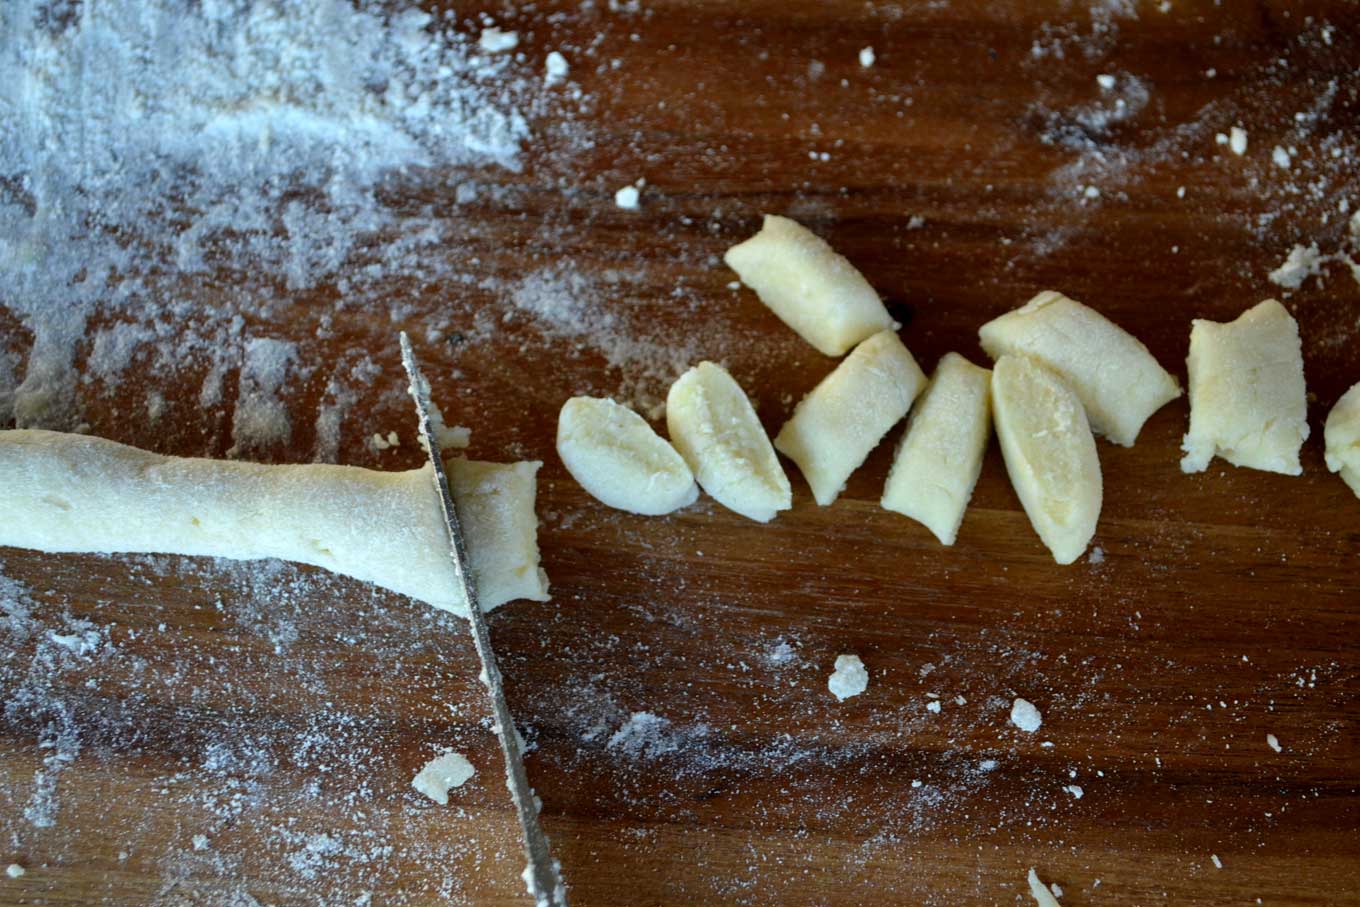
Place them on a kitchen towel and lightly sprinkle them with flour and continue working your way through the dough.
When all the gnocchi are done, it is time to give them their ridges. With your finger, gently roll each individual gnocchi on the back of the rounded part of the fork.
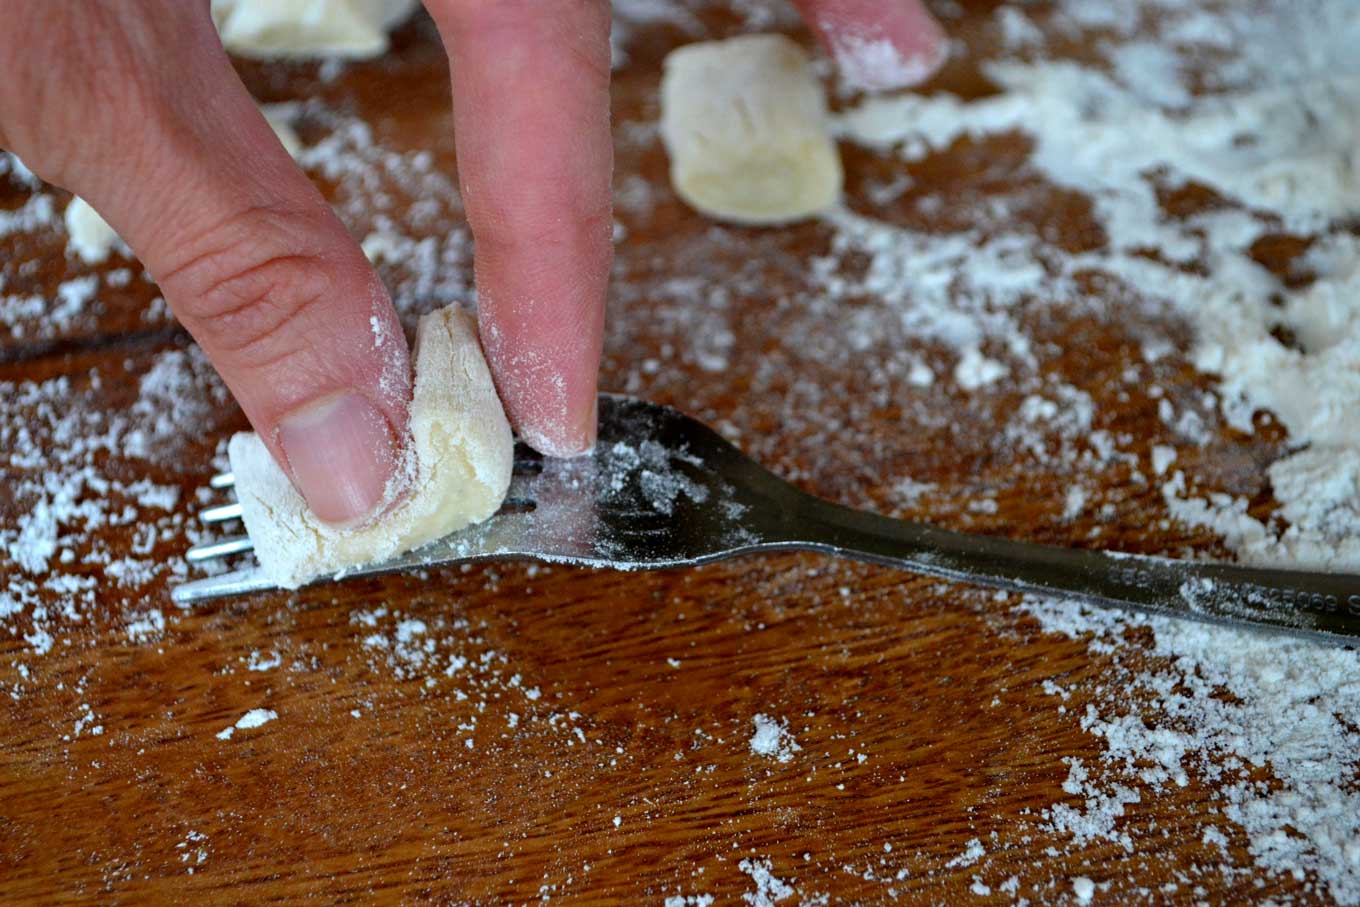
It will then look like this!
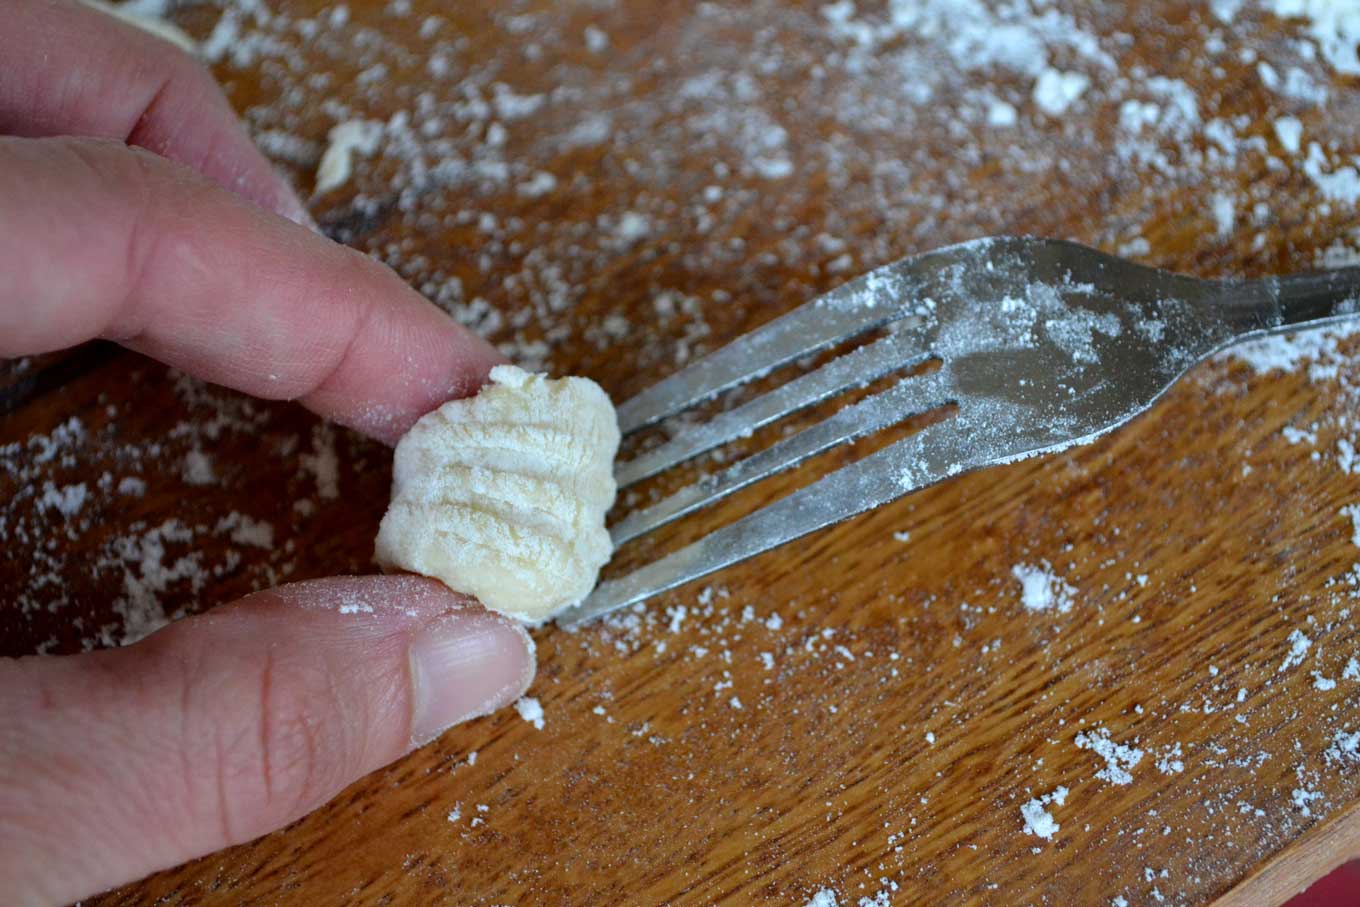
This may take a little practice, but eventually they will all start to look like this. So cute!
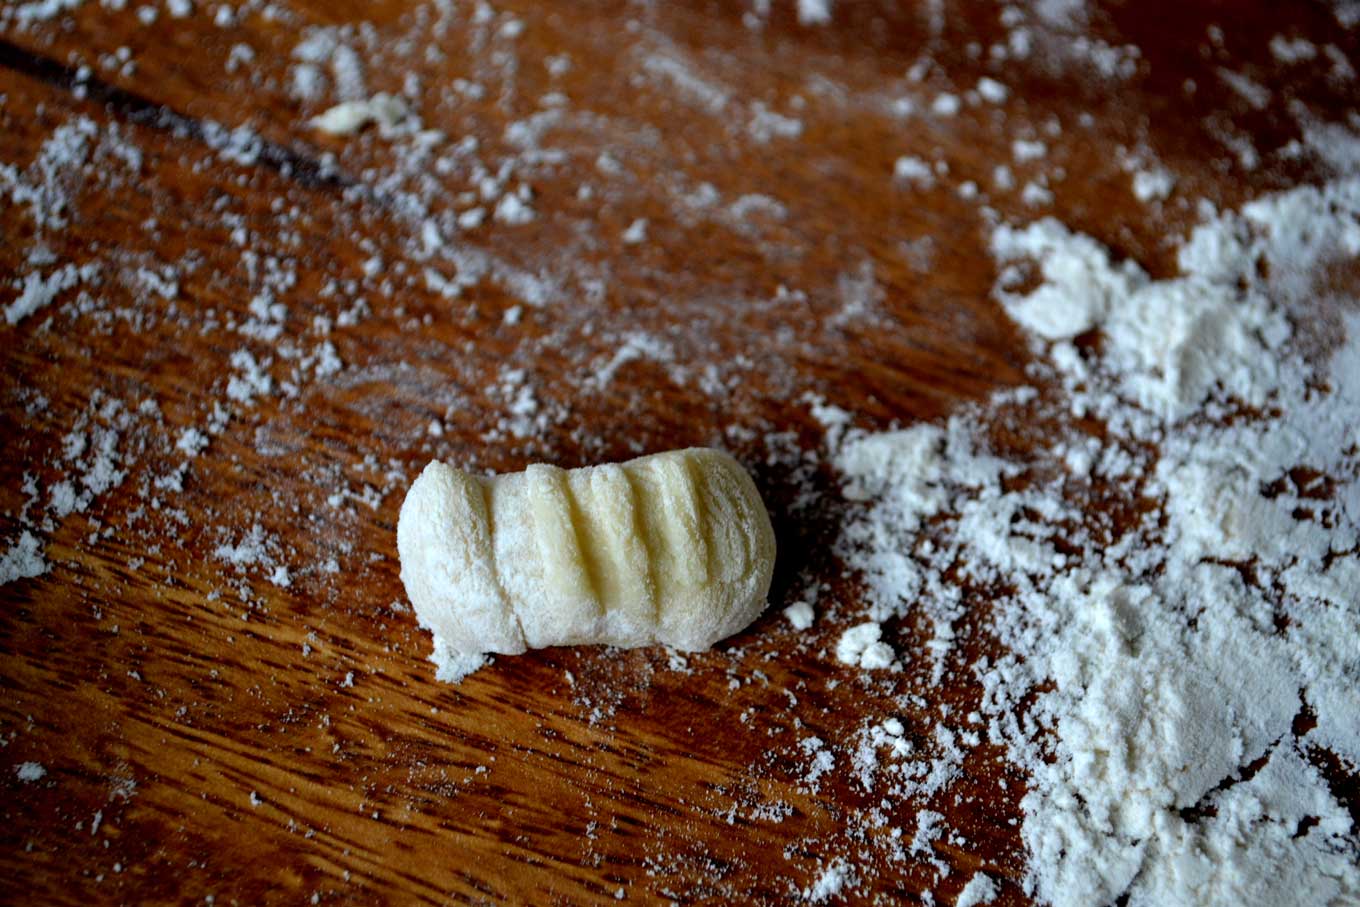
I have to watch over them like a mother hen or my little one, Kira, would eat them all raw. At times you may find the dough sticking to the fork. When this happens, which is not at all uncommon, dip the fork in flour before you press the dough against it.
Making the ridges is not just a decorative element (though it does make them look really pretty!). The ridges actually serve two purposes. First, the process of adding these ridges creates a little crevice in the back of the gnocchi.
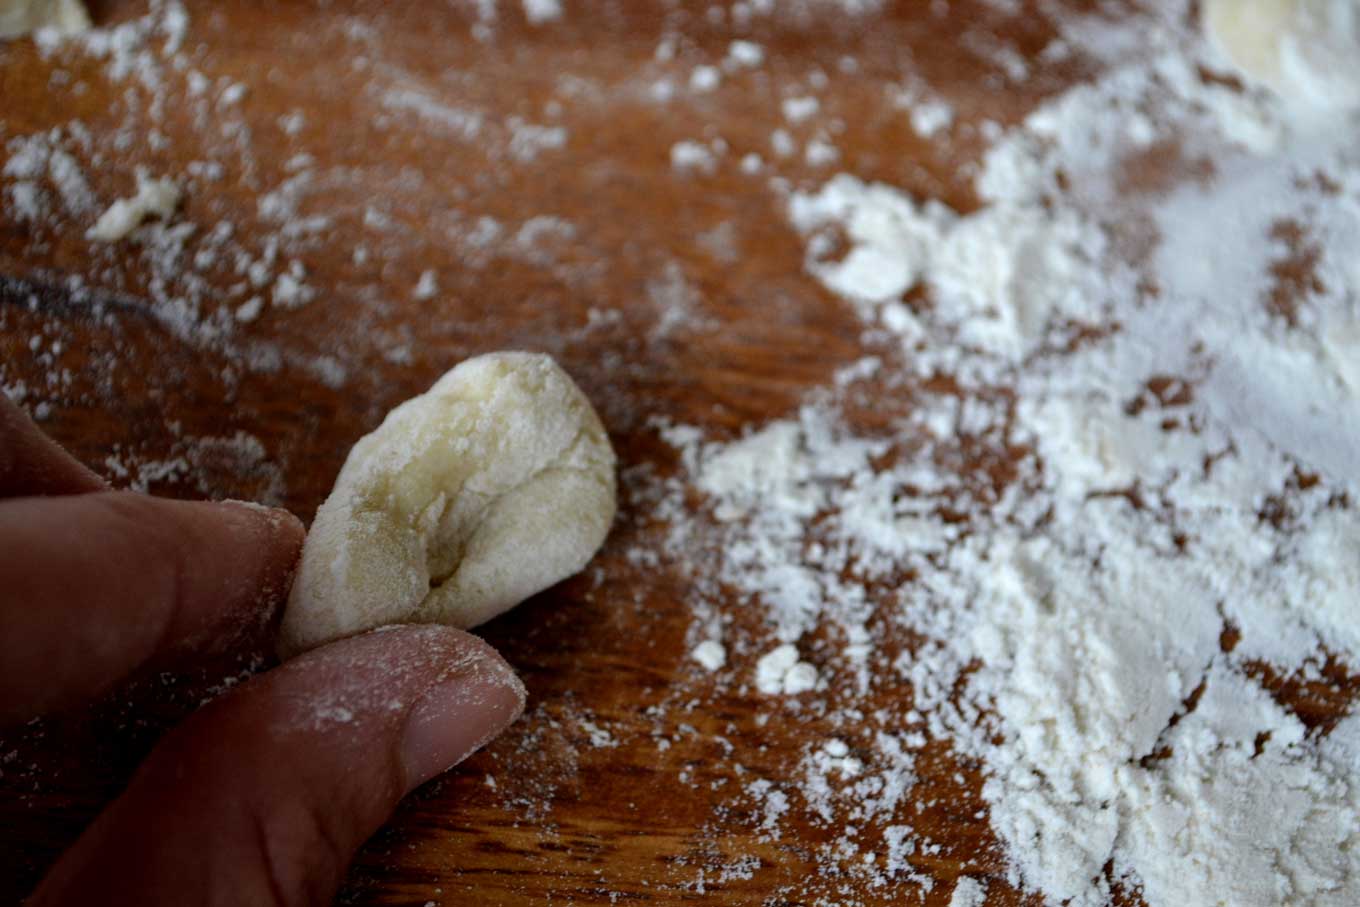
This crevice allows the gnocchi to cook more thoroughly. Second, the ridges allow more of the sauce to stick to the gnocchi, enhancing everyone’s eating experience.
The gnocchi are now ready to be boiled. You’ll need to work in batches here. Throw around 30 gnocchi or so in a large pot of boiling, well-salted water. They will immediately plummet to the bottom of the pot. Do not touch them. Within a minute or two, they will float up to the top.
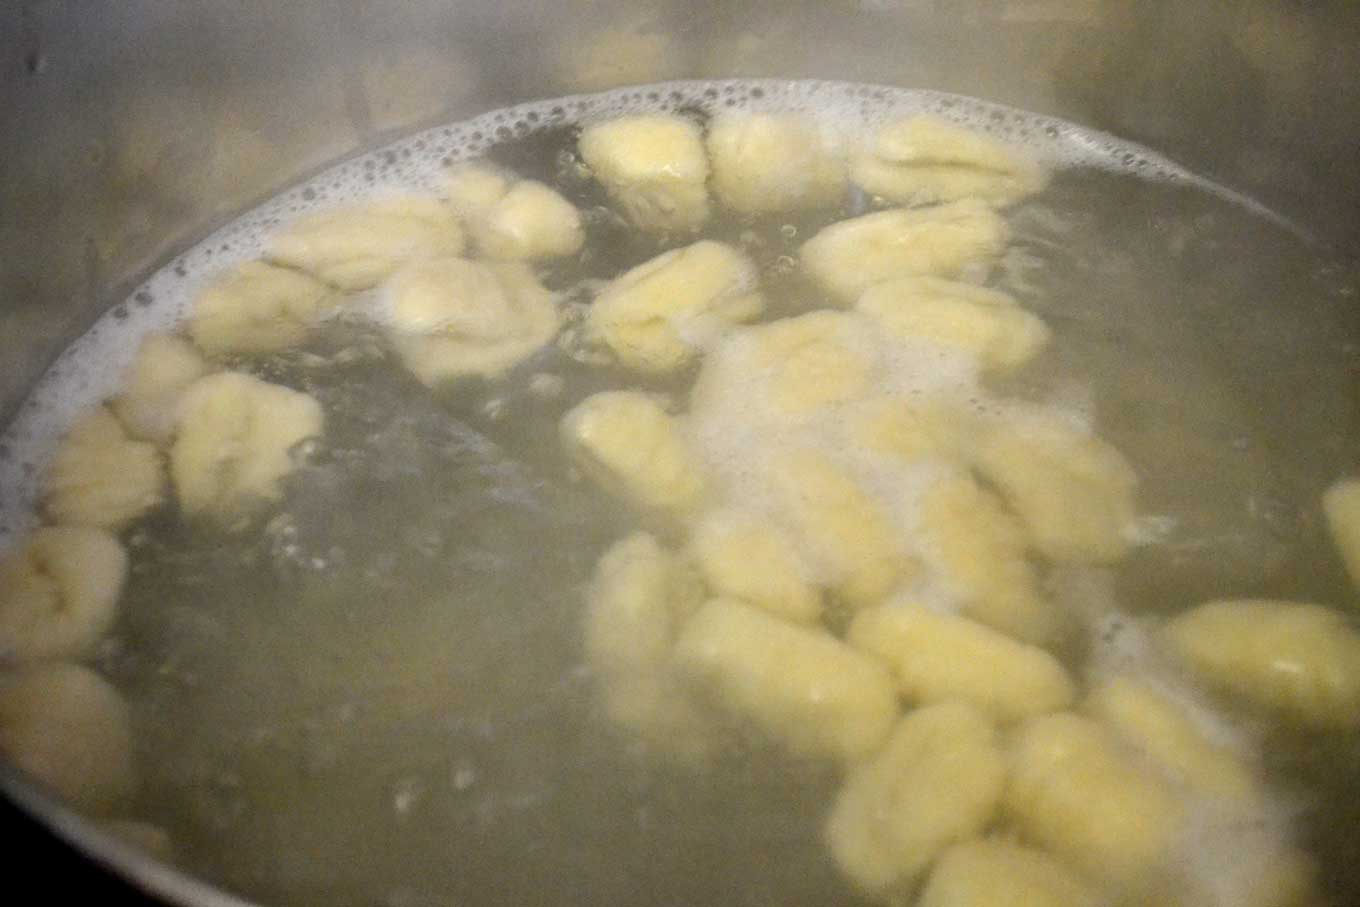
Cook them for another minute or so and then remove them with a slotted spoon. Drain them thoroughly.
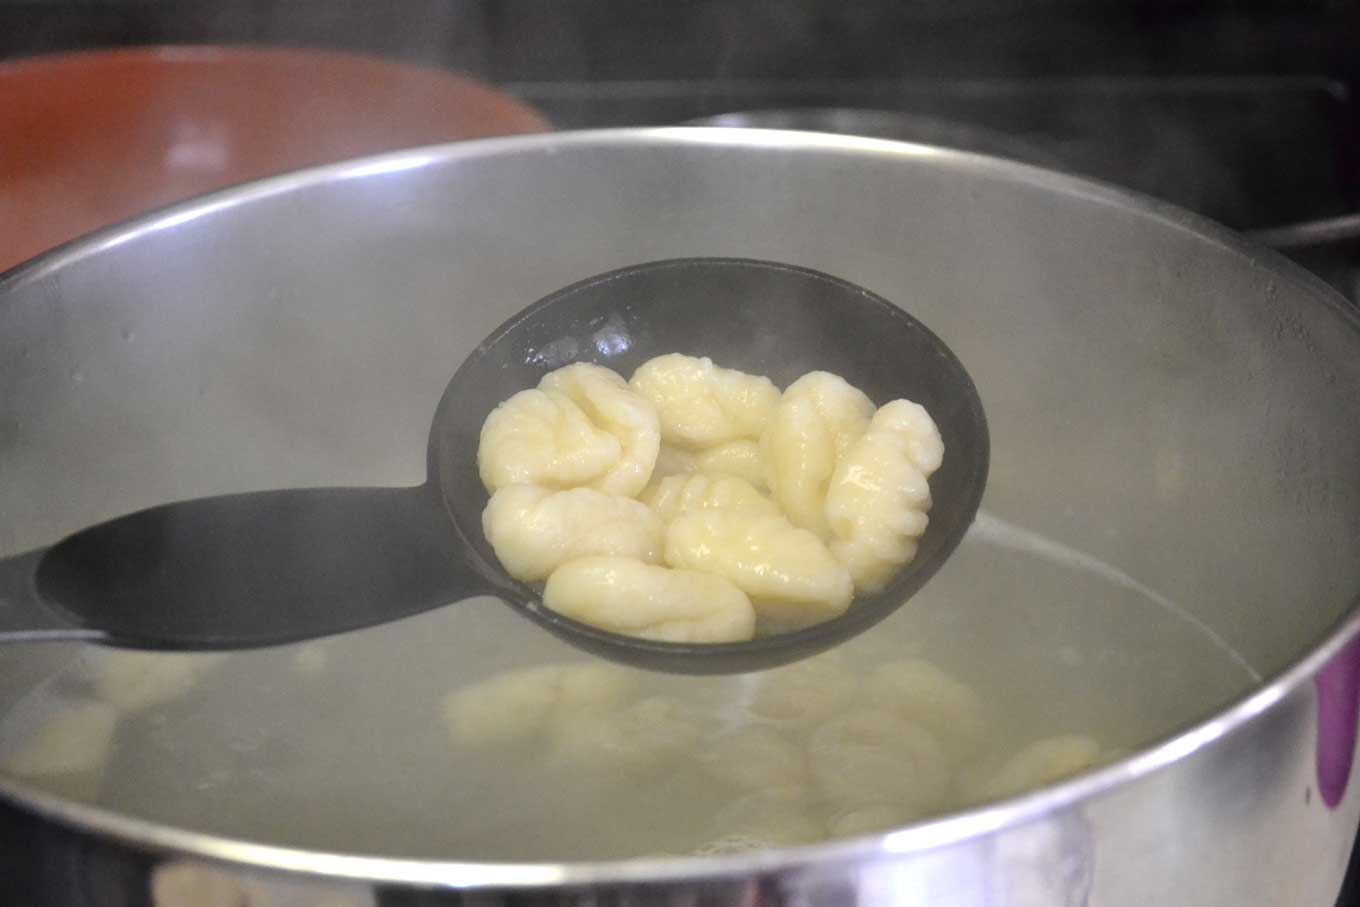
Transfer them to a large heat-proof bowl in which a 1/4 cup of Parmigiano-Reggiano has been added. The cheese will absorb the little excess liquid that may still be on the gnocchi, which is a good thing cause you never want to see watery anything when you’re serving pasta. Add a little sauce to the drained gnocchi.

Gently mix, as you don’t want to ruin the gnocchi. I slowly run a spatula along the side of the bowl, which works really well.
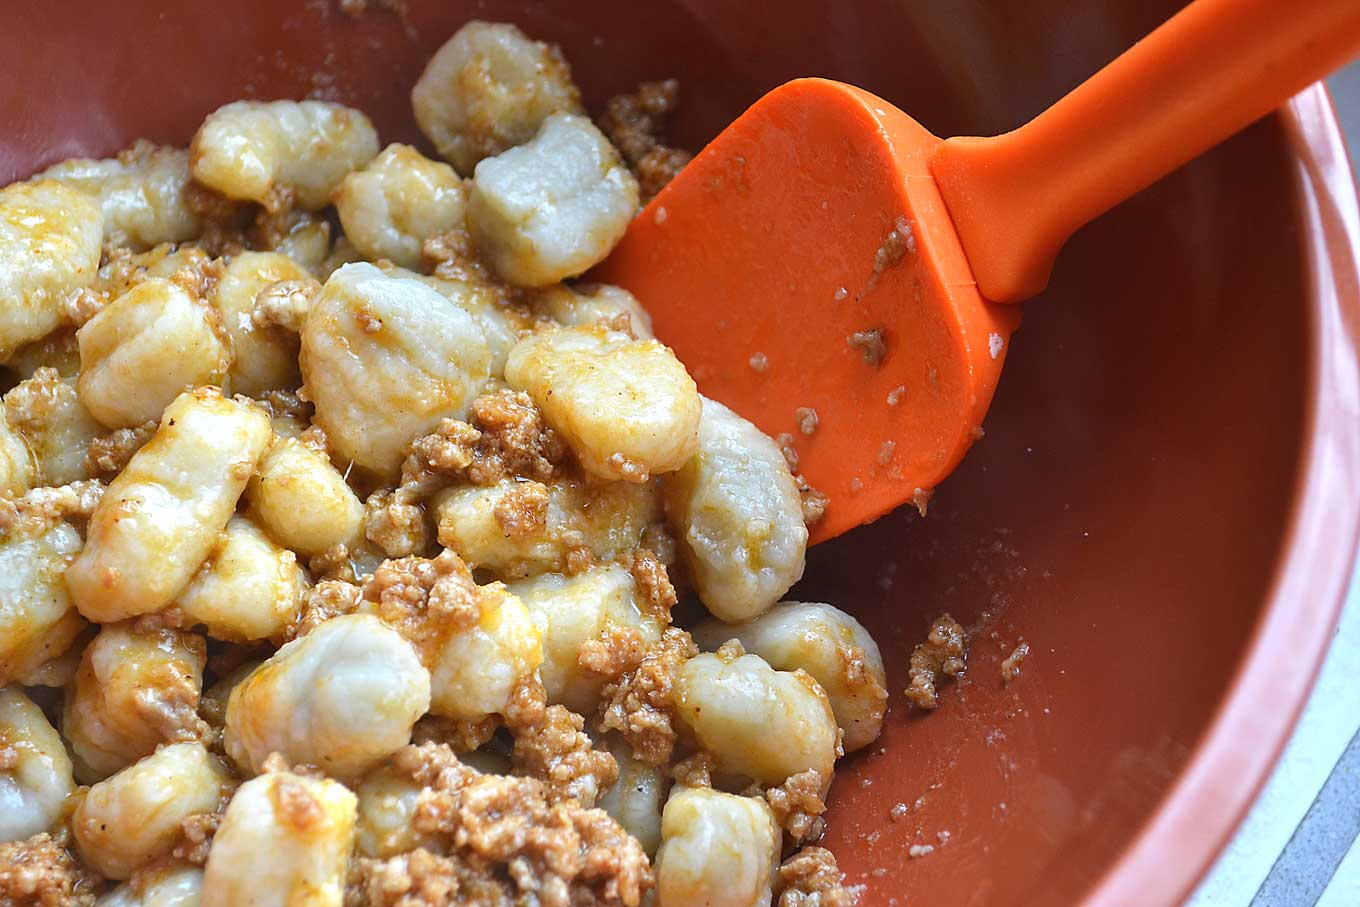
Continue cooking the gnocchi and then adding sauce and a little Parmigiano-Reggiano until all the gnocchi are cooked. Then spoon them out onto pasta dishes. Add a little more sauce if desired and sprinkle generously with more Parmigiano-Reggiano. Serve hot. Makes 8 servings. This recipe can be halved.



Absolutely love all of your recipes. The way you bring up stories behind them is so interesting to read! I particularly enjoyed this sauce served with gnocchis. Delicious! Thanks!!