I only recently started baking, having spent a large chunk of my adult life allowing baking to intimidate me. I credit a lot of this baking dysfunction, MY baking dysfunction, to my dad. And not because he kept calling me a ‘lousy baker’ as I was growing up either. Can you imagine? “You call this a tart crust, you slack-jawed troglodyte?” he’d hiss at me. Or, “This is a poor excuse for a rosemary roll!” He’d spit-fire.
But no.
Alas, that’s not what happened in the Cosmo household.
My dad, as it turns out, was just being himself: a card-carrying, engineering periodical-subscribing, multiple patents-holding ENGINEER.
Though he is now retired, as an engineer, he has always luxuriated in every scientific-like nook and cranny of the baking process. He measured every last sprinkle of flour and every drop of water that went into his creations. He meticulously oversaw temperatures and assessed levitation times. (Intuitively he factored in the effects of humidity on whatever he was making as well.) He studiously poked and prodded his gently bubbling masses of dough, surveying the progress and making a myriad of small adjustments – all to guarantee a perfect focaccia or loaf of crusty bread.
And he still does it. All of it.
Well, that’s a lot of tending for me. Too much for my in-the-moment sensibilities, I’d have to say. It was so growing up and remains so now that I am a full-fledged, tax-paying, child-rearing and, consequently, Screwdriver-guzzling adult. So what a relief to discover that you can be a ‘bit’ more free-flowing and still get the baking job done.
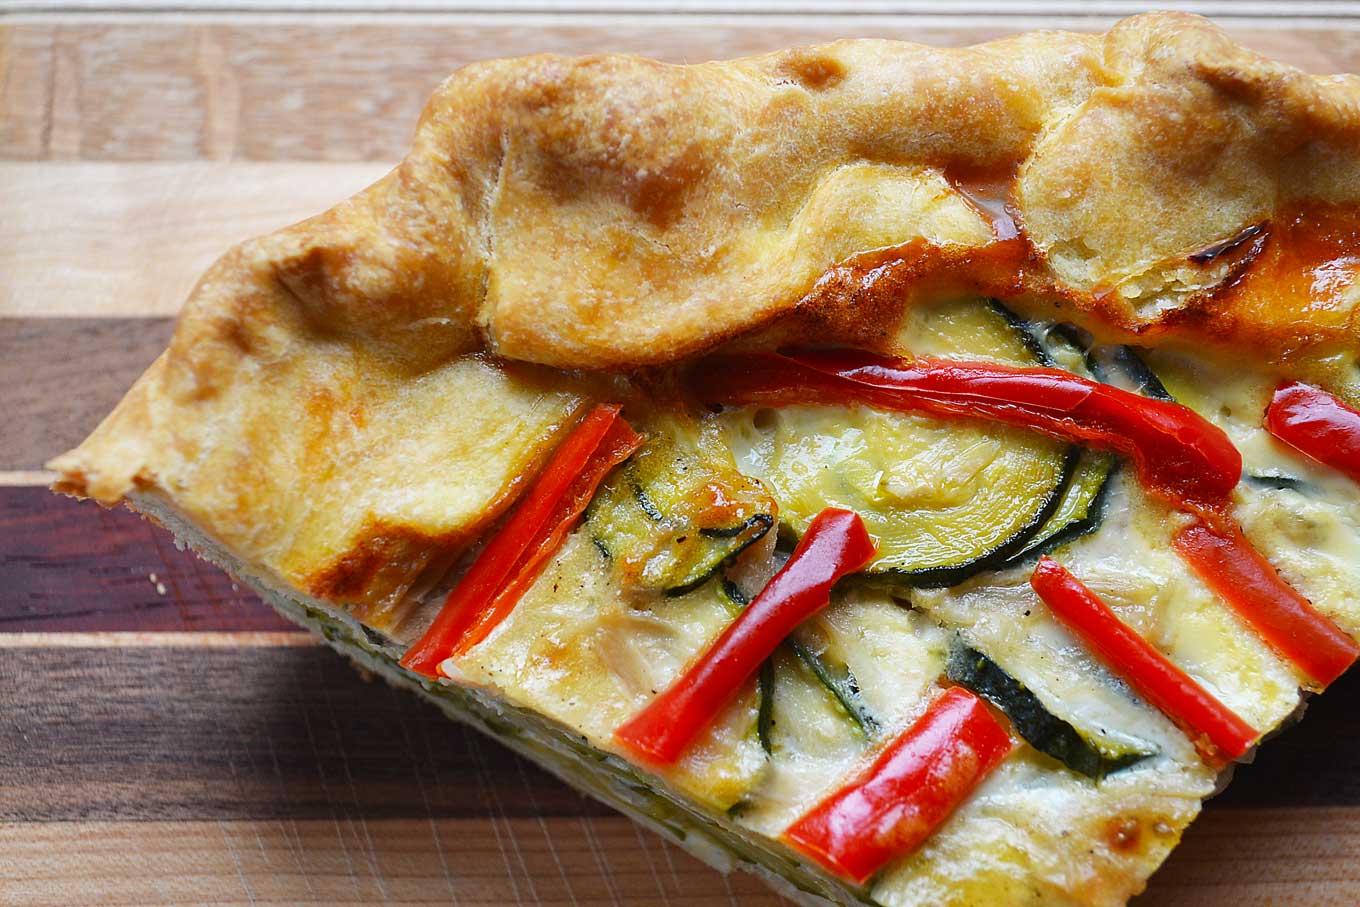
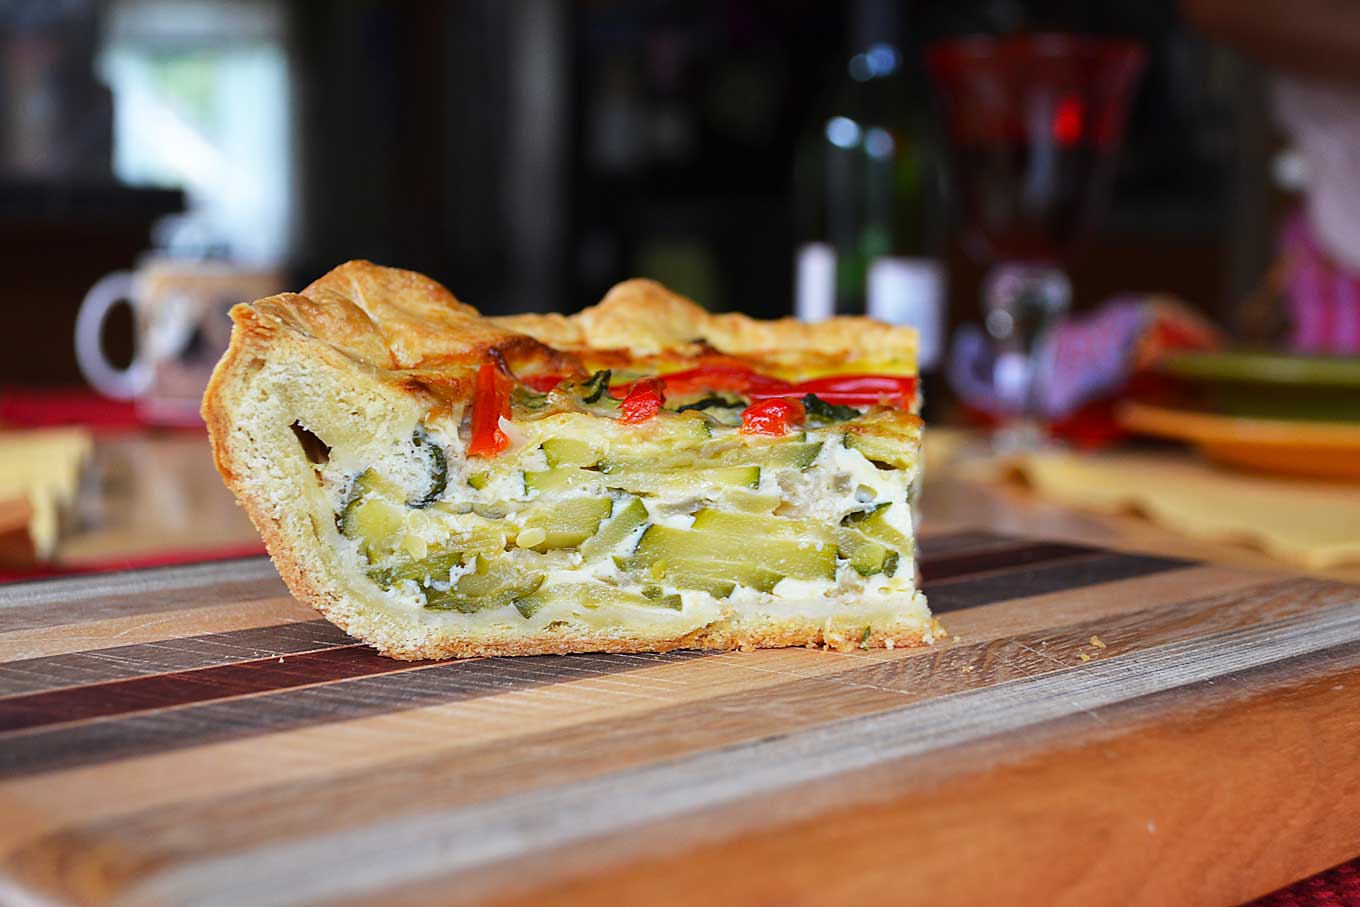
Take this featured zucchini tart, for instance, which was quite simple to put together. I found this recipe in a wonderful cookbook titled The Tuscan Sun Cookbook by Frances Mayes and Edward Mayes. I usually like to adapt the recipes that inspire me. You know…give them my own personal spin. But this one just seemed so perfect as it was that I just didn’t see the need. When I make it again, I can see myself adding some basil leaves to the zucchini and onion mixture, but that’s pretty much it.
In order to make this lovely, you’ll need to either make a pie crust from scratch, or buy one.
making zucchini tart
If you’re not a pie crust maker, I highly encourage you to just go ahead and buy one, because the rest of the recipe is a breeze and I would hate it if you deprived yourself of it. But if you’re game to break out your stand mixer (i.e. KitchenAid), just know that it’s never been easier. I used to do it by hand because that’s the way my mom did it (of course, she didn’t have a KitchenAid either) and believe me, this takes all the sweat out of it. Here’s how to make a savory pie crust.
Preheat the oven to 400°F. (Now, whenever I preheat, I actually add another 25 degrees or so. That’s because you lose heat when you open the oven door to place whatever you’re baking in the oven. So by the time you close the door, you’re probably at the temperature you actually want. Of course, this means that you then have to remember to then lower the temperature to what it needs to be. I say this because I’ve inadvertently burned a few things!) So in this case, preheat the oven to 425°F and then lower it to 400°F once you put the tart in.
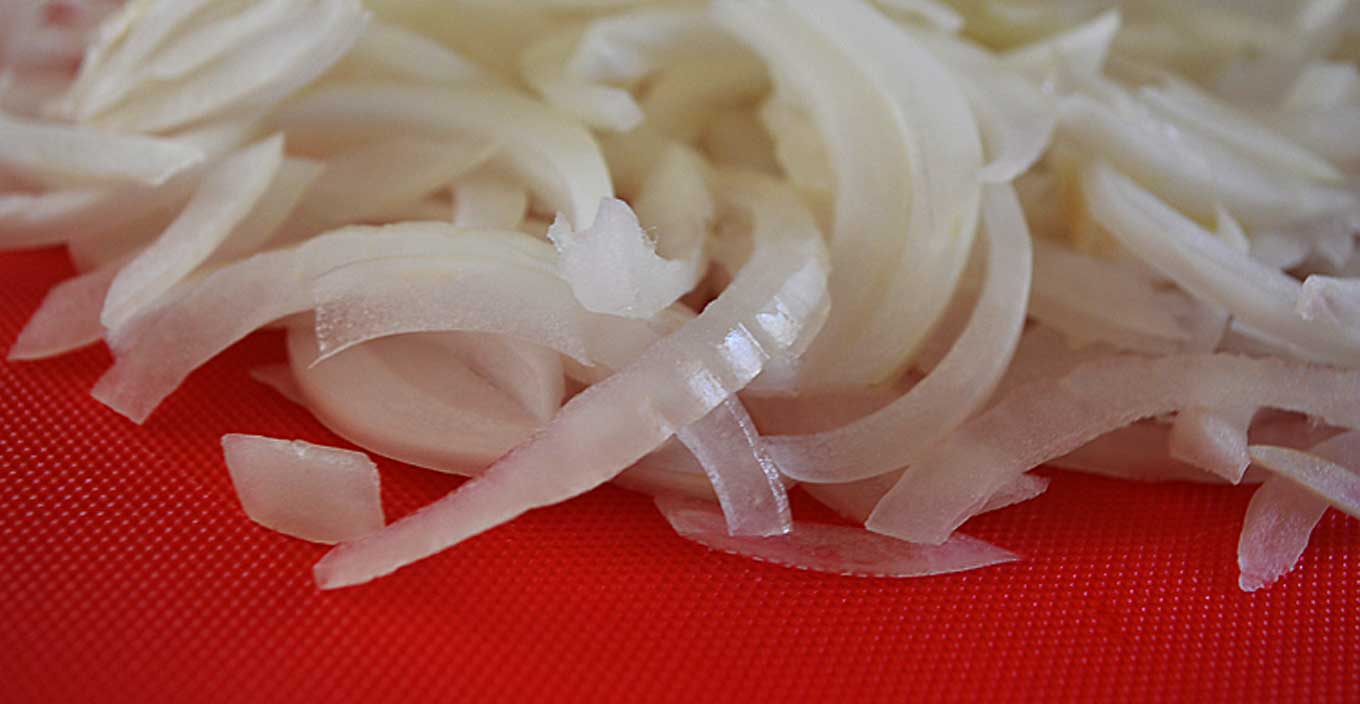
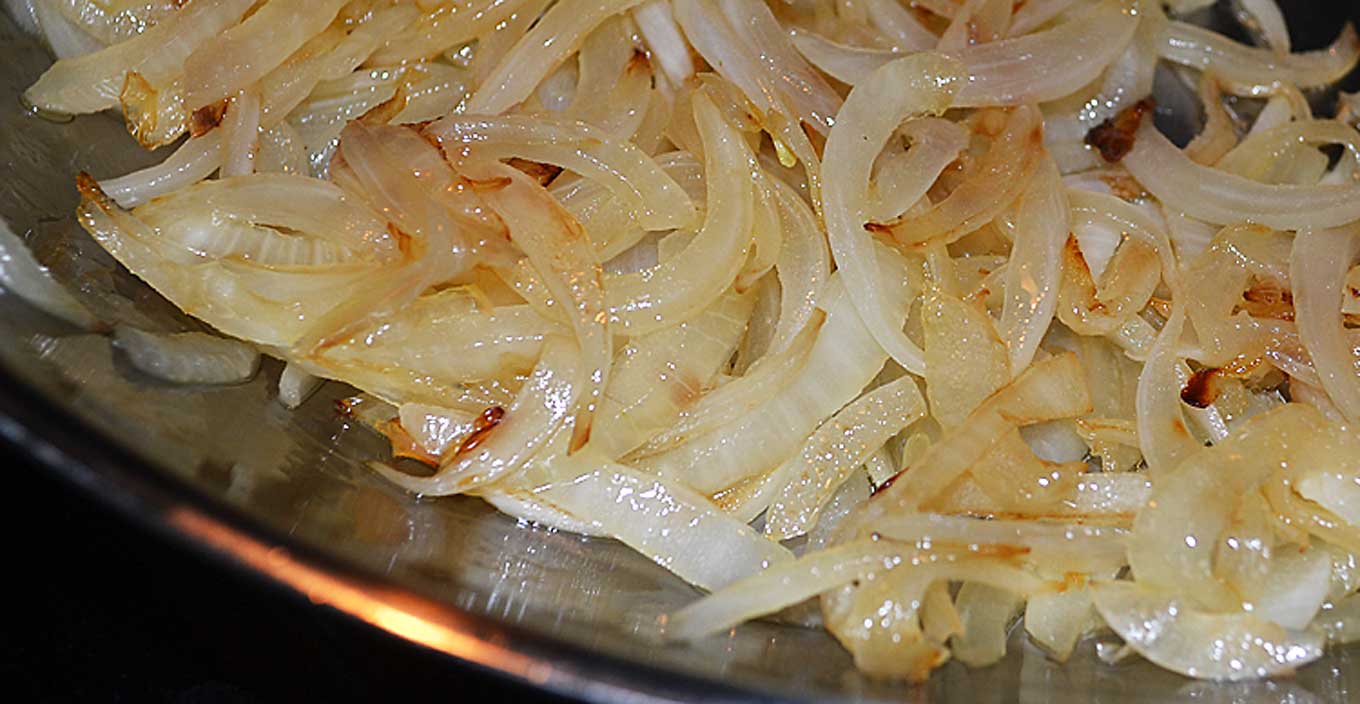
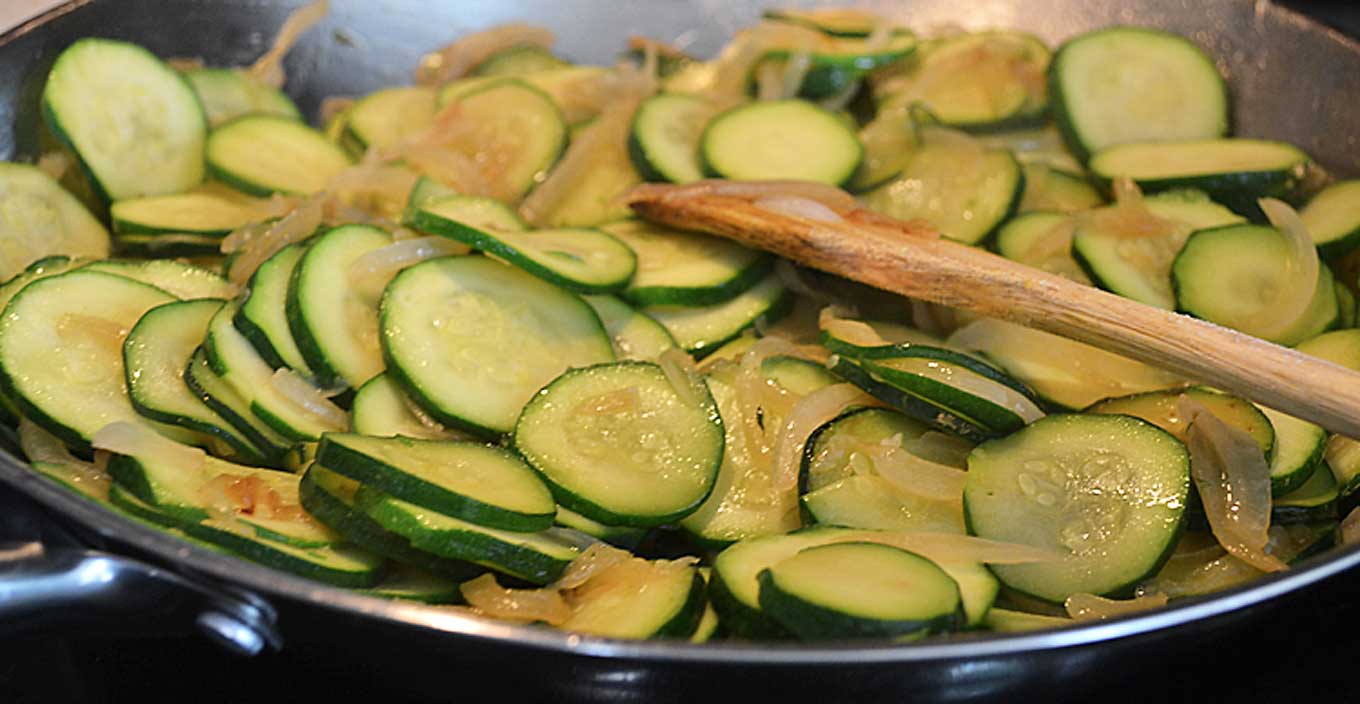
In a 10-inch frying pan, saute a thinly sliced yellow onion in two tablespoons of olive oil on medium heat until soft and slightly colored. Add just a little salt and lots of pepper. I like to bring a little caramelization into it because of the subtle extra sweetness that it builds into the tart. This will take about 8-10 minutes. The onions should look like this:
Add 3 sliced zucchini and cook for another 3 to 4 minutes, until they start to give a little but still maintain a bit of their firmness. Add a little salt here and mix thoroughly. Taste to make sure they are seasoned to your liking. If it tastes a little bland, don’t be afraid to add a little more salt. It’s amazing how those little crystals help to transform dishes.
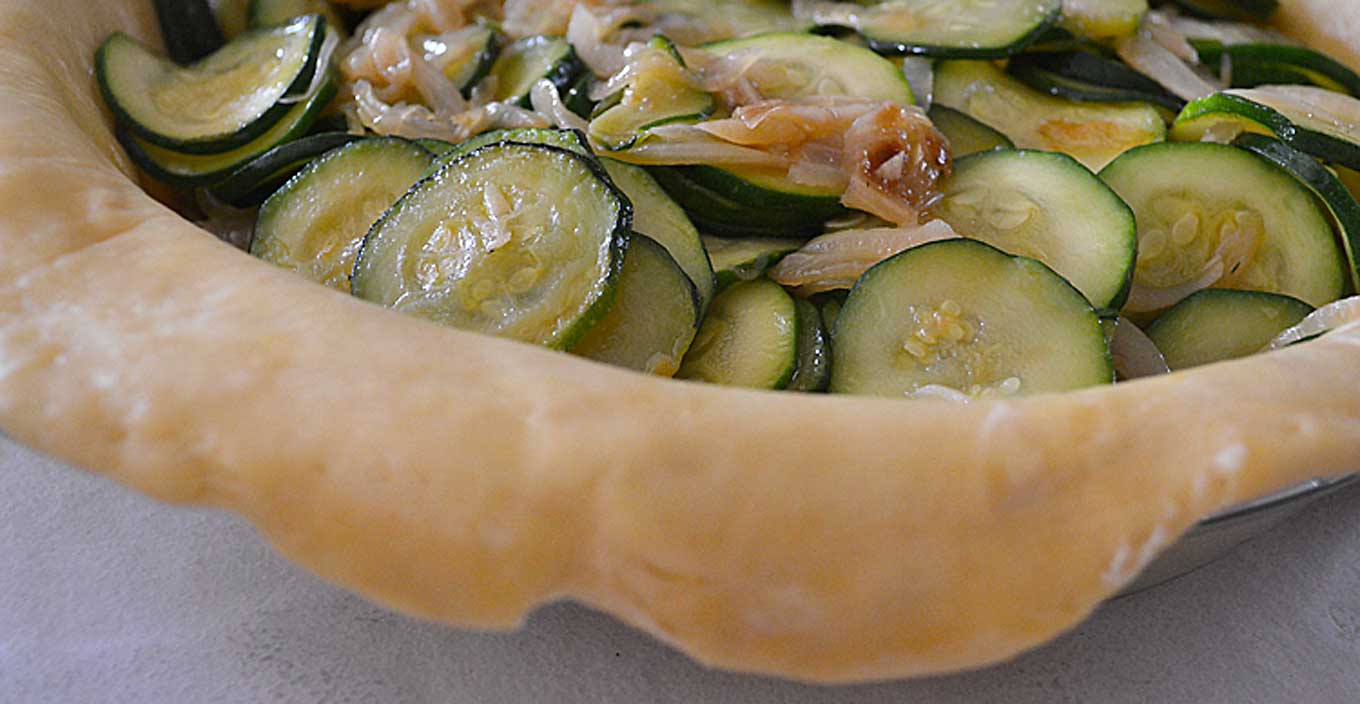
You are now ready to add the onion and zucchini to the pie crust, whether you’ve made it or bought it. Be sure to arrange them so that you’re creating an even ‘surface’ so to speak. In other words, you don’t want this high mound in the middle of the tart and hardly anything around the sides.
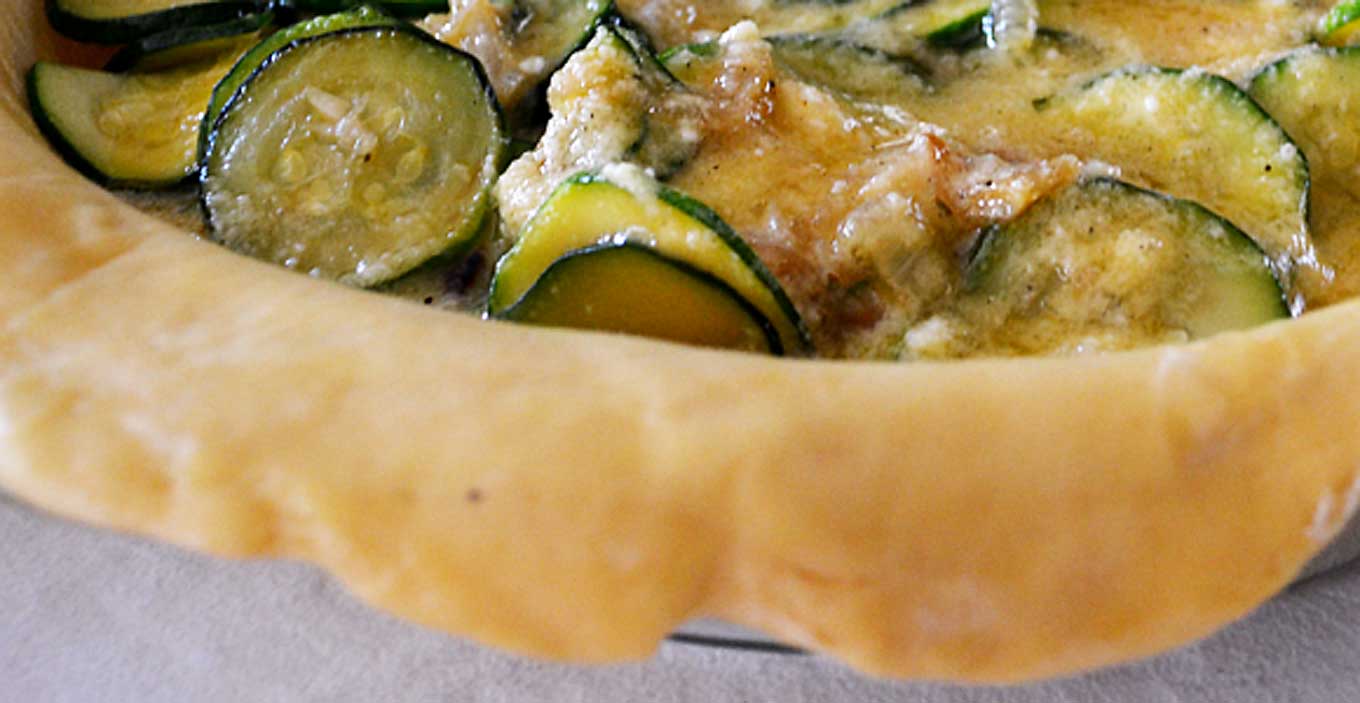
With the veggies now snuggly nestled, you can now create the egg mixture. Break 3 eggs in a small bowl and whisk until they are thoroughly mixed. You want to do this because otherwise you’ll see yellow or white streaks in the finished product, which I don’t think look nice. Then add salt, pepper, and 1/2 cup of freshly grated Parmigiano-Reggiano and mix thoroughly again. Please make sure you are using authentic Parmigiano for this, or for any other recipe. You’ll know it’s the real deal when you see the “Parmigiano-Reggiano” written on the cheese crust. Yes, it’s more expensive, and worth every penny. You’ll benefit in both taste, since no other “Parmesan” tastes as good,and in health, since there is no cheese that is purer and more healthful than this one. Make sure you spread the egg mixture evenly throughout.
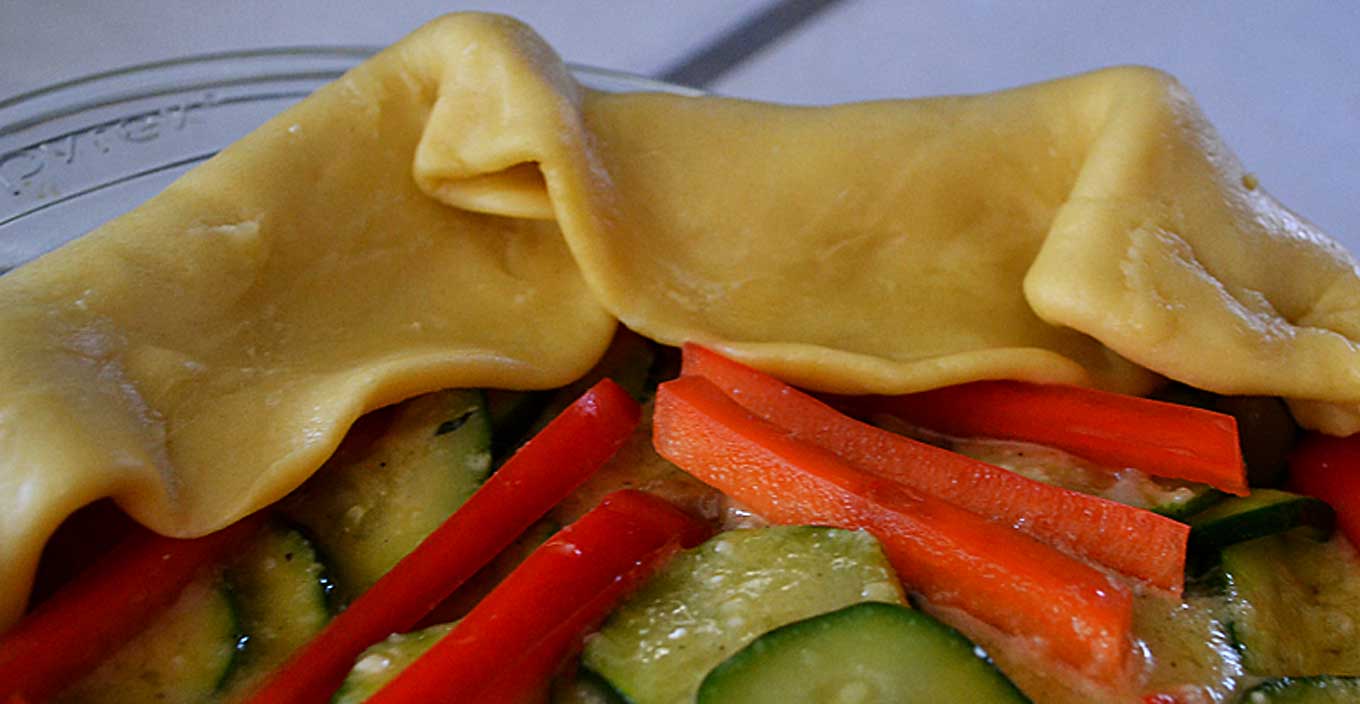
With a paper towel, clean out the egg mixture bowl and then add a teaspoon of olive oil. Then add 1/2 of a red pepper that has been cut into slivers. Mix it around until the pepper slivers are lightly coated with the oil.Arrange the pepper slivers in whatever way appeals to you. It’s a chance to be creative in baking! Once you like what you’ve done, press the slivers down gently into the egg mixture.
If you made the piecrust, you now want to fold the edge of the crust over to create that rustic feel that I soooo love.
Then we’ll do a little trick that I learned years and years ago In New York City at a macrobiotic cooking class…and that is to cover the crust of the tart with aluminum paper for half of the baking process so that the crust won’t burn before everything else in the tart is properly cooked. It works remarkably well and I’ve used this method in the few times I’ve baked since then.
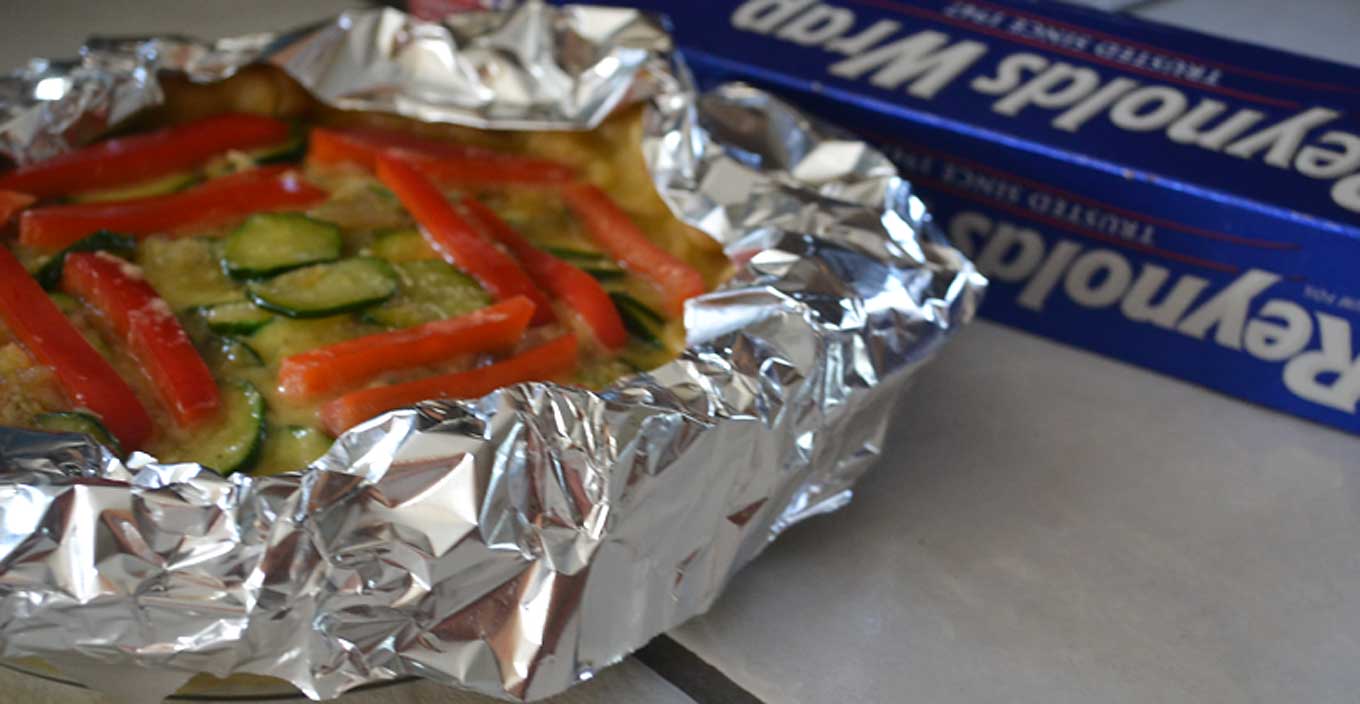
You will then place the tart in the oven and lower the temperature back to 400°F. Bake for 25 minutes and then take the tart out of the oven. I don’t need to stress how important the quickly part is…
Remove the aluminum foil and then rush the tart back to the oven. If you can be quick, you can just pull out the oven rack and do it while the tart is still in the oven.
Bake for another 15 minutes, until you see the crust a nice golden color.
Allow it to cool for at least a half hour. If you try to cut it before then, the egg won’t have congealed enough and you risk not having that pretty slice that stays together. It’ll still taste just as good though!

Leave a Reply