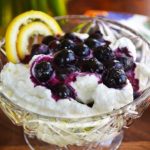
how to make ricotta
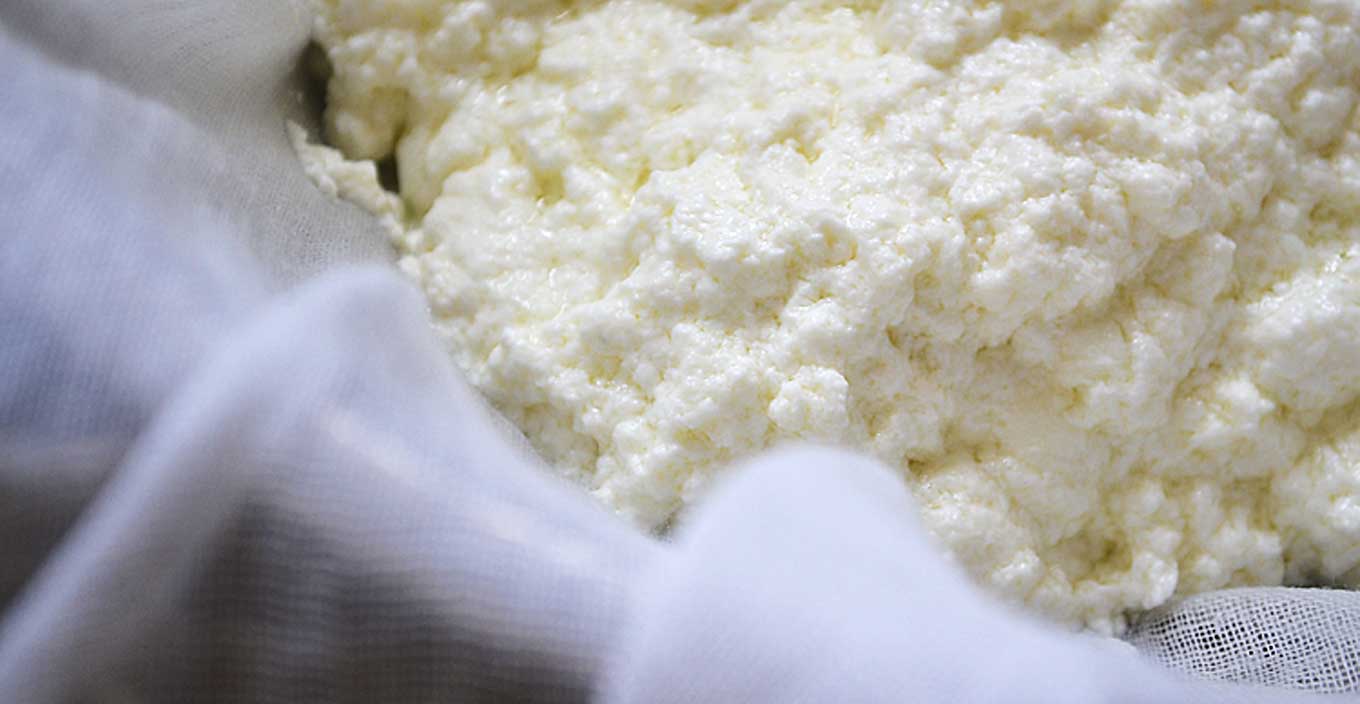
This page explains how to ‘fake’ fresh ricotta at home.
I say this because ‘real’ ricotta is made by re-heating left-over whey that has been used to make other cheeses, which means the kind we make in our kitchens using milk and an acid is a wanna-be, a mere forgery. Hum bug. This ricotta may not be the real deal…but tell that to your taste buds.
Anyone that has ever made this ‘forgery,’ however, knows just by how much it easily beats the pants off of its rubbery and bland counterpart in the supermarket. Not that I don’t go to that well occasionally myself when in a pinch. Sometimes it is clearly more important to fulfill that whim, or downright need, for a ricotta cheesecake or a bowl of penne with ricotta, peas and ham then to be all high and mighty about making everything from scratch, yes?
Now, having said that… I do try to make it as much as I possibly can, on most days.
In addition to its superior, fresher taste, it also has another benefit: it allows you to stay clear of yummy-sounding stabilizers like xanthan gum, locust bean gum and guar gum, which can be found in just about all supermarket ricottas. (Why are they in there? Because pretty much all mass-market ricotta producers don’t take the time to drain the ricotta cheese curds properly. Instead, they load their ricottas with gums and stabilizers intended to keep the water – and their profits – from leaking out.) But in case you’re wondering where the rubbery texture comes from, now you know. It’s certainly another argument for making it fresh. (You’ll find more information about making ricotta at the end of the pictorial recipe. For anyone who has taken my ricotta-making class, it will be a refresher.)
Which leads us to making this little faker. This recipe makes 2 cups of ricotta.
Ingredients:
- 4 cups fresh homogenized or pasteurized milk (NOT an ultra-pasteurized or ultra-heat-treated (UHT) whole milk – more info on this further down the page
- 1 teaspoon sea salt
- 3 tablespoons distilled vinegar
- Fine cheesecloth or large sieve
How To:
Place the milk in a heavy-bottomed pot.
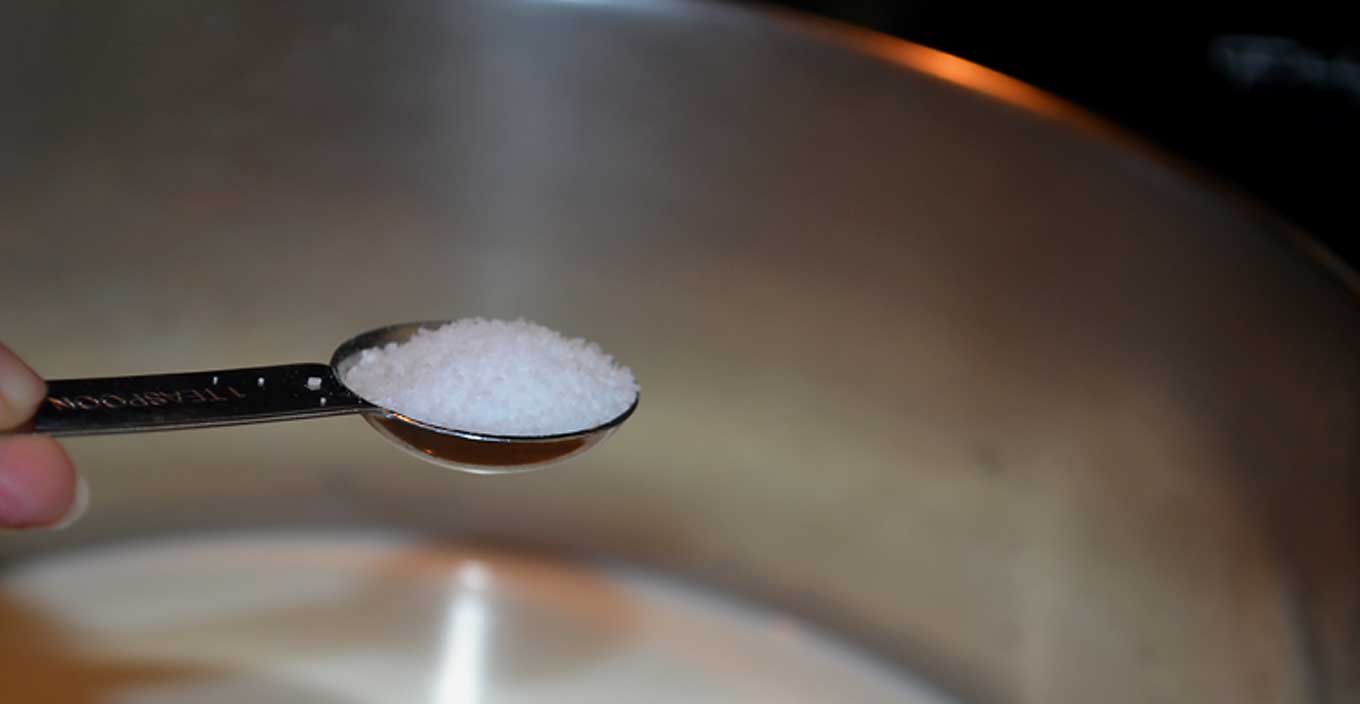
Heat it until it foams at the sides of the pan and starts simmering without boiling. Then add the salt and stir thoroughly.
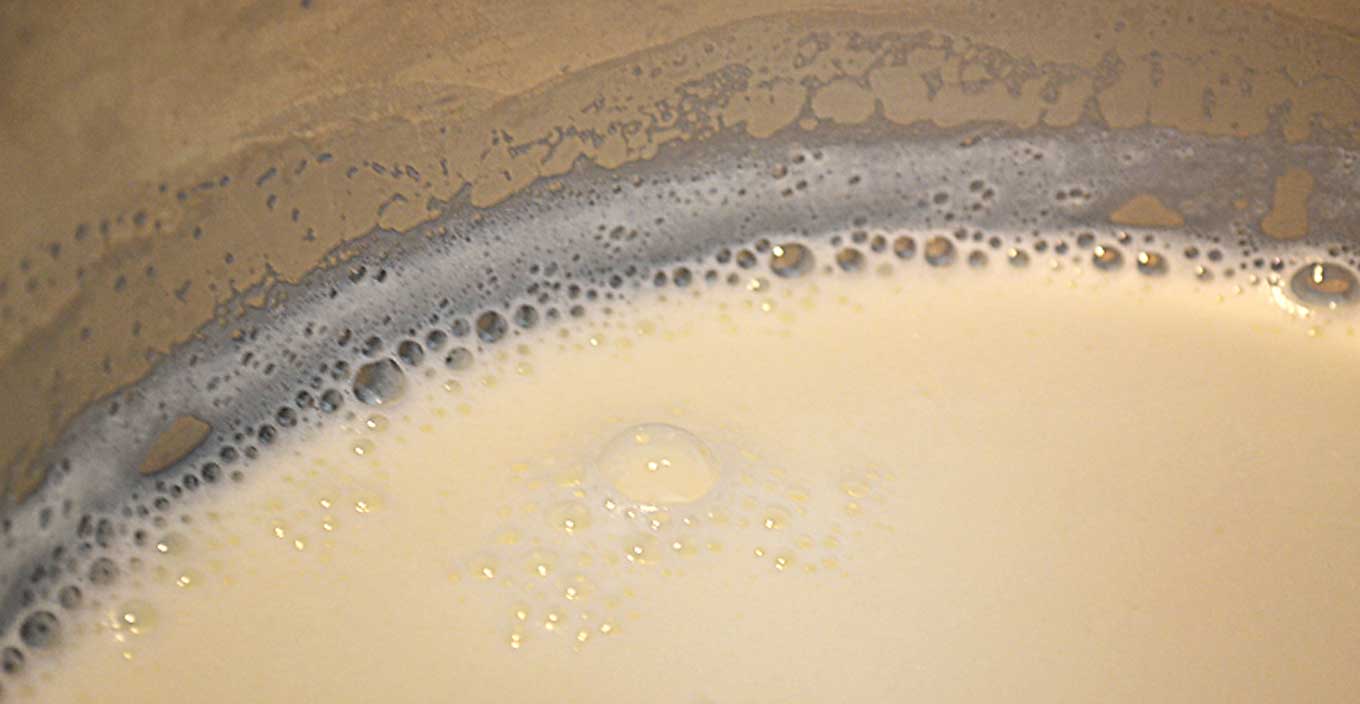
Don’t be in a hurry to heat up the milk. I put my flame on medium-low, which adds a few minutes to the process, but I like heating up the milk gently. It prevents the milk from being scorched and also forces you to baby-sit the ricotta just a little bit more (which then avoids boiling milk from overflowing all over the gas range. Been there.)
Know how I monitor whether the milk is heating up sufficiently slowly? As I’m stirring the milk with a spoon, the bottom of the pan feels smooth..meaning that milk hasn’t begun to scorch to the bottom of the pan. Now, this is a bit of a Zen task, mind you, patience and calm are required, but then…so many cooking-related things are. You can also see the surface of the milk starting to move ever so subtlely. Many recipes will say you need a candy or instant-read thermometer, but I don’t think it’s necessary. Just look for those bubbles on the side.
Remove from heat and slowly stir in the vinegar, stirring gently just once or twice.
Then allow it to stand undisturbed for 5 minutes. In other words, don’t stir it. Don’t even look at it. Failure to do so will cause these little puppies to turn rubbery and ruin your ricotta. Okay, you CAN look at it. And when you do, you should be now able to see curds. If not, add more vinegar, 1 tablespoon at a time, allowing it to rest 5 minutes between additions. (I’ve never needed to add extra vinegar, but I’m saying this because there’s always a first time. I had mine in my last cooking class. Not fun.)
In the meantime, prepare a sieve or a calendar by lining it with food-friendly paper towels or cheesecloth and set it over a large container.
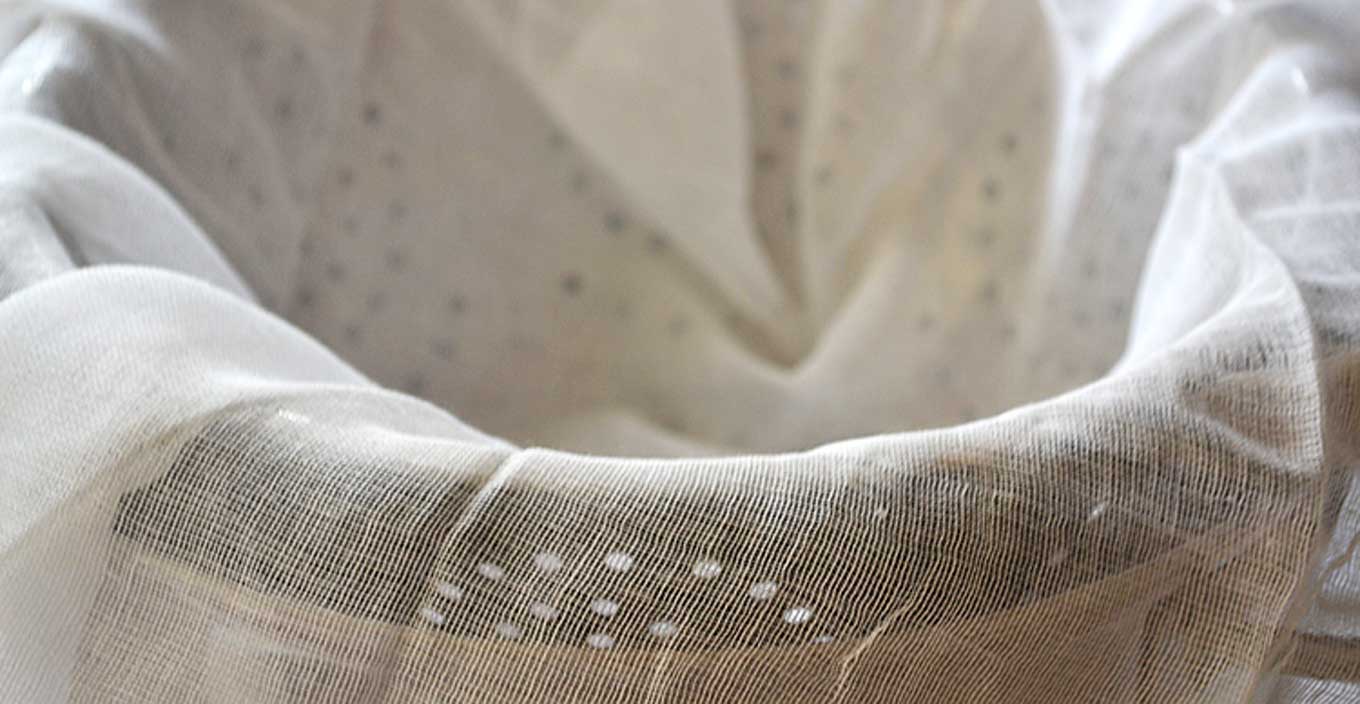
Once you see the solid white curds and translucent whey, carefully spoon the curds into the sieve or calendar.
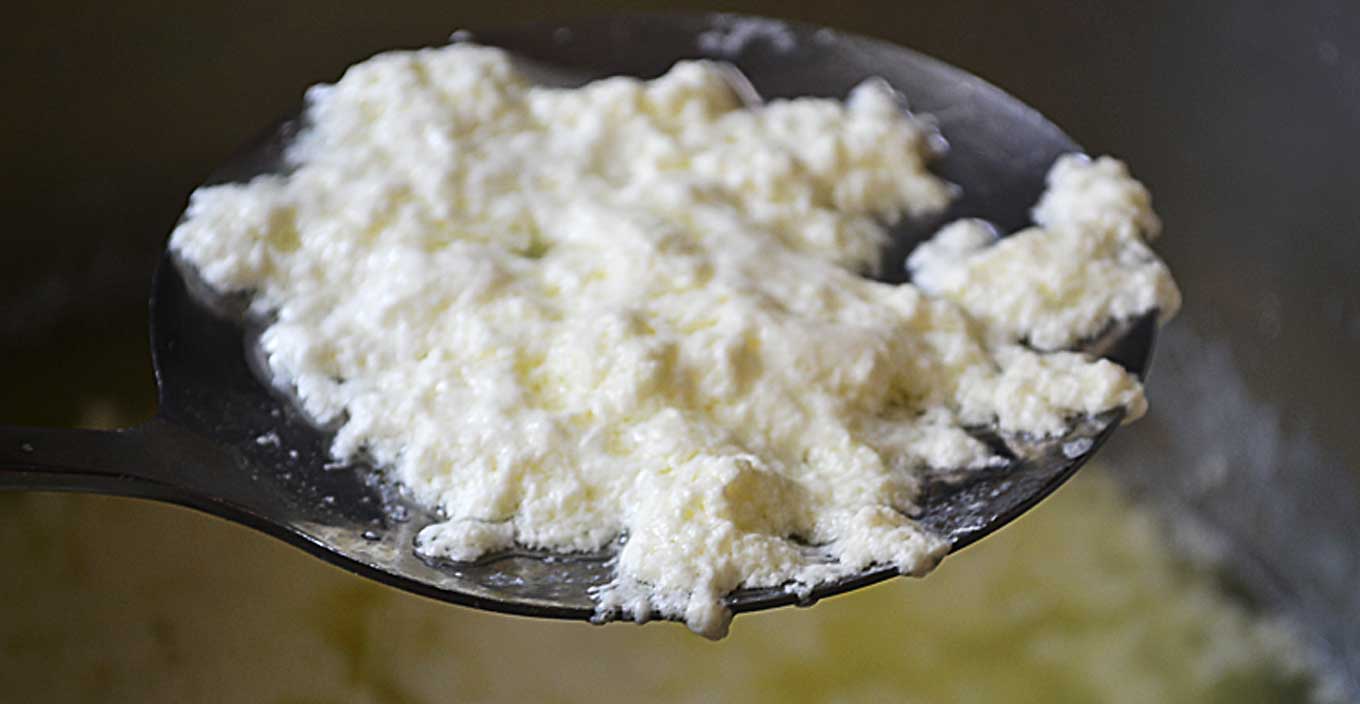
When transferring the curds to the strainer, fight the strong temptation to simply dump everything in. While it’s much less efficient to spoon the curds into the drainage device, it will also minimize the amount of liquid whey that gets in the sieve or calendar— this is a good thing since excess liquid can gunk up the works, making it a very slow process for all the whey to completely drain.
Allow the ricotta to drain for 5 – 20 minutes.
Make the draining time shorter for a moister, creamier result with smaller, tender curds, and longer for a drier, firmer and more crumbly curd. Moist is best for an appetizer-type spread, drier is better for stuffing things like these pork rolls or zucchini. If you like really dry ricotta, you can also drain it overnight (covered) in the refrigerator. (Home-made ricotta has a low-moisture content, so you can skip any draining or drying steps called for in a recipe.)
Transfer the curds to a bowl, stir, cover, and refrigerate until chilled. Stores up to 5 days.
More Information on Ricotta-Making:
Recently, I’ve learned quite a bit about the ins and outs of making ricotta. Mostly because next week I’ll be teaching how to make it to a roomful of paying adults…definitely a motivator to know my stuff. Below, you’ll find a distillation of countless blogs and website with excellent information on the subject.
And my research unearthed four interesting facts:
We need to use fresh homogenized or pasteurized milk and NOT an ultra-pasteurized or ultra-heat-treated (UHT) variety. (UHT milk is heated to 275°F in order to kill all bacteria and spores.) While I would be at a loss to explain the biochemistry behind it, I’ve come to understand that the ultra pasteurized and heated varieties will not curdle the ricotta properly.
For this reason, organic milk that can keep as long as regular milk is not a great choice for ricotta making. (Now that you can find it in the most out-of-the-way bodegas on tumbleweed streets or in convenience stores on busy intersections, its need for a long shelf life requires organic milk to be UHT treated.)
I’ve made ricotta with both organic and regular supermarket milk and found that regular milk yielded creamier ricotta. But I have to say that I don’t mind the grainier, drier curdles that come from the organic milk. I find that it makes an excellent ricotta for stuffings things, like pork rolls or zucchini, as it helps to keep its shape and doesn’t add unwanted moisture to the dishes.
Ricotta curdles are more forgiving and flexible about required heating temperatures than they are given credit for. After spending an entire morning researching ricotta recipes, I wished for a nickel for every recipe that categorically required a milk temperature of 180-185F°and the use of an instant read thermometer. If so, I would be able to take my family of four out to Longhorn Steakhouse tonight for dinner, complete with desserts, Shirley Temples aperitifs for the girls and a couple of cocktails each for the adults.
As it turns out, you also don’t need a thermometer. Just heat the milk until it foams at the sides of the pan and starts simmering, WITHOUT boiling. That’s pretty much it. Ricotta will curdle as long as the temperature is somewhere between 165°F and 185°F or so. Neither the amount of curd produced nor the texture of the curd will be affected by the heat variance. (We possibly inherited the 185°F ‘rule’ from the days when all milks were un-pasteurized and, in order to make custard, you need to heat milk to 180°F in order to deactivate those enzymes that prevented it from setting.)
Handling the curds as they form is perhaps the most sensitive task to achieve optimal results.Gentleness is key. Once you’ve added the acid of your choice to the heated milk, do not stir the concoction. If the ricotta is stirred while the curds are forming, it will cause the curds to seize up and to become rubbery. And if that happens, you may as well spare yourself and go buy the stuff at the supermarket.
The acid you use to make ricotta is perhaps the single most important variable both in terms of flavor and texture. At your disposal you have vinegar, lemon juice, buttermilk, and rennet. They all have positive points and drawbacks. Based on my personal experience and from reading others’ personal experiences, here’s my Cliff Notes version:
While many adore using buttermilk, it requires a nearly 1:4 ratio of buttermilk to milk to make ricotta, which can make the ricotta taste a bit sour. Its curds were a bit on the sticky side.
Using distilled vinegar gave the cleanest flavor and identical results every time. It’s curds were soft and tender.
Lemon juice gives ricotta a slight citrusy flavor, which actually works quite well depending on the recipe. Because fruit has varying pH levels, you may need to adjust the quantities of lemon juice you use, so there’s a bit of experimenting that goes on each and every time you use it to make ricotta. Wasn’t a big fan of this one personally, and that’s what lemon zest if for, as far as I’m concerned.
Rennet. I don’t even know where to begin. Okay…let’s start by saying that there are various types of rennets, including synthetic kinds, but that the real one comes from the fourth stomach chamber of unweaned, baby mammals like calves, goats and kids (the furry kind).Rennet produces the moistest, tastiest curds, as it leaves more proteins intact and does not inhibit the milk’s flavor compounds as an acid would. You can mail order it from Amazon. I almost did but then immediately started wondering about purity standards and realized that I would have to do MUCH more research before I felt comfortable using it, let alone writing about it. So we’ll leave this one alone for now, though I’m not finished with this subject.
So what’s the bottom line? Use distilled vinegar. In my opinion, it’s the easiest one to use and it produces consistent and delicious results.

