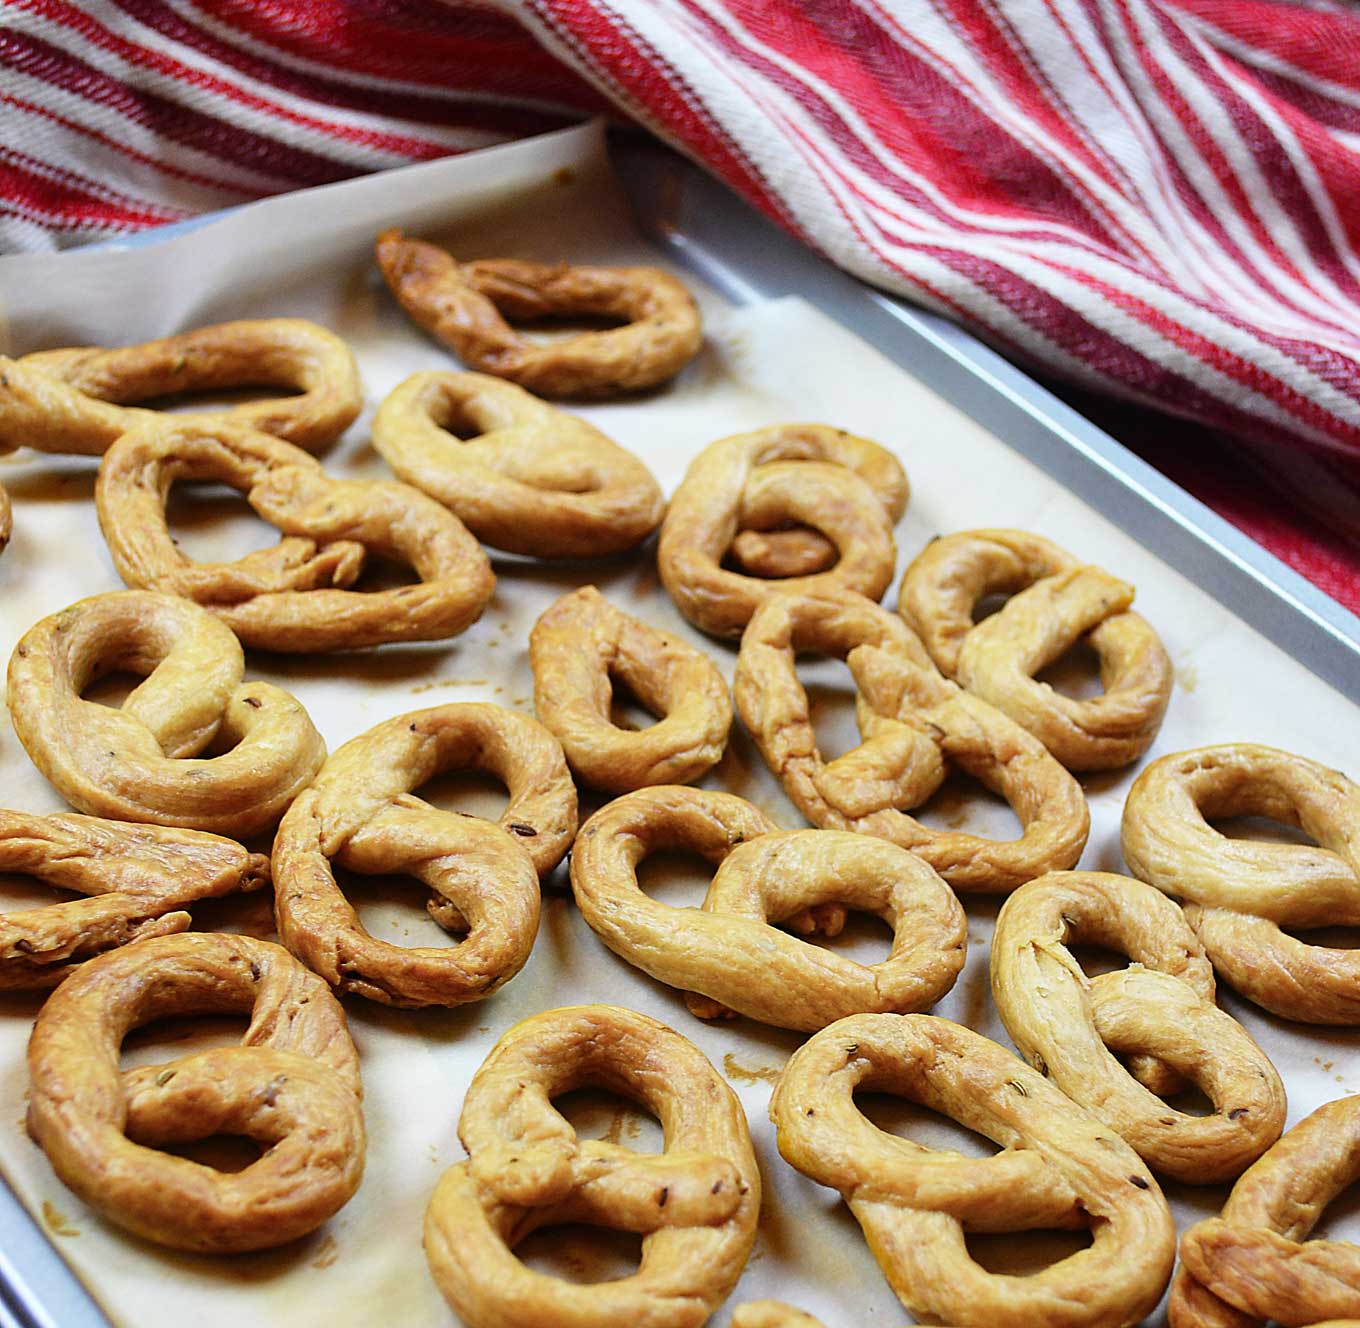
Time is short, but I always find time to make savory Italian taralli.
Yes, as an Italian, I have so many potential culinary traditions from which to choose that, over the years, I’ve had to become more discerning about what I’ll actually take the time to make. On the short list are these taralli, often referred to as biscotti scaldati in southern Italy. No matter how many I make, there never seems to be enough. Maybe it’s because they are a perfect accompaniment to a cocktail or make for such a satisfyingly savory treat when you just plain feel like nibbling. Maybe it’s because they are light and offer a crispy flakiness that is so vexing. Or maybe it’s the fennel seeds, which add just the perfect amount of aromatic flavor to bring the whole tasty pretzel into perfect balance. All I know is they disappear…snap!….just like that.
I may sound like a ‘I will not have wire hangers in my closet!’-type horrible mother when I say this, but I’ve taken to hiding the metal tin I use to store these babies because if I left it out, my daughters would eat an entire batch in just a couple of days. Since it does take a couple of solid hours to make them, if not three, my desire is to have them last for at least a week or two… if only so my husband and I can also enjoy them when having an aperitif before dinner. Grown ups are people too!
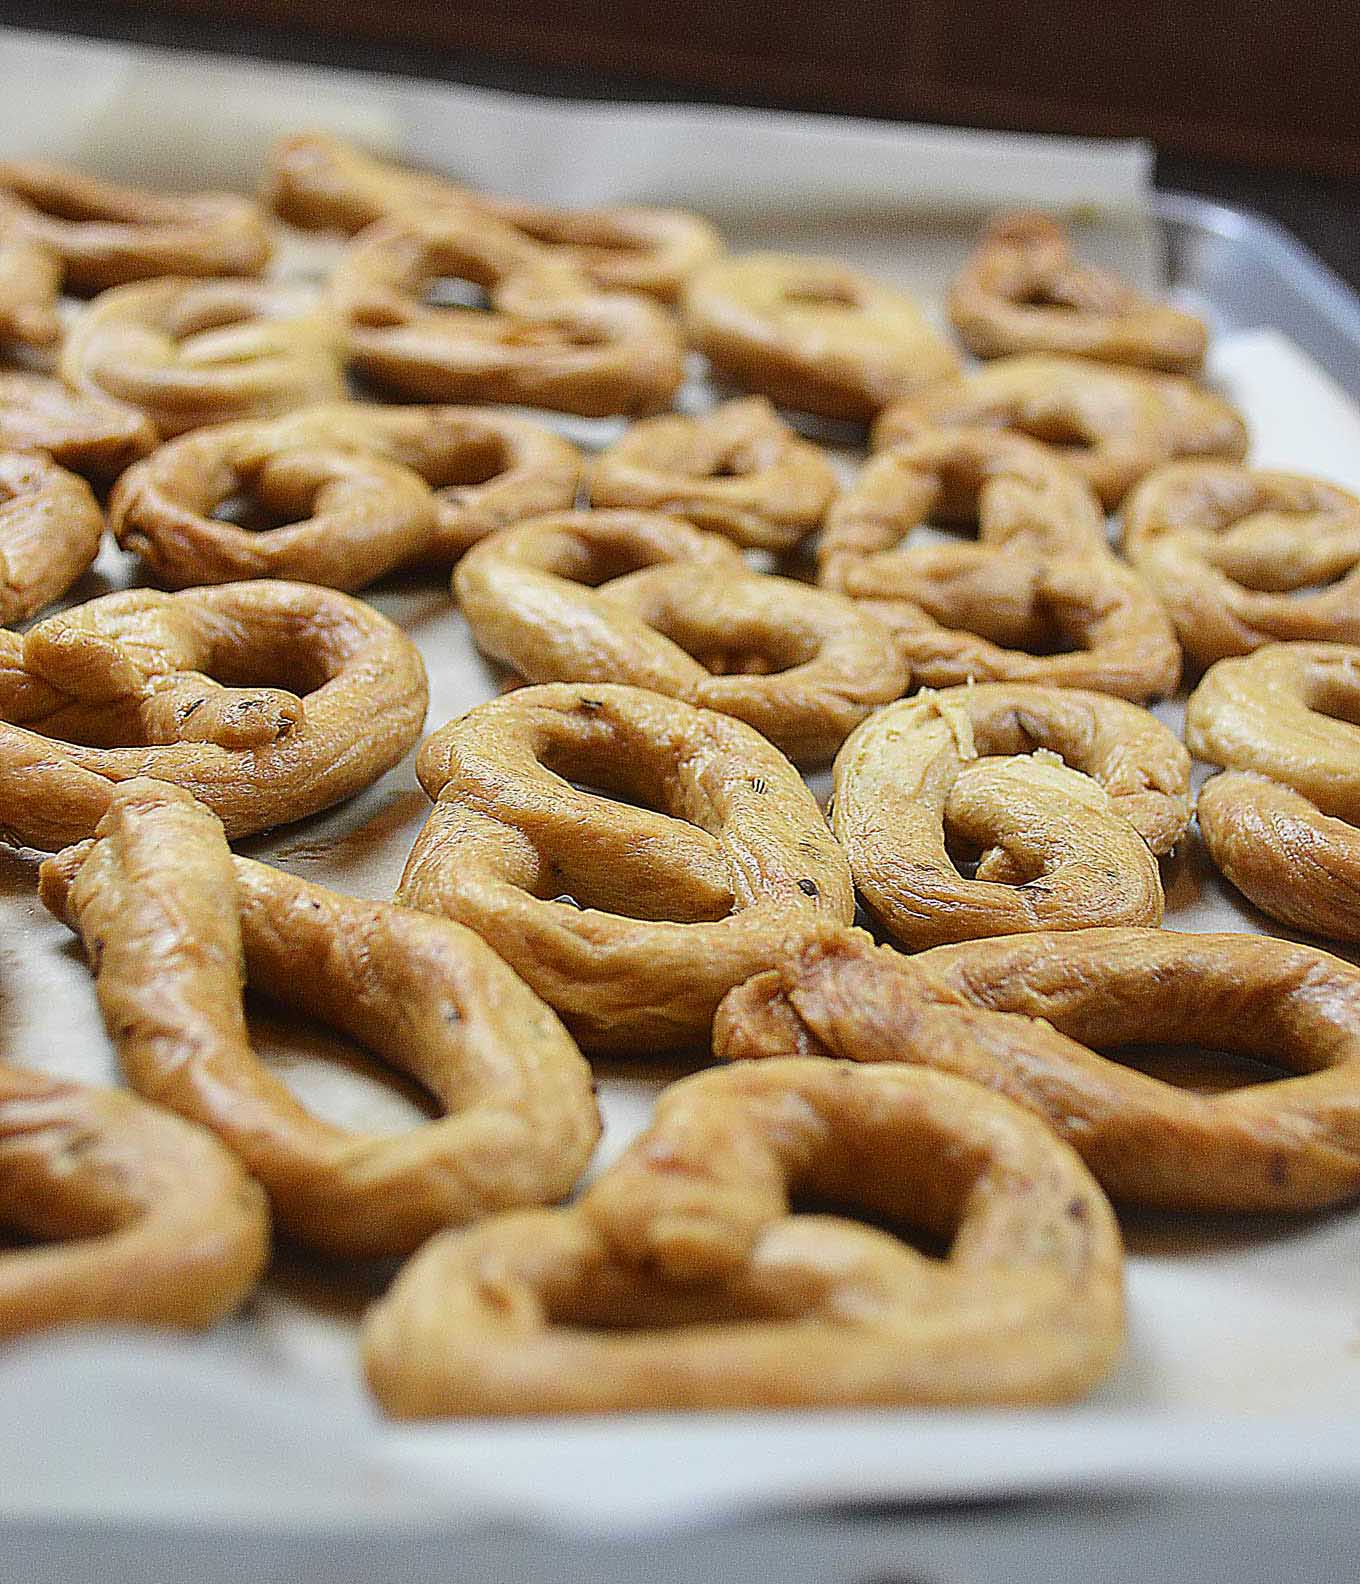
Curious to see other people’s take on this wonderful snack, I spent a little time scouring the internet for taralli recipes. One site I read described them as small bagels, which is only correct from the standpoint that they both first need to boiled and then baked. Size-wise, however, these pretzels are more akin to ‘mini-me’-type bagels…the sort an American Girl Doll might eat. Only then can someone visualize how significantly smaller they are to the ones on which you smear cream cheese. I was also surprised, given the simplicity of my family recipe, to see ingredients I would have never imagined being included – like wine, yeast and Crisco. While I’m sure those variations are delicious and just as emotionally prized by their author as mine is to me, I am happy to stick with the one my father and grandmother have used. There’s so much comfort in that. Priceless, I’d say.
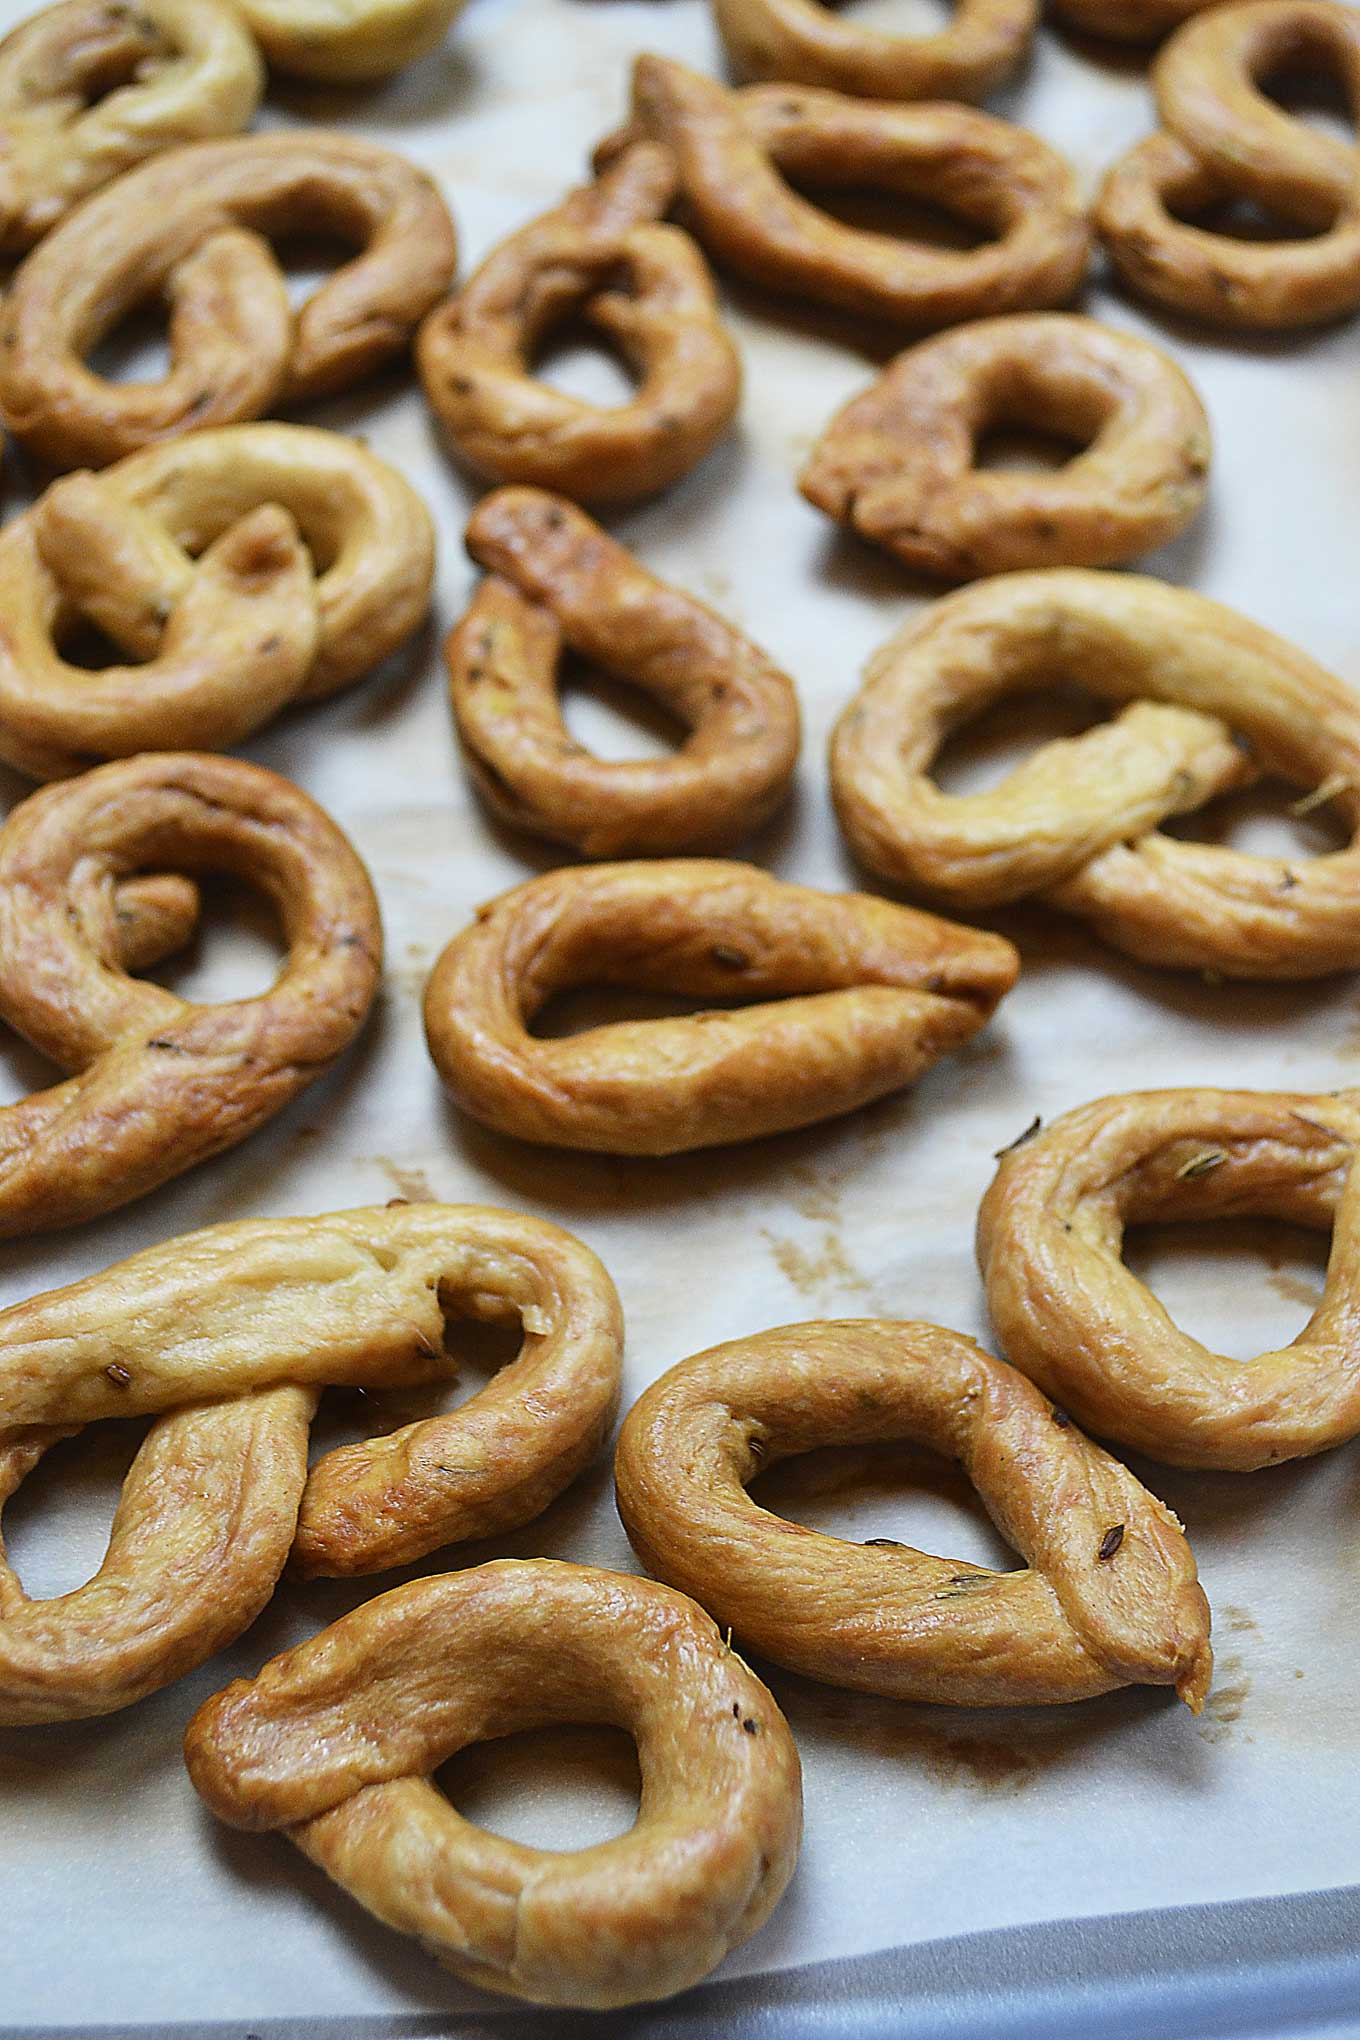
Growing up, I only ever saw taralli in Italy, but now they can been found more and more in specialty food stores and well-stocked supermarkets. I’ve purchased my fair share, clearly, in the hopes of experiencing the delights of a truly delicious tarallo without having to make them myself. Most often I’ve found the experience heart-shatteringly disappointing…too hard or insipid or too salty or too friable. Taralli are only good when they are good, you know?, and the only insurance we have towards this end is just to make them ourselves. That’s my plan, anyway, something that has been made far easier – by the way- since learning how to make them with my dad this past Christmas.
Here he is, Nicola himself. Isn’t he cute?
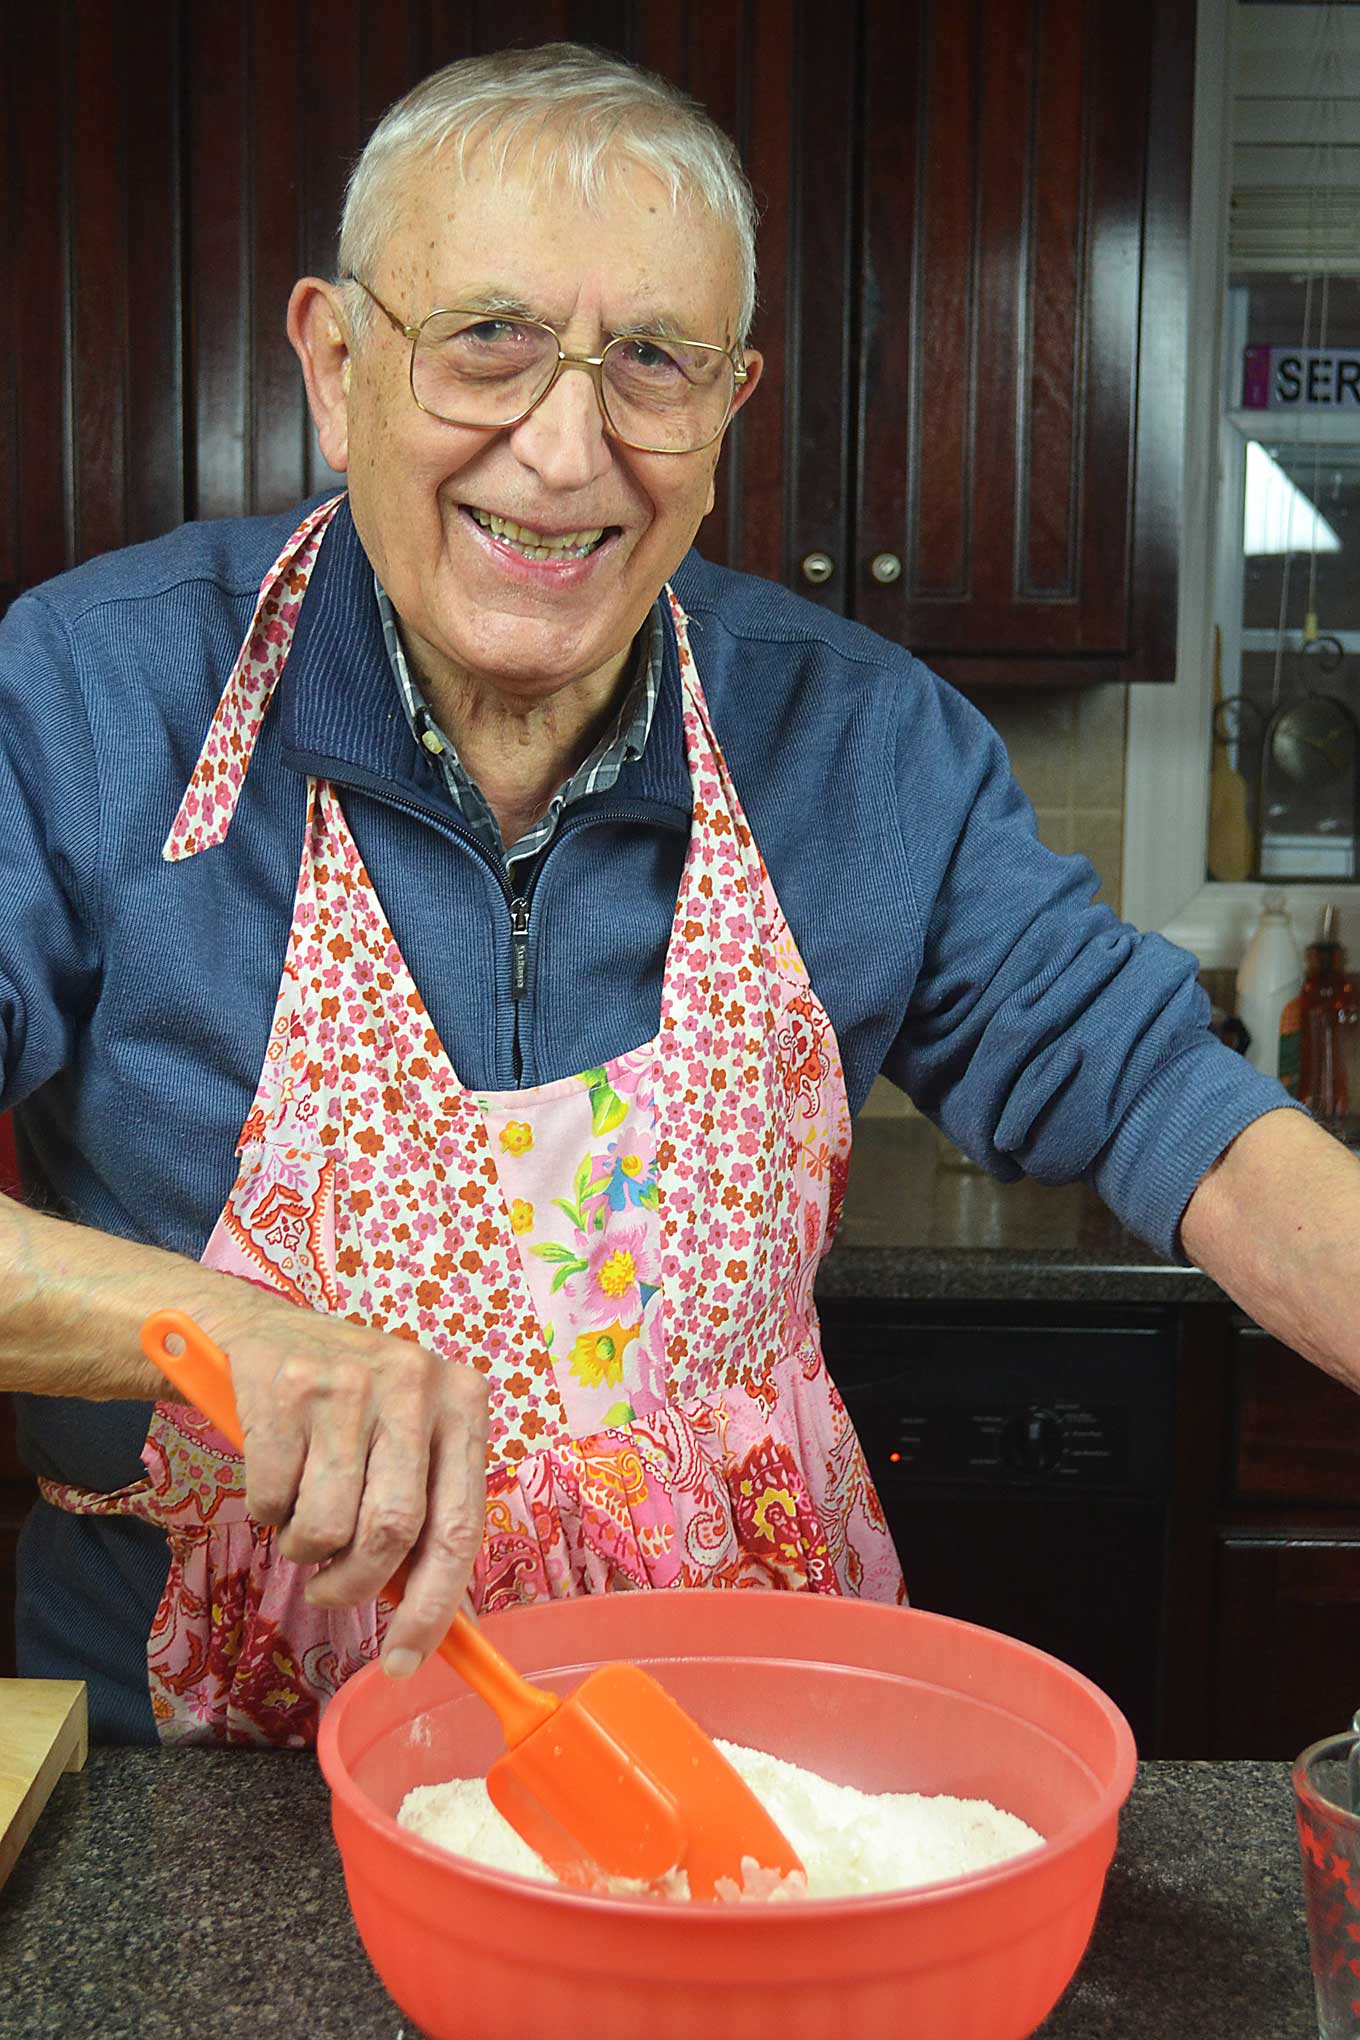
He’s such a good sport. He had asked me for an apron and I put this very girly pink one on him. This generally manly sort of man wasn’t especially pleased at first, but seemed to take pleasure in watching me giggle like a little girl every time I looked over at him with that ridiculous thing on. In any event, he stoically kept it on. But back to my pretzels and perhaps even to making them….
making savory Italian taralli
In a large mixing bowl, add 7.5 cups (2 lbs. 3 oz./1 Kg.) of unbleached white flour and 3 teaspoons (15 gr.) of Kosher salt. Add 1 1/3 cup (300 grams) warm water to the flour and, using a plastic spatula (wooden spoons absorb the oil you’re about to add) mix for about a minute.
Add 1 ¼ cup olive oil and mix again for a minute.
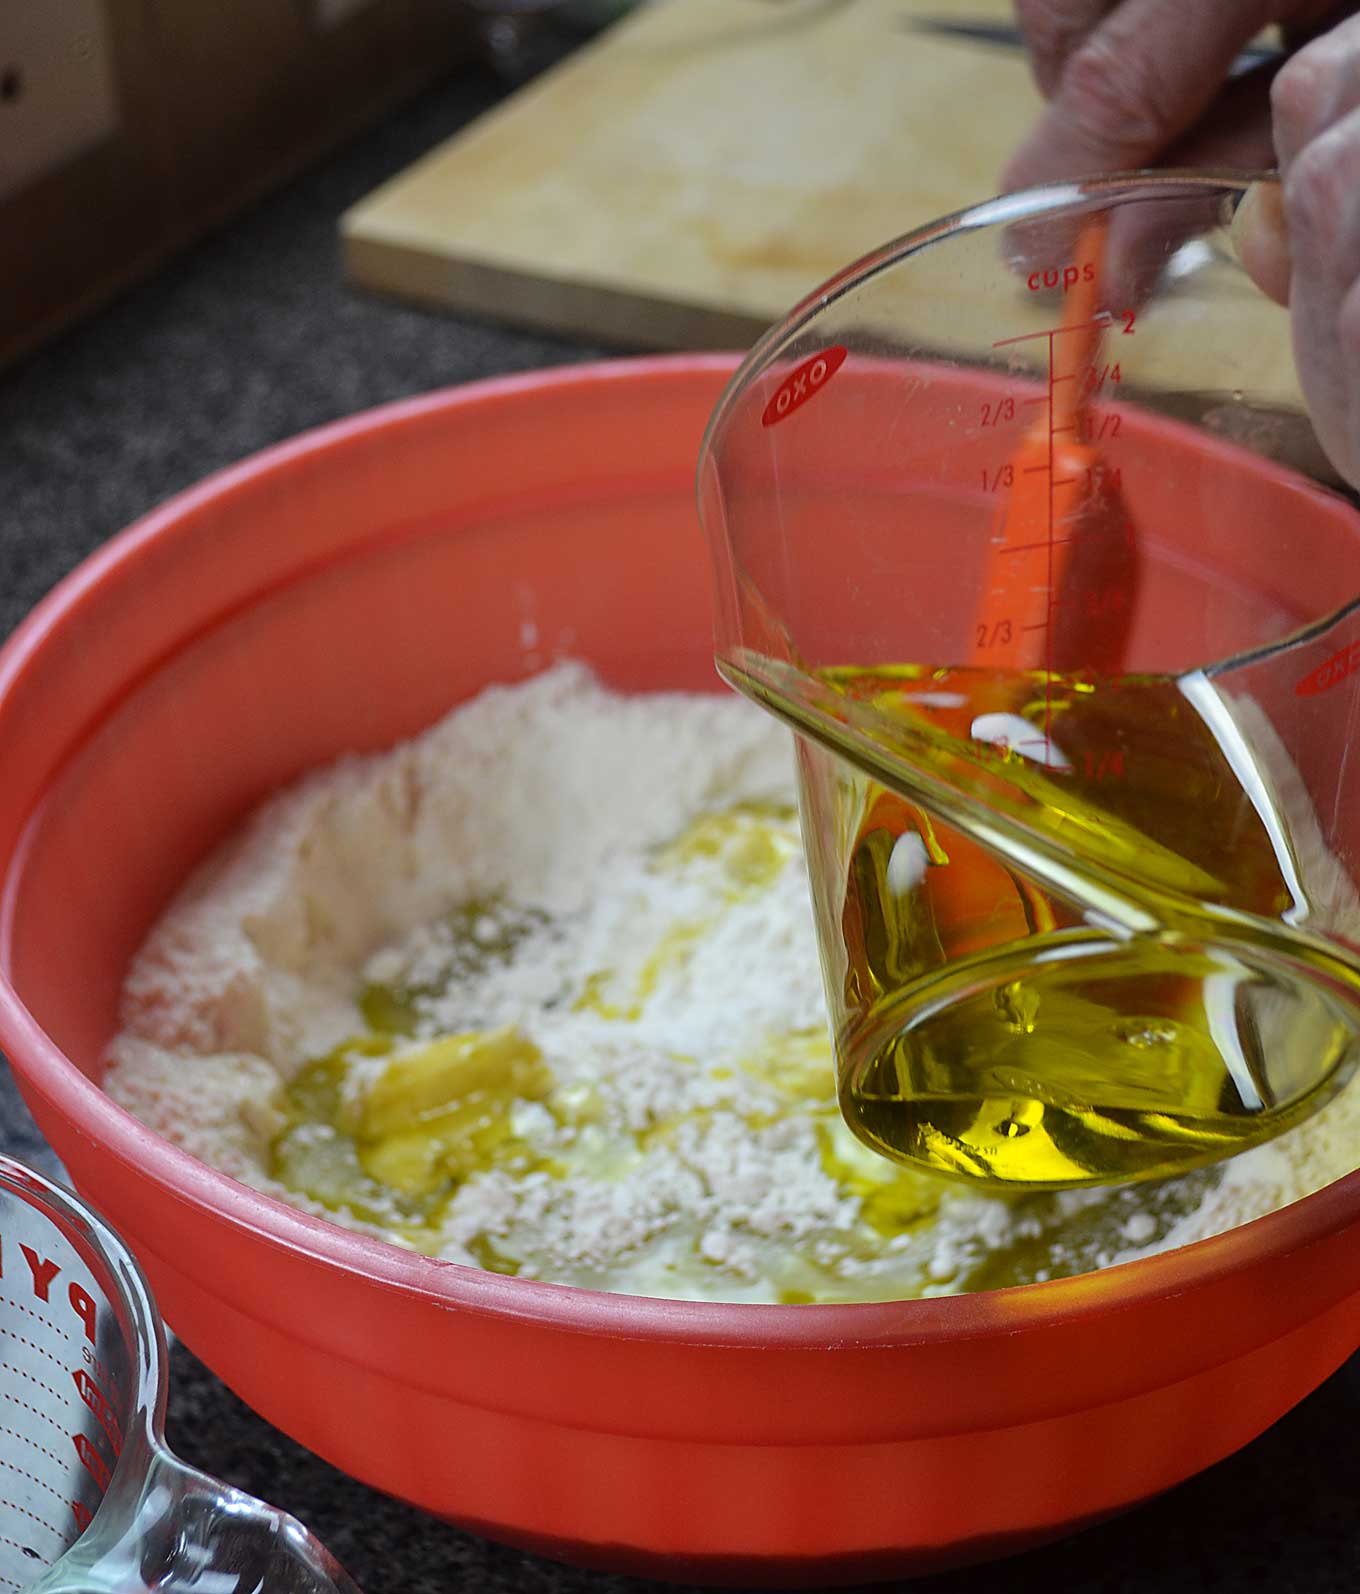
You will still see flour in the mixture at this point, and that is ok. Add 3 heaping teaspoons fennel seeds.
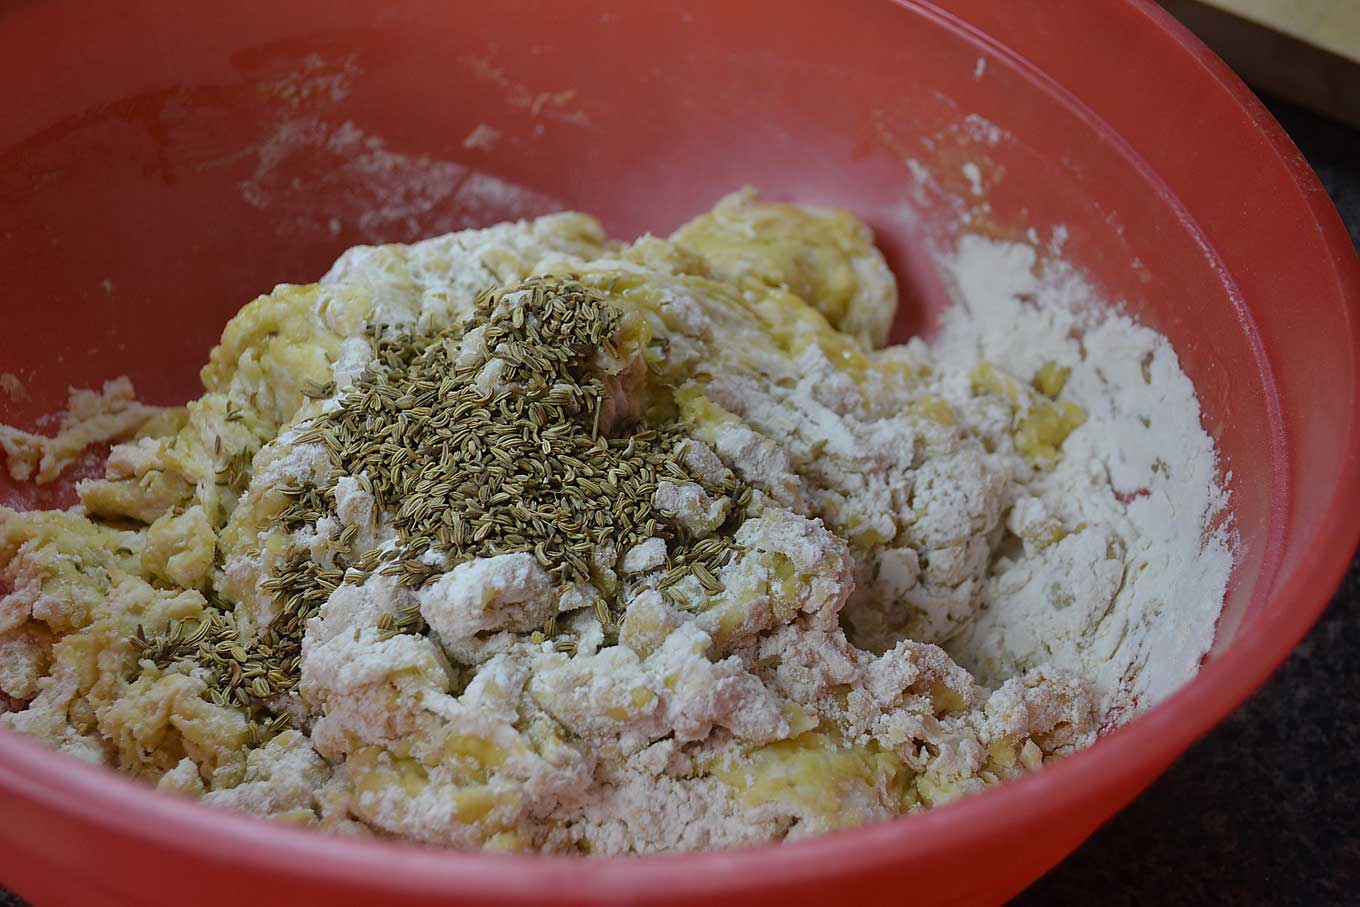
Start working the dough with your hands until the seeds are evenly dispersed throughout the dough.
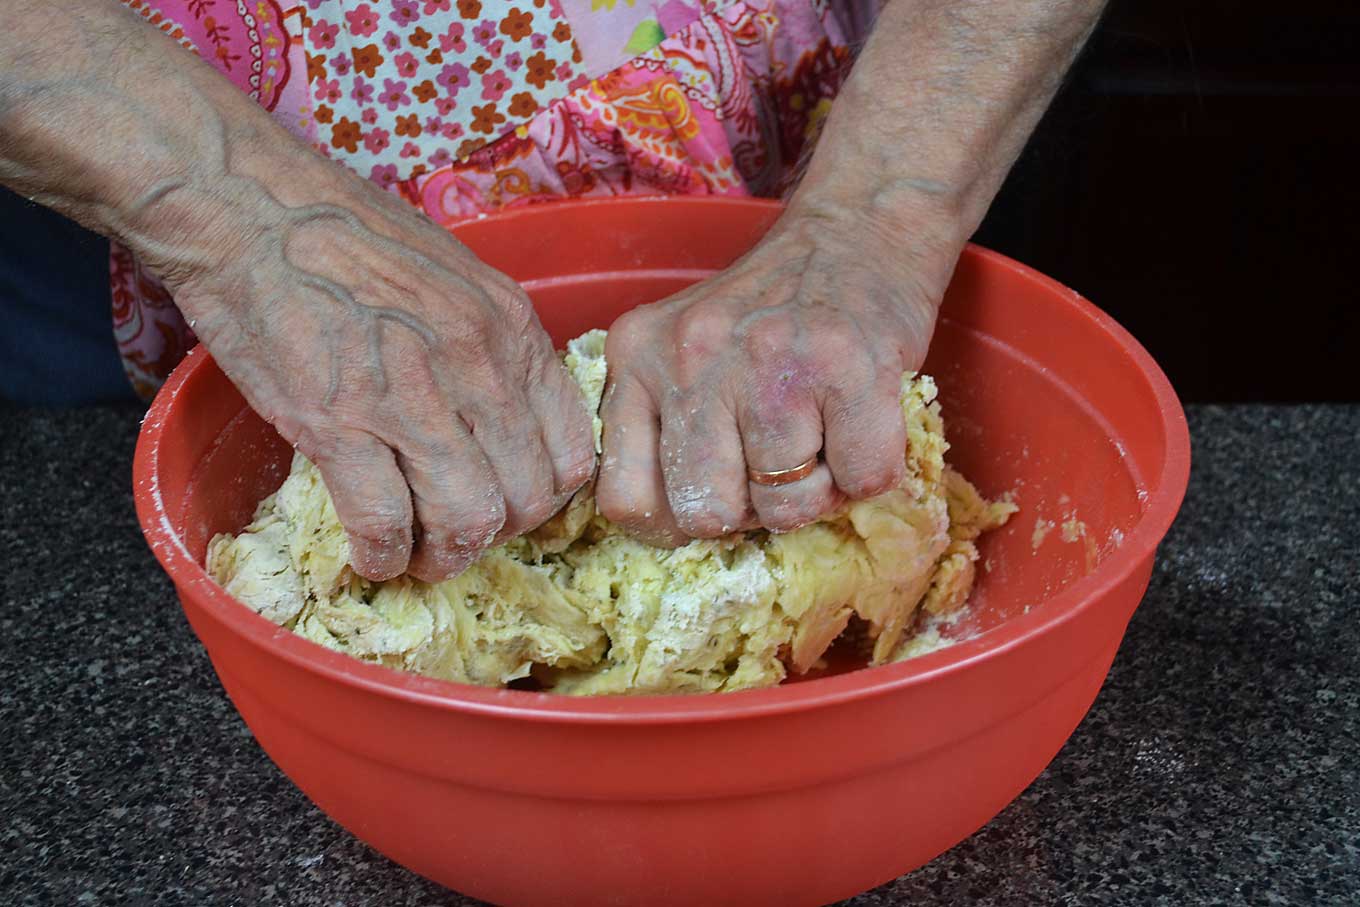
Transfer the dough on a flat surface like a wooden cutting board.
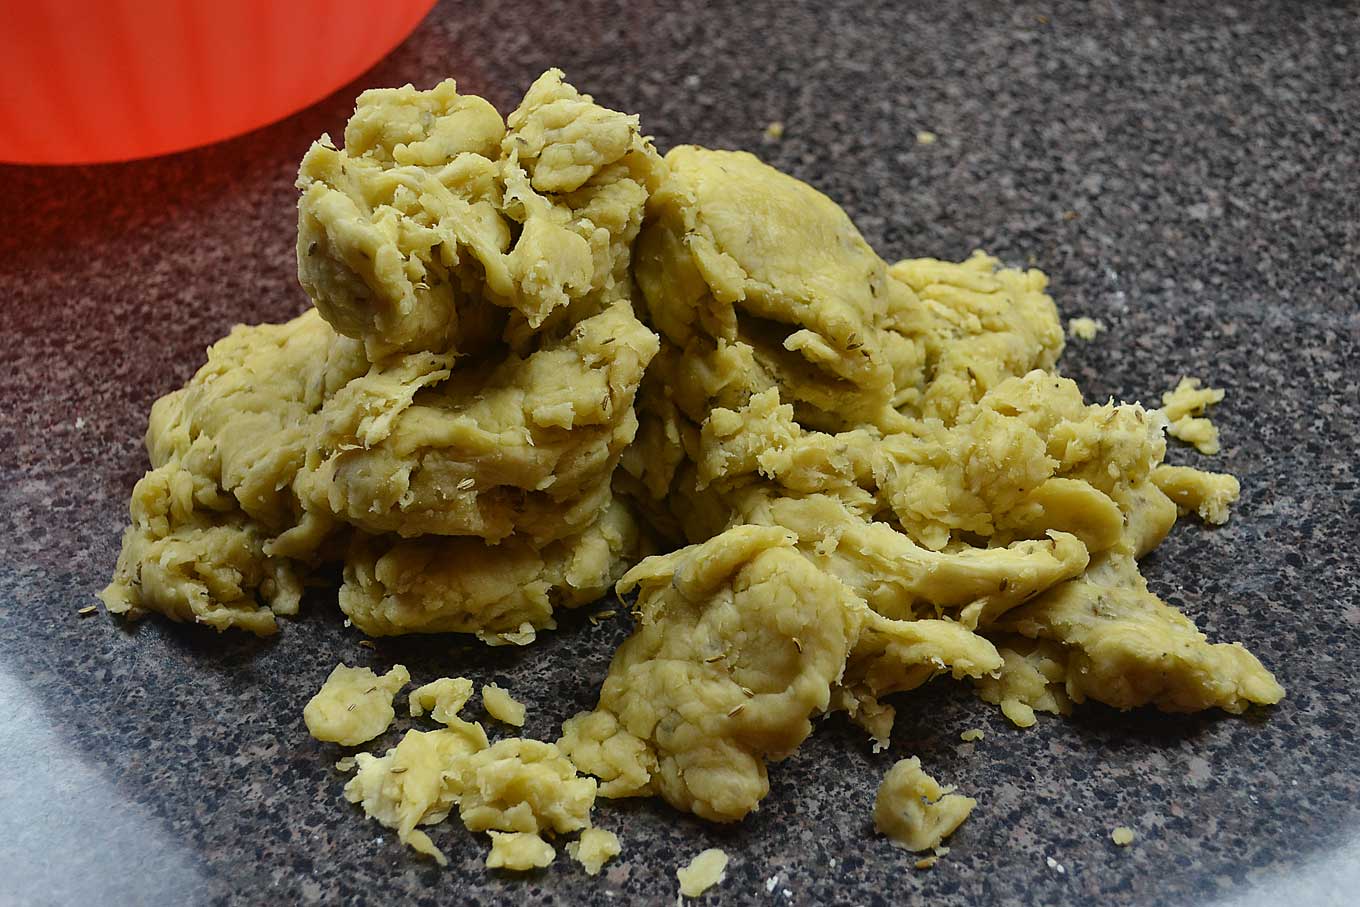
Continue to knead it for 5 minutes, when it will begin to take on a smooth appearance. Shape it into a ball. Cover the dough with a clean plastic kitchen bag and let it rest for 15 minutes.
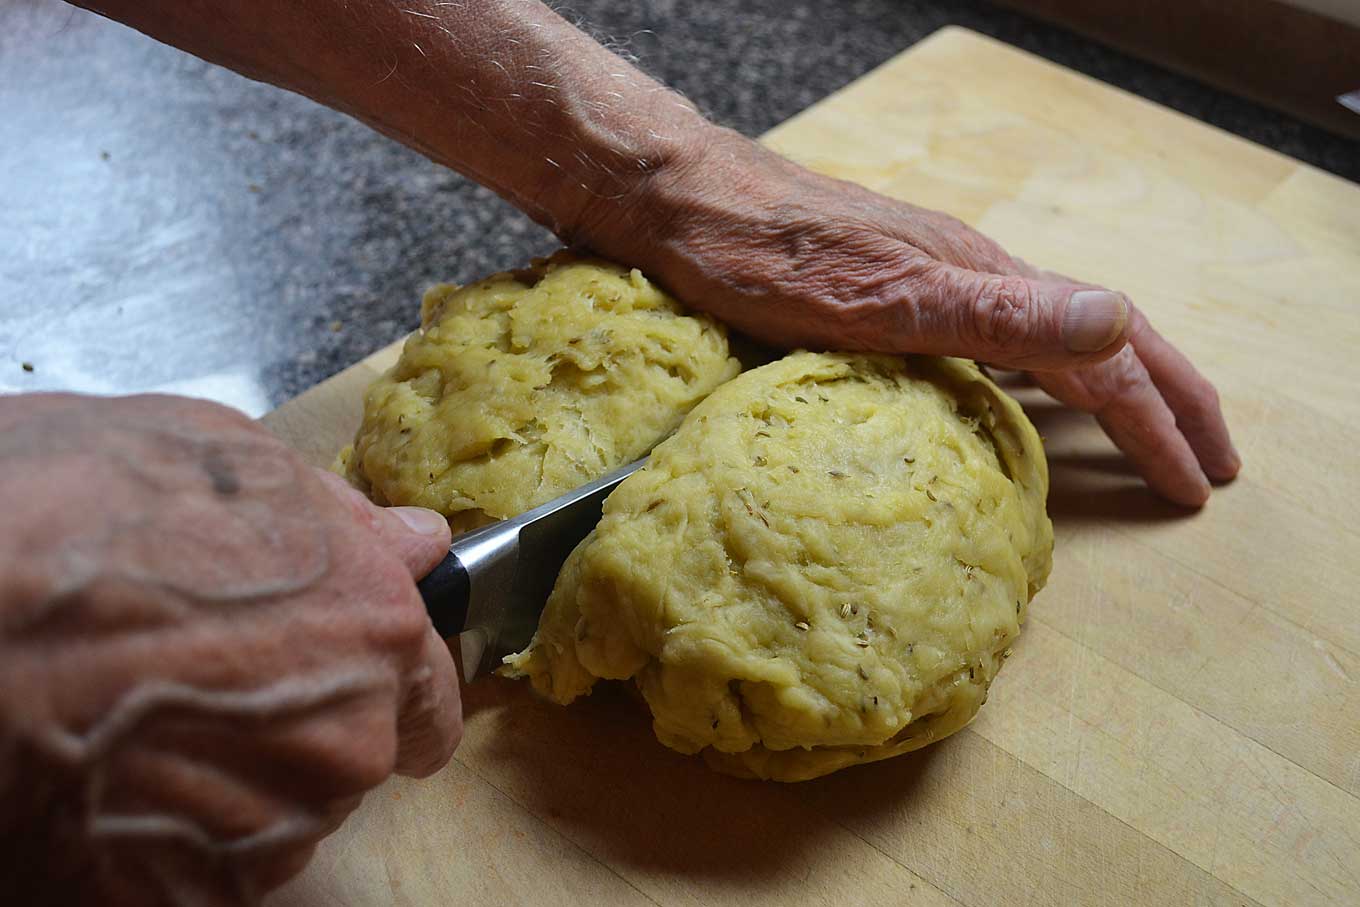
Divide the ball into 6 pieces and place all but one under same plastic kitchen bag.
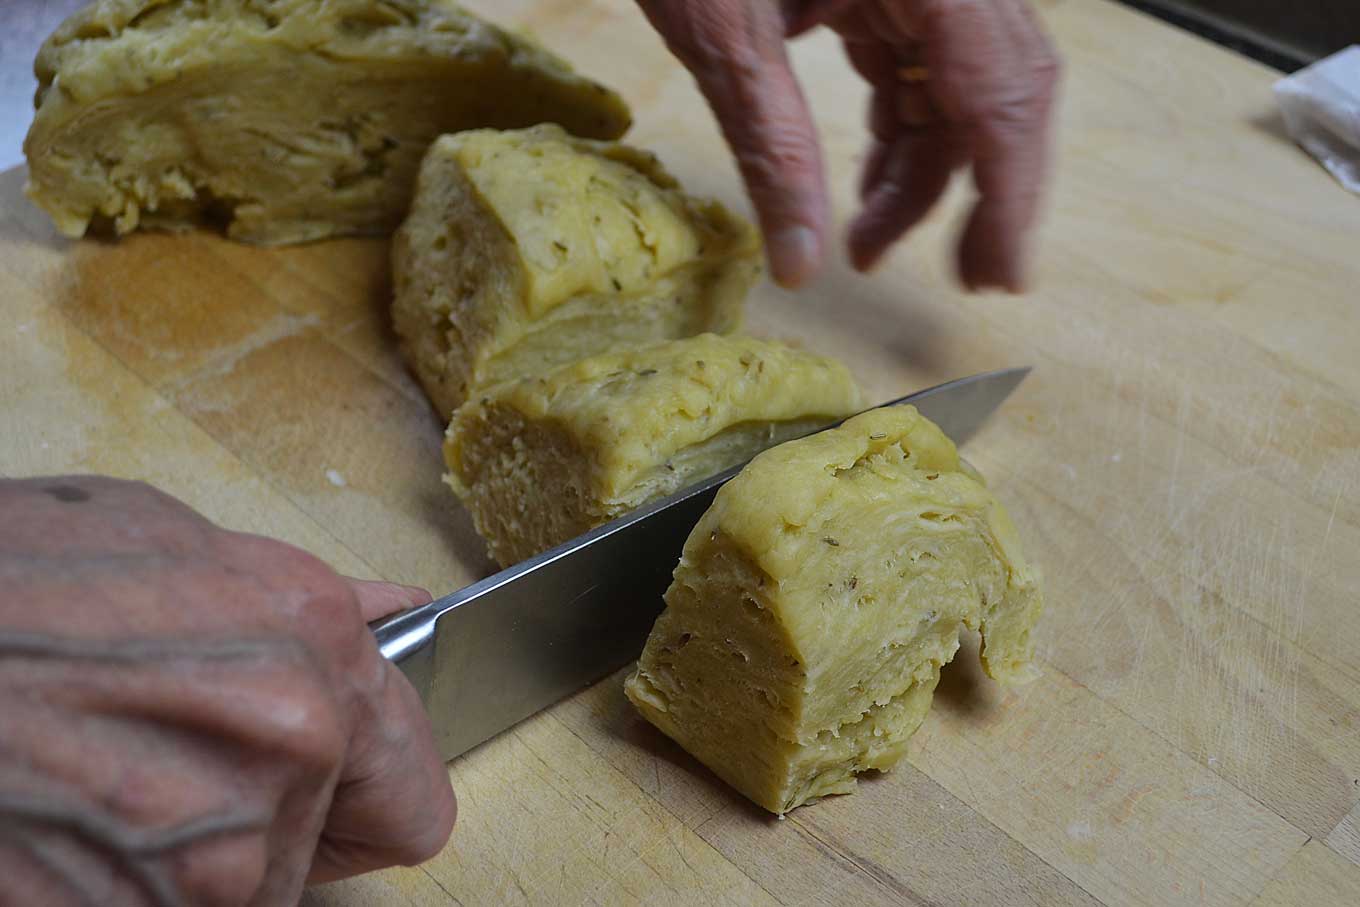
(Doing so will prevent the dough from drying out while you are working in batches.) Be prepared, as the dough will be tough to work with. Working one at a time, roll each of the six pieces of dough into a salami shape.
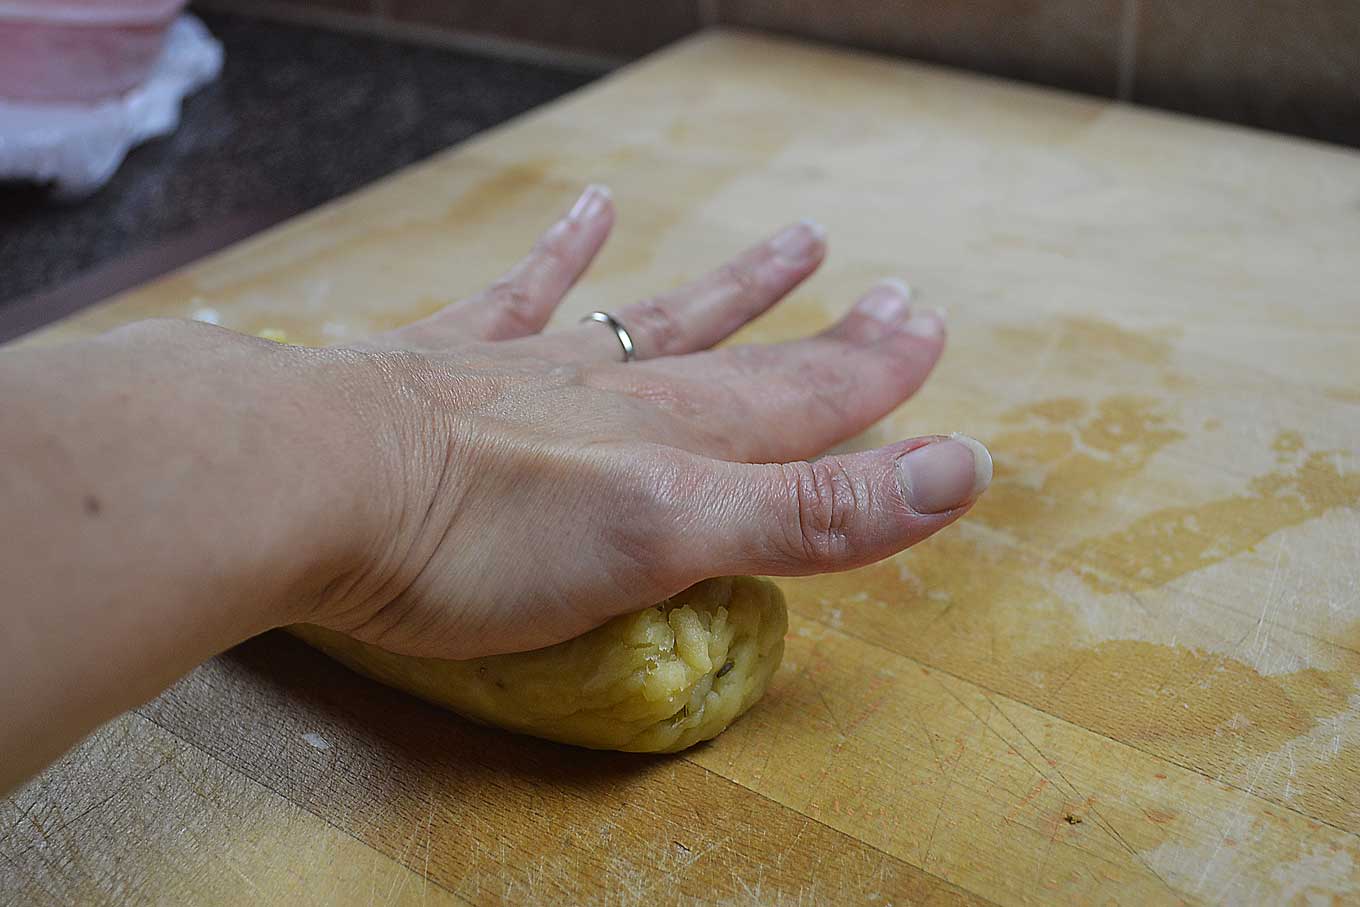
Cut the salami width-wise into ½-inch medallions.
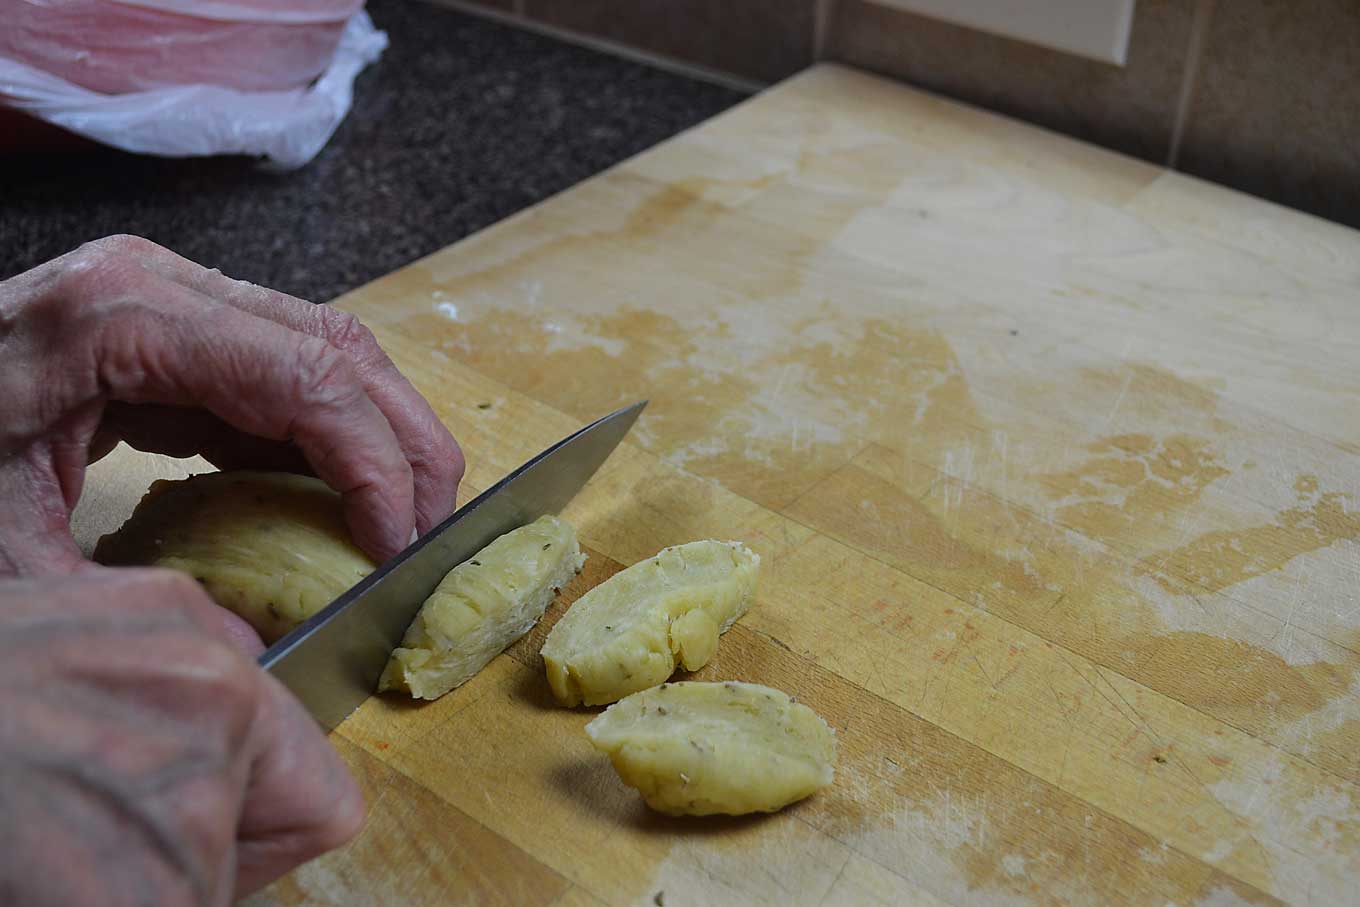
Taking one medallion at a time,
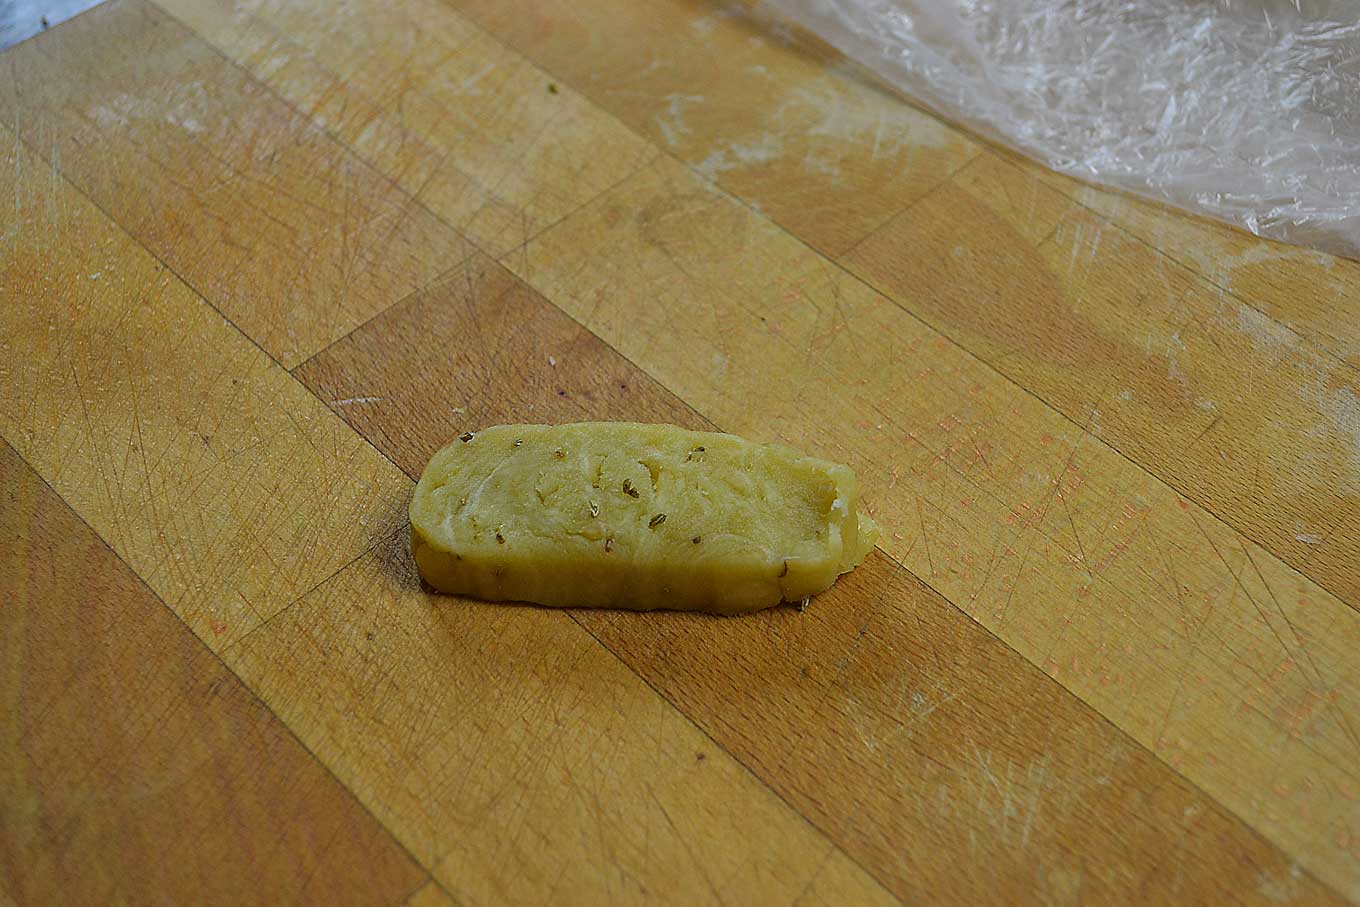
while leaving the other ones under the plastic bag to prevent them from drying
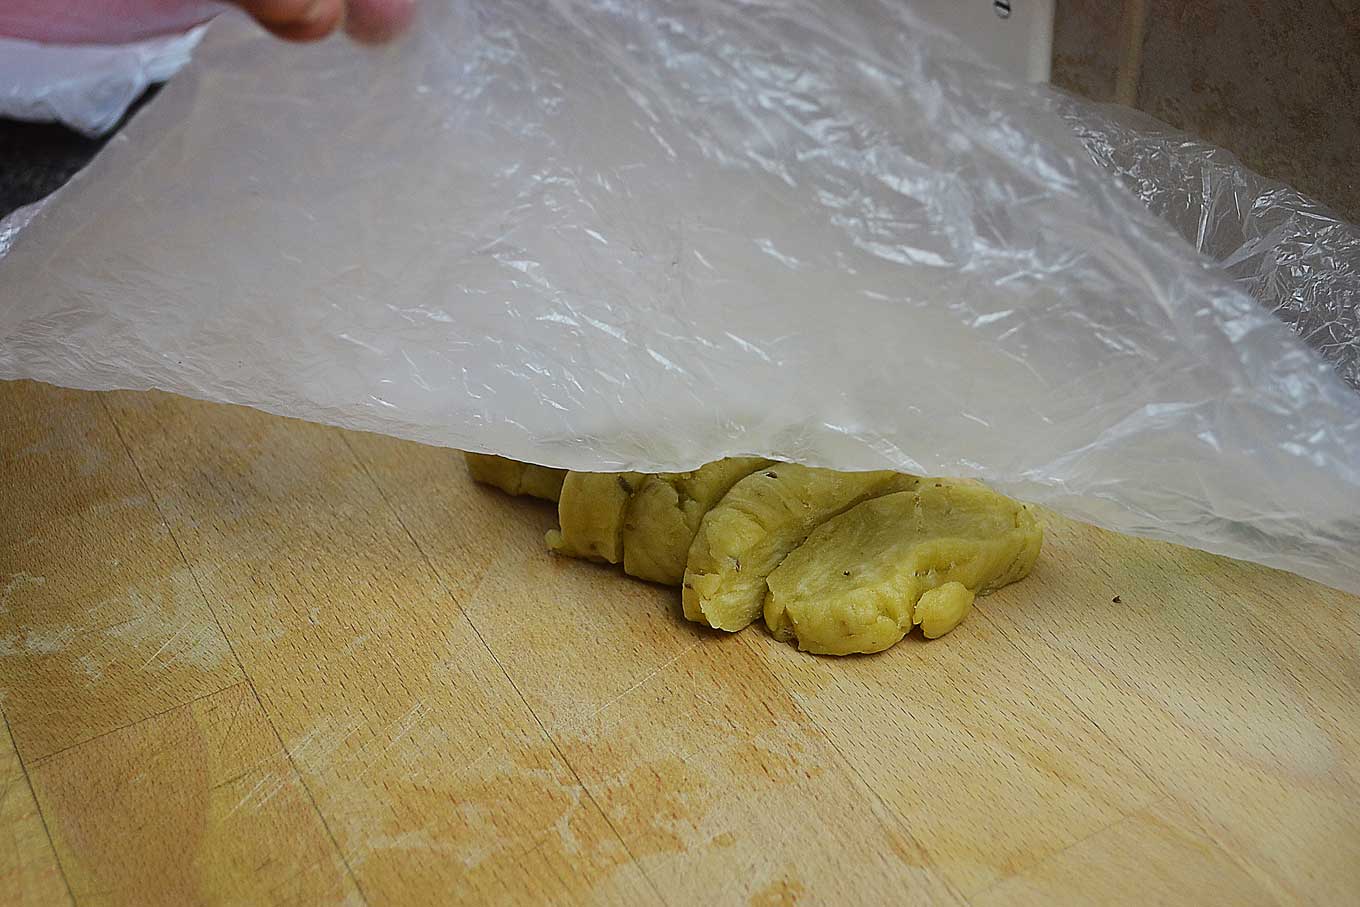
and roll each medallion against the wooden cutting board.
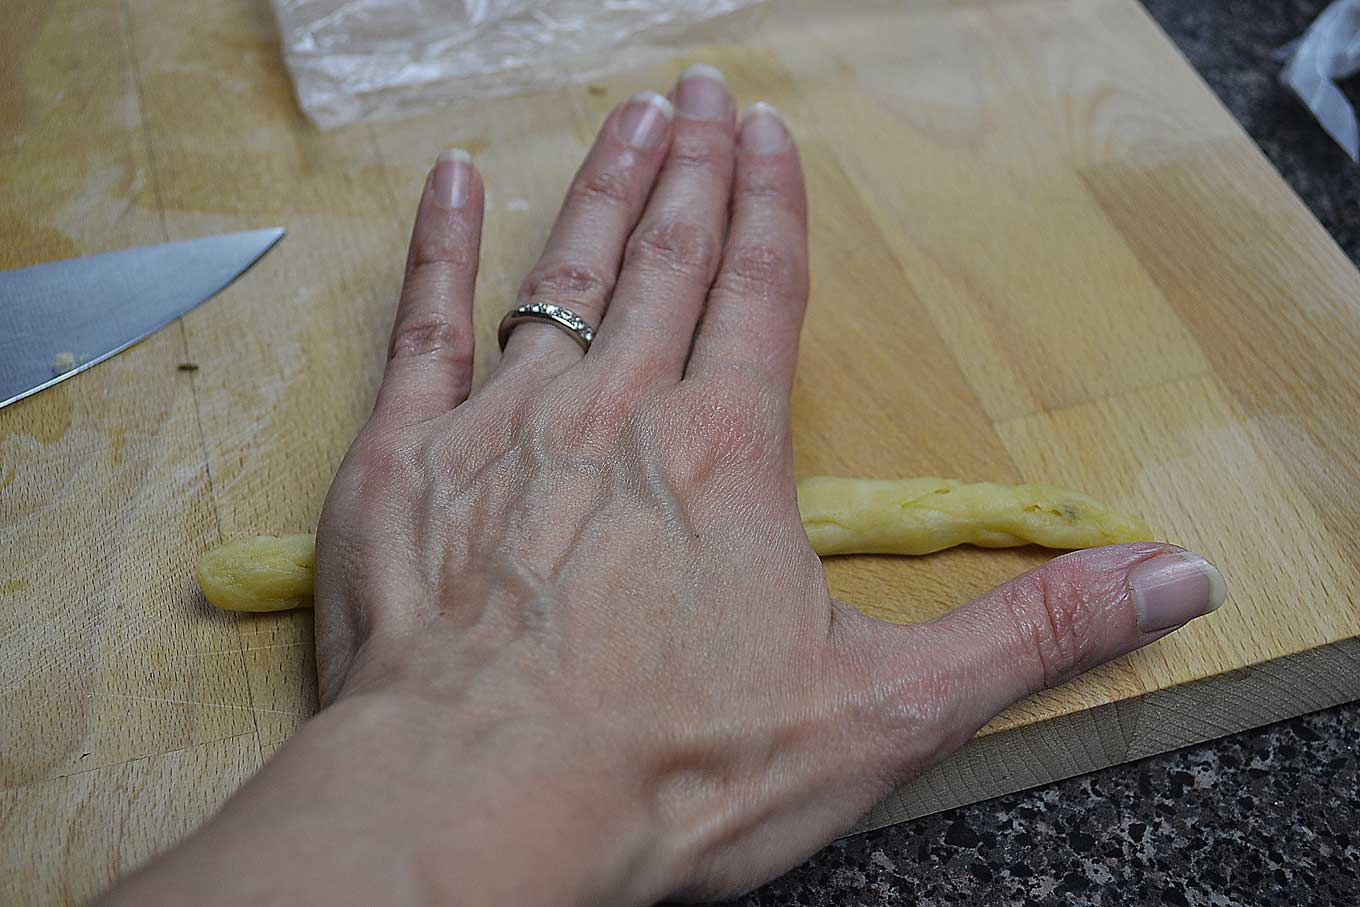
so that the dough forms a thin rope, about ½ inch in diameter and 3” long.
Shape each rope into a ring and seal the edges together by pressing them lightly with your finger. As you can see from the finished pictures above, I have a good many that are shaped like a more traditional American pretzel. My dad likes to vary it up depending on how long the thin rope ends up being once rolled out, but I like the single loop myself, which is why I’ve called them rings.
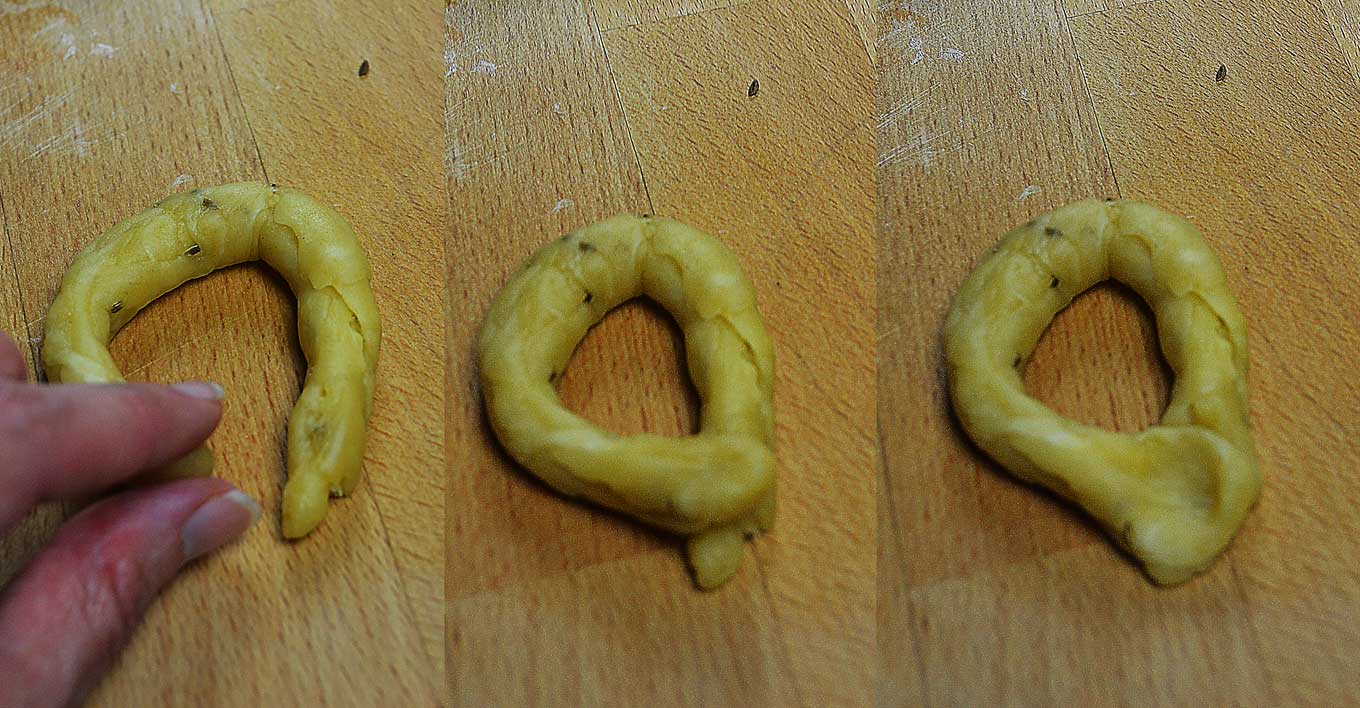
It kind of looks like a ring Shrek might give Princess Fiona, doesn’t it? Wow my fingers look alien creepy in this shot. Youza!
As you create the rings, bring a large pot of water to boil. When finished creating the rings, start gently dropping 10-15 rings into the boiling water.
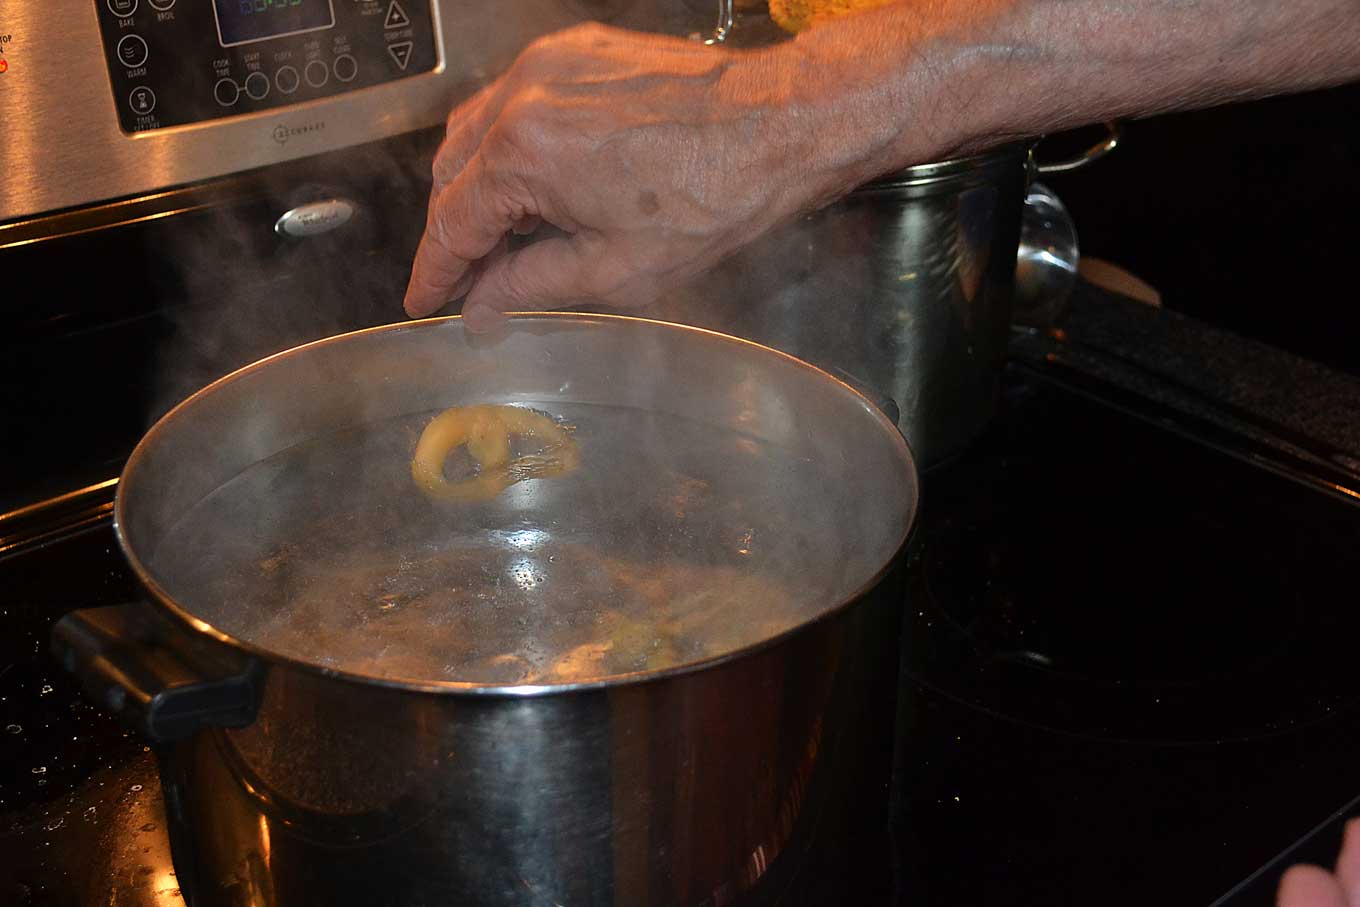
They will immediately drop to the bottom of the pan but will resurface to the top within a minute or two when they are done cooking.
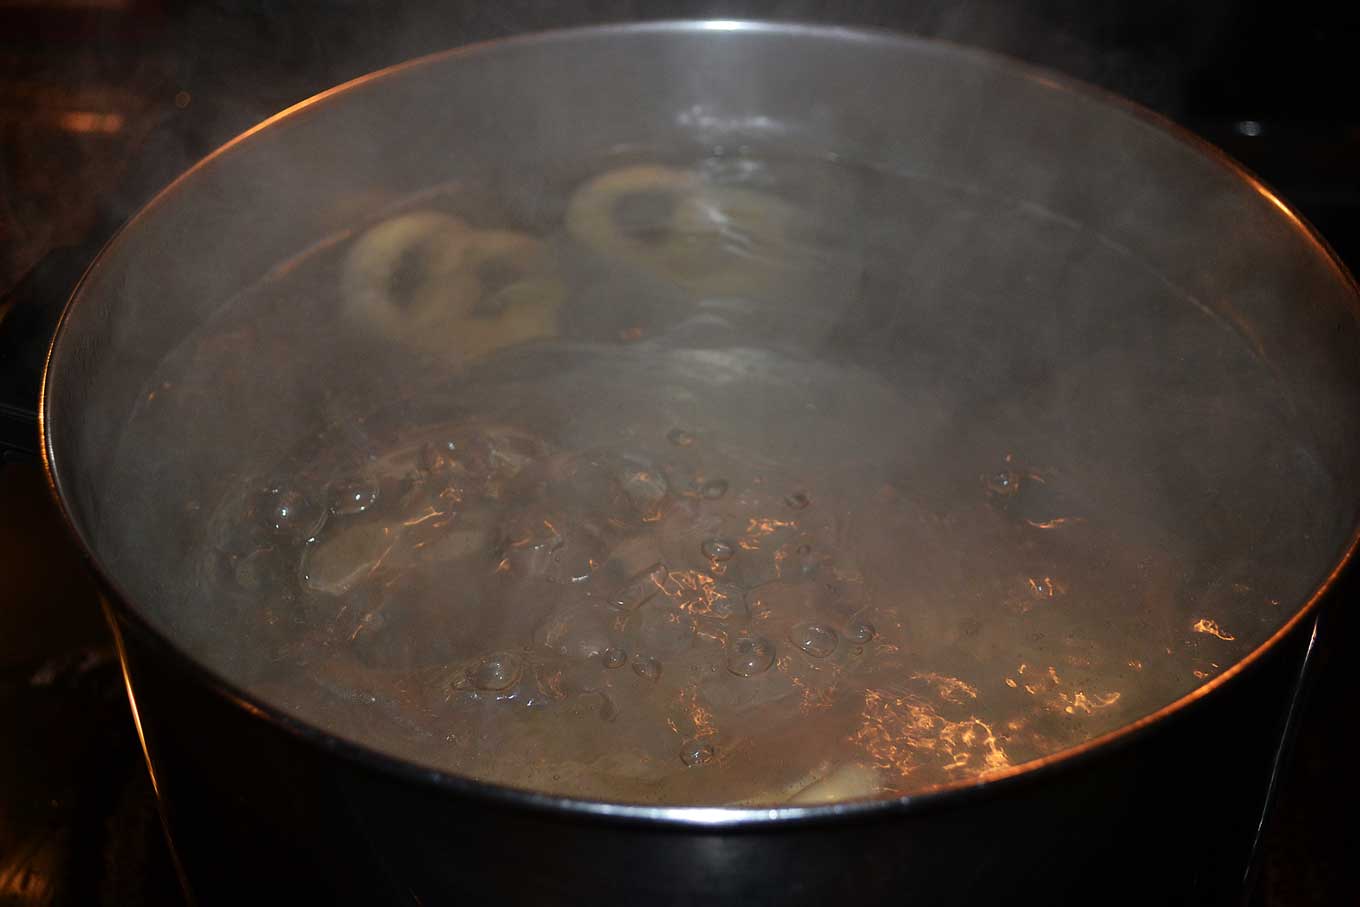
Remove them with a slotted spoon and place them on a cloth to dry and cool.
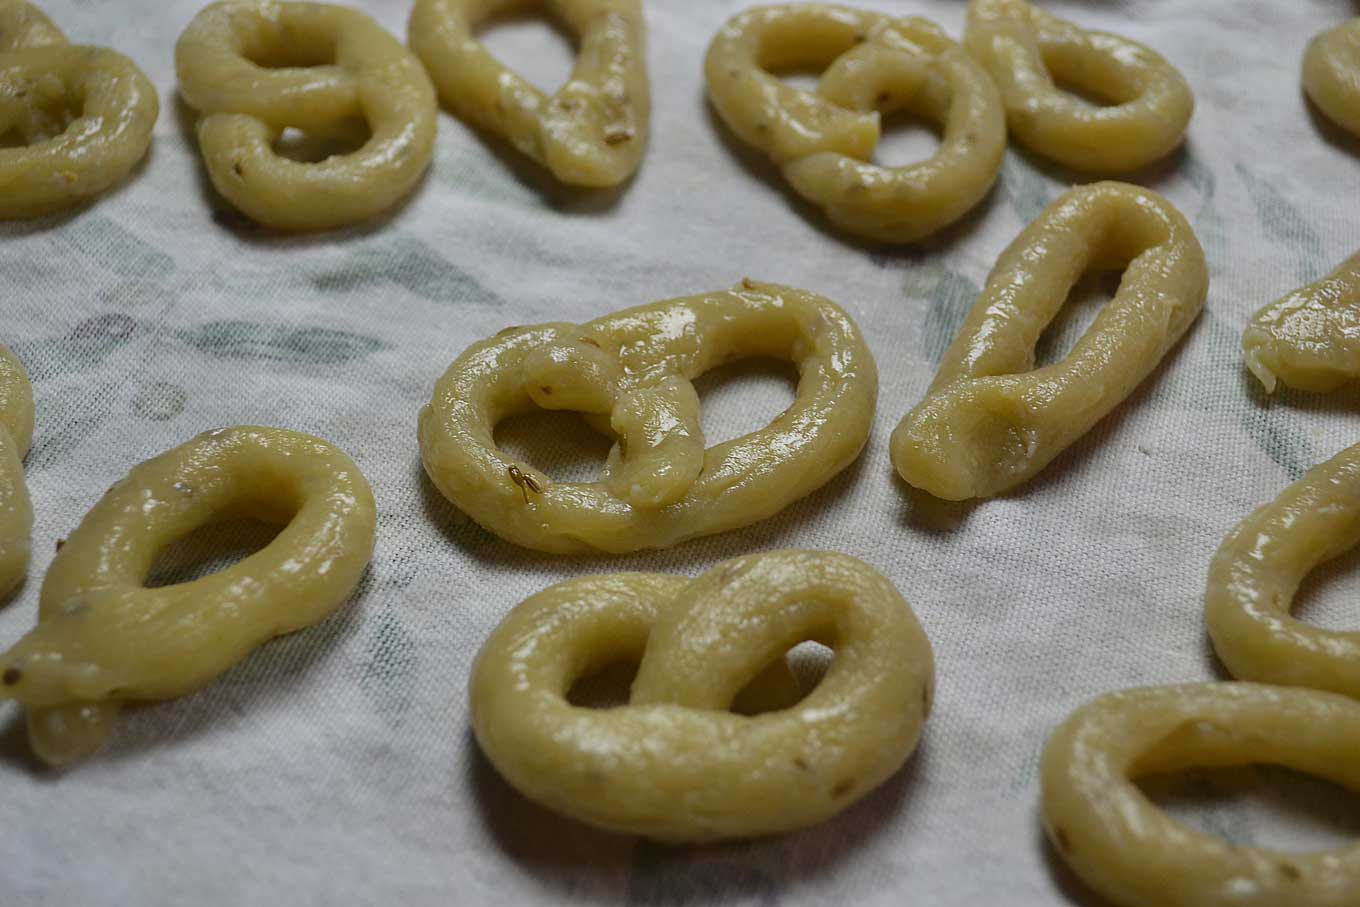
Preheat oven to 375°F. Arrange the cooled rings on baking sheets lined with parchment paper.
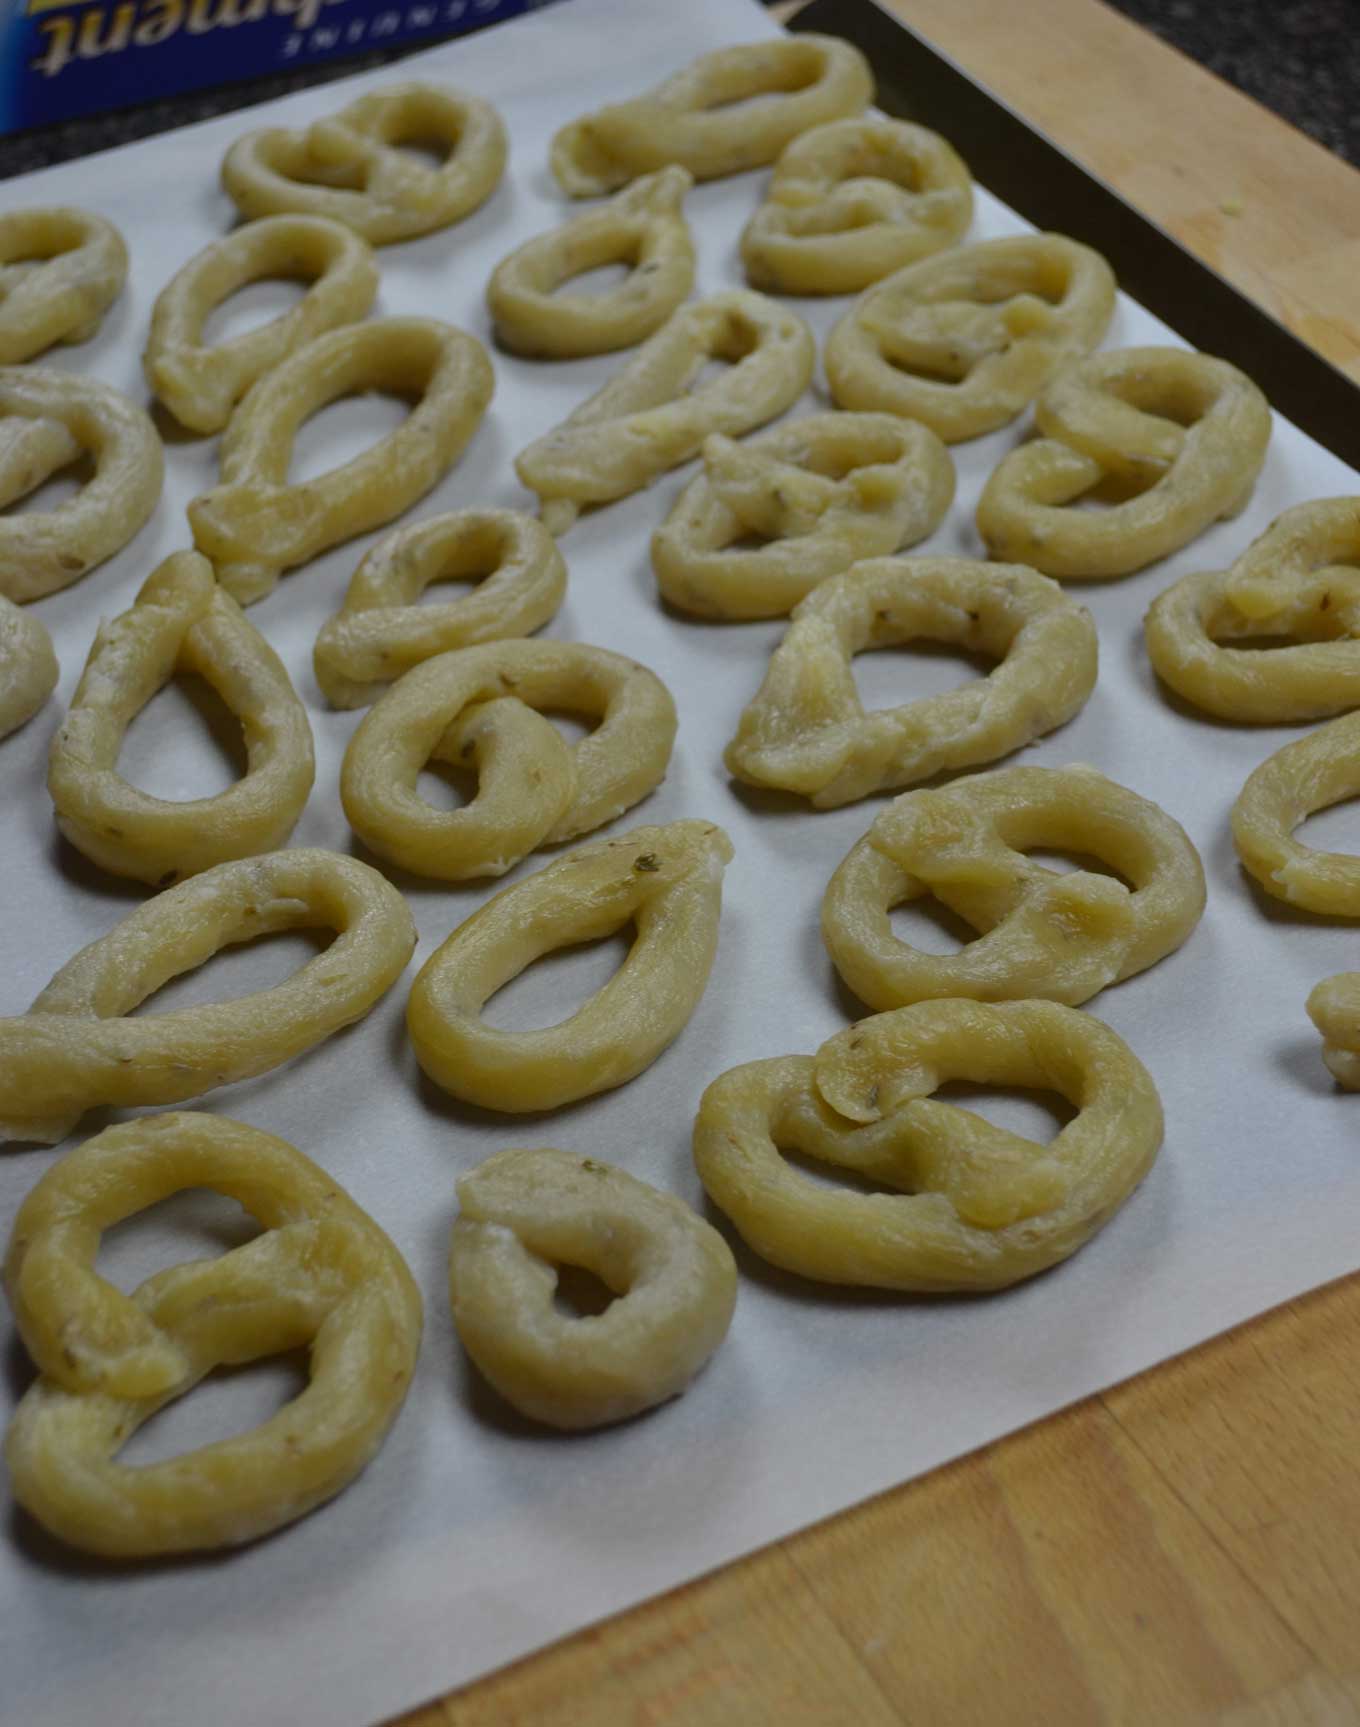
Place in the oven. Lower the temperature to 340°F and bake for 1 hour, until golden. Remove and cool them on racks. They will keep indefinitely when stored in an air-tight metal container. Makes 70 rings.


Leave a Reply