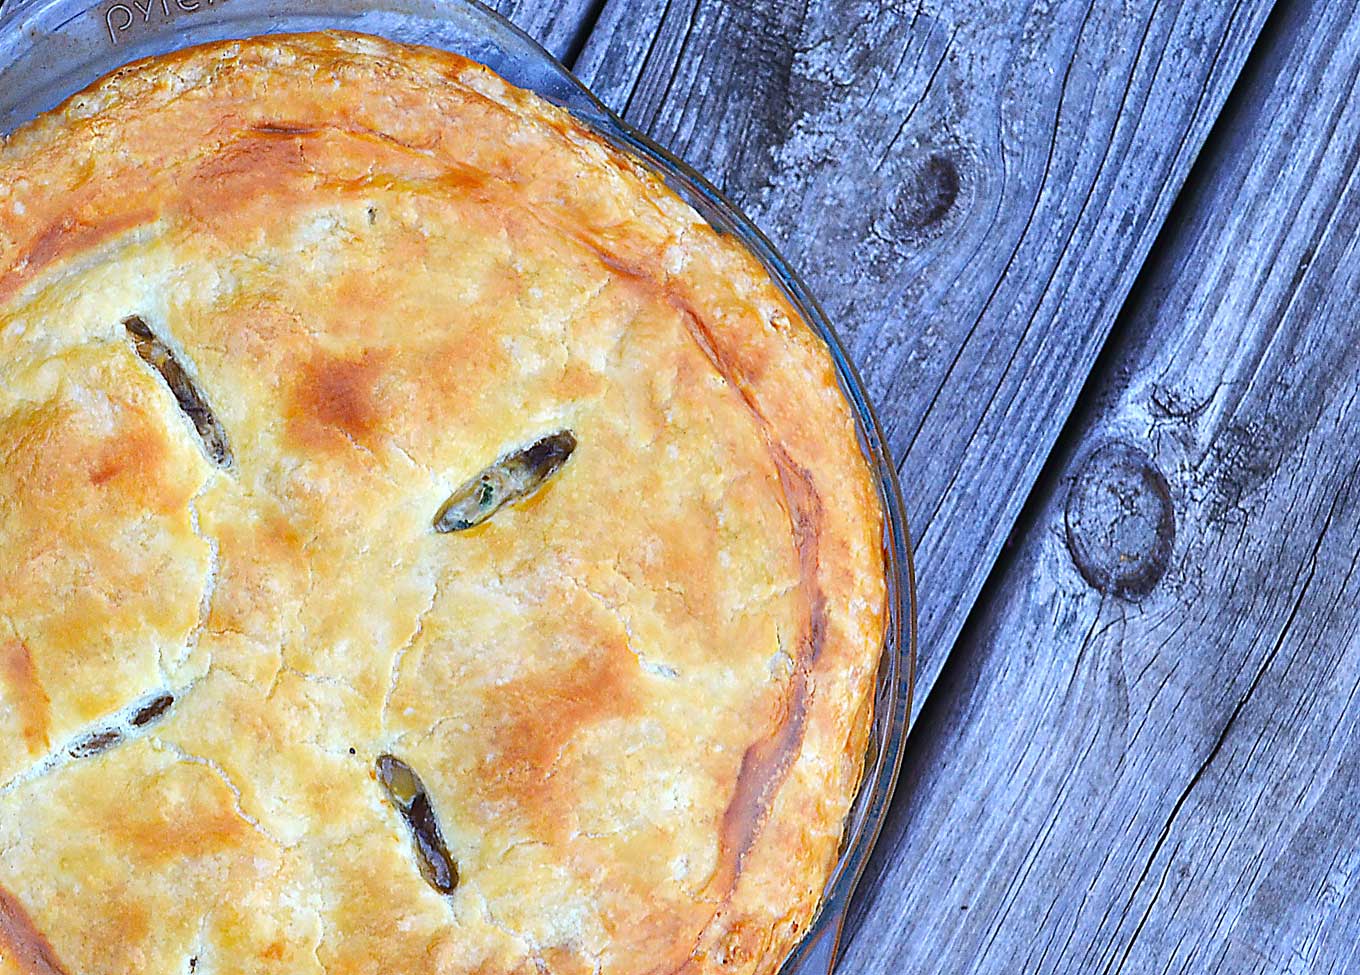
I think a sane person can make chicken pot pie from scratch only once a year. Maybe…A few weeks ago I was researching pot pies in preparation for this post and read on one food blog that she only made hers once every three years. You may have heard of her because her blog is super amazing and well-known, and she also has two of her very own cookbooks...Joy The Baker (a.k.a. Joy Wilson).
Just once every three years, I marveled. Chicken pot pies are so delicious, and homemade ones even more so, that it was difficult to grasp surviving almost 1,100 days between freshly-baked bites. It was also rather shocking to read because…well, she is Joy THE BAKER after all.
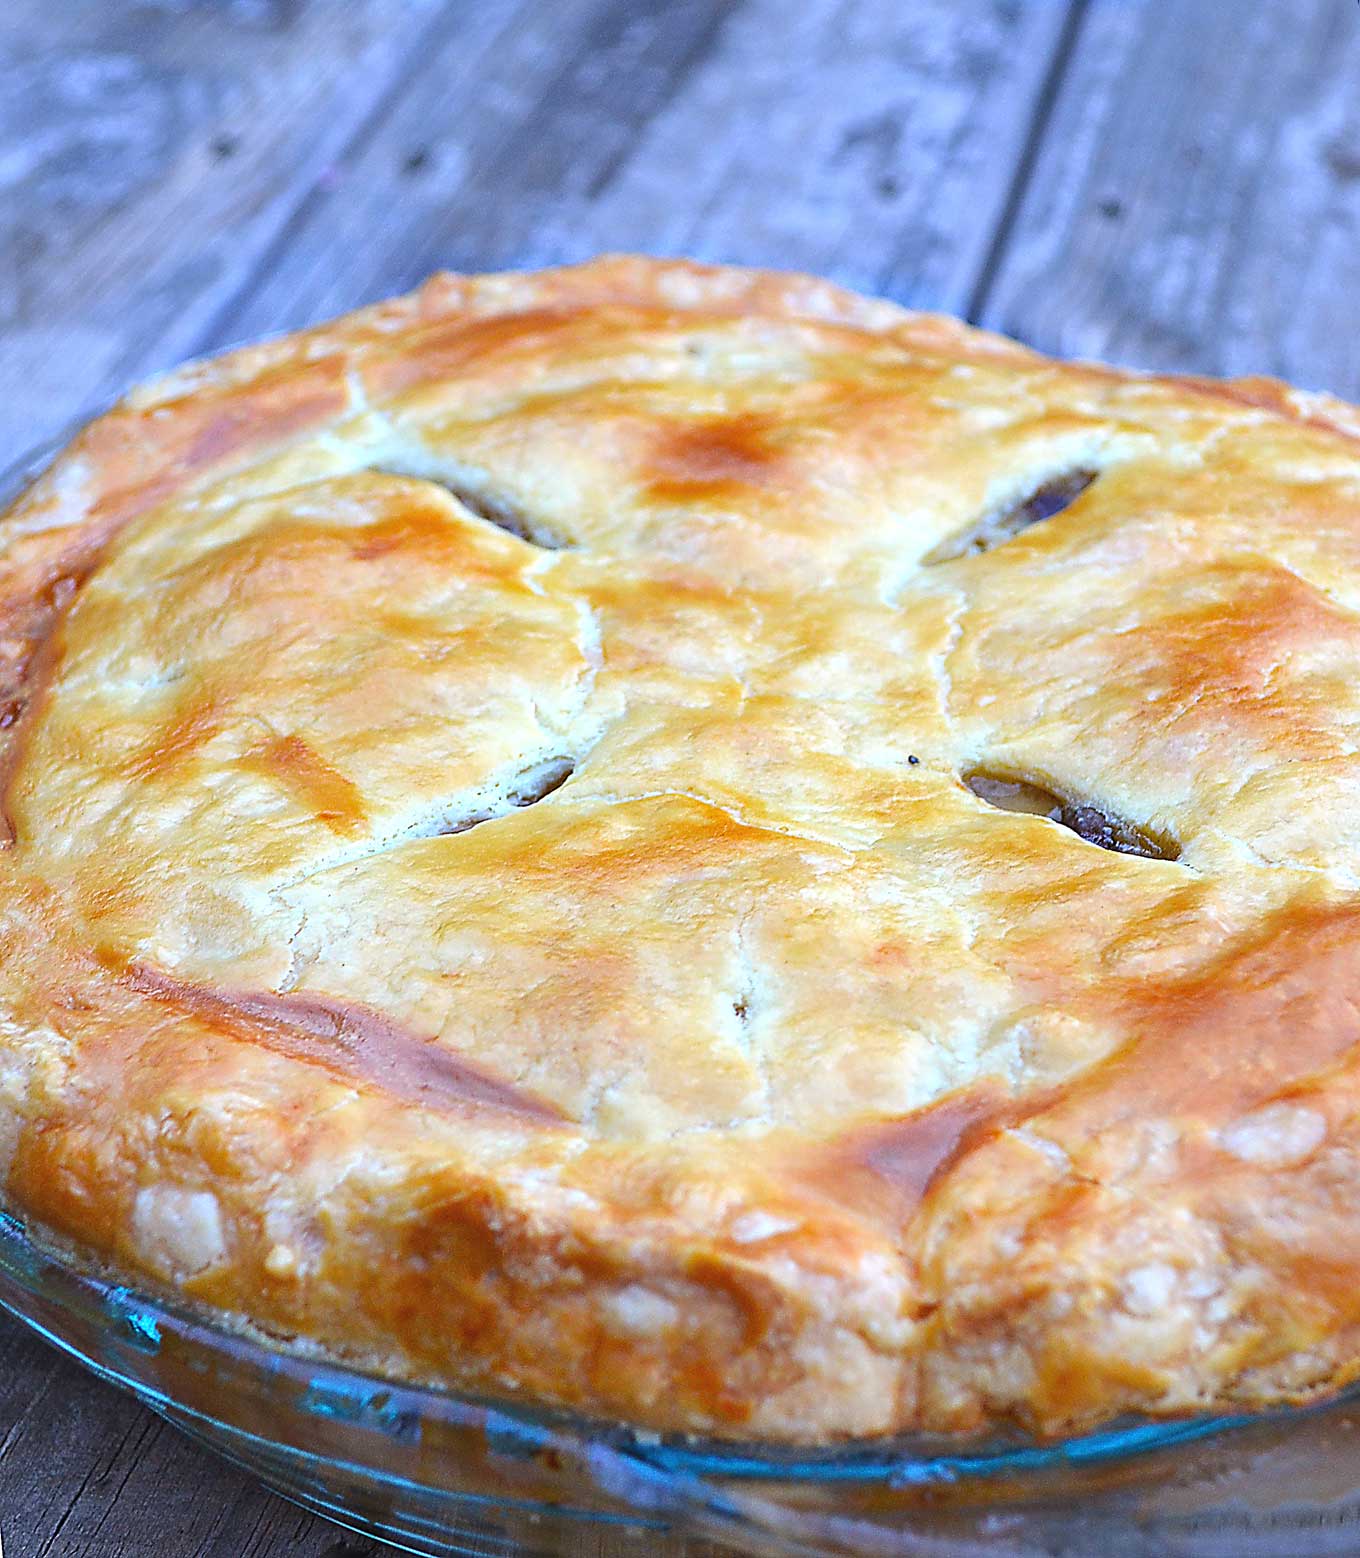
I marvelled until I made this one, that is.
Then I understood.
It is a labor of love to be sure. Once I wrote that making blueberry pie from scratch was a choice between making a pie or watching 4 episodes of Netflix’s Orange is the New Black. And it’s true. I hadn’t made one in a while and so just didn’t remember….
These tasty bundles of joy require several steps…making the dough, prepping the ingredients, preparing the filling, assembling all the individual parts, babysitting the pie as it bakes so that you can lower the temperature midway. And let’s not forget removing the crust protector from the pie. At points each stage seemed interminable.
Honestly, there were times when I thought this whole chicken pot pie business would NEVER end. And I really DO like to cook!
Still…life is short.
So I’ve decided, as a testament of my love to my girls and hubby, who just adore this pie, to continue making it…
Once a year.
Of course, this particular one is sooooooo savory and thick with the earthy woodsiness of the porcini mushrooms that it’s hard to imagine making any other one, though I am tempted by this particular beauty that I found on Epicurious. It contains pearl onions, and I just adore pearl onions. Also, if you’re more of a traditionalist and picture yourself missing those cute little peas and splash of color (and sweetness) from the carrots, then let me direct you to Smitten Kitchen’s rendition of this beloved classic.
Speaking of a splash of color, I’ve decided that when I make this pie again – in a year! – I will add a little color to this otherwise rather monochrome pie. I’m thinking of adding a little gently sauteed red bell pepper. In addition to breaking up a rather beige landscape, I think it will lend a little bit of welcomed sweet pepperiness to the mix as well.
making porcini mushroom & leek chicken pot pie
preparing the crust
In a food mixer, pulse 2 cups of white, unbleached flour with a pinch of salt for a few seconds with the flat beater (the one that resembles a paddle). Add 2 sticks of chilled, unsalted butterthat has been cut into cubes. Mix, on the lowest setting at first and then slightly higher once the butter starts to crumble.
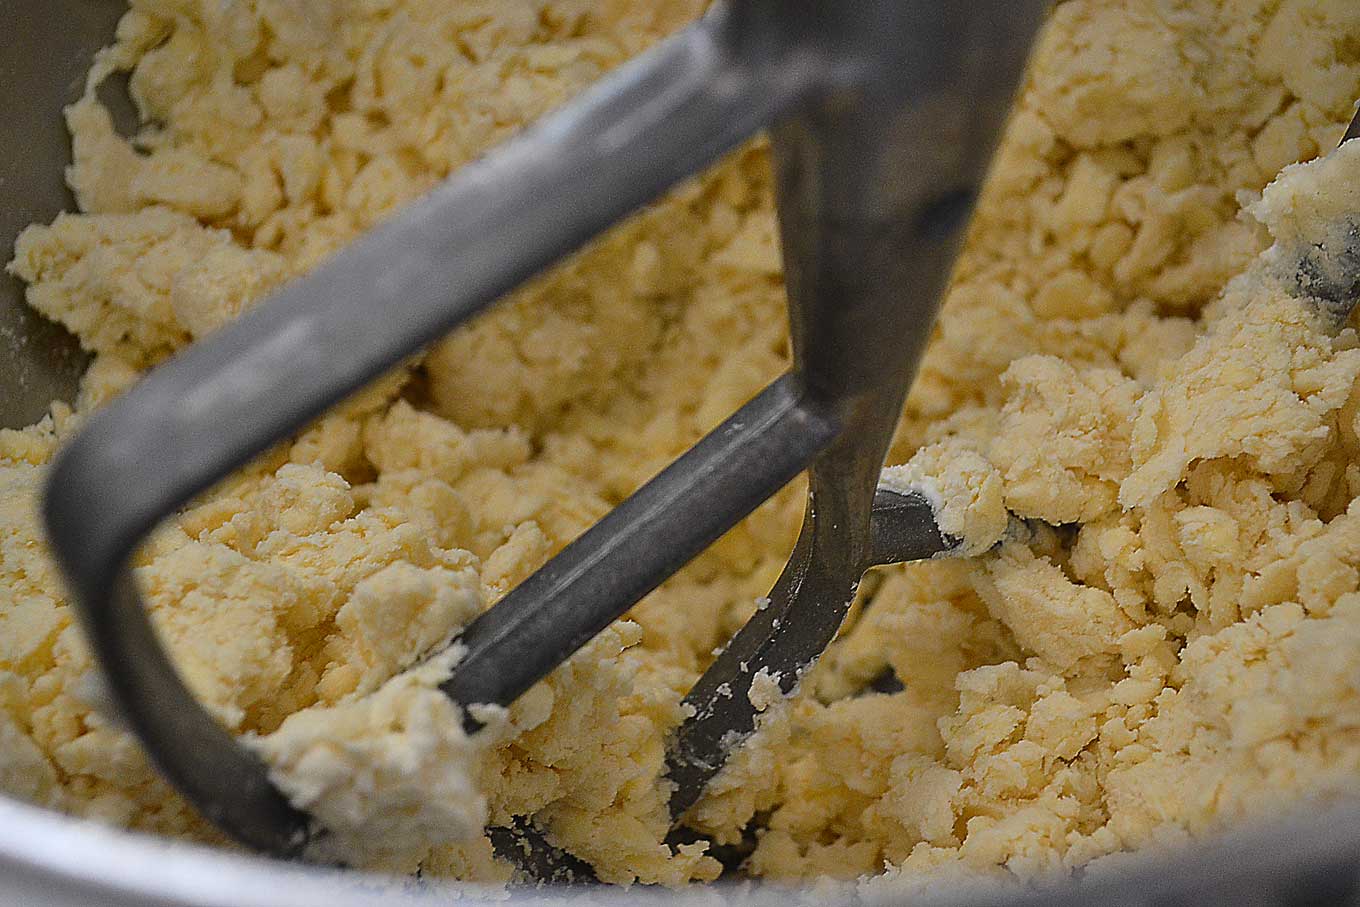
Continue until the mixture resembles coarse meal.
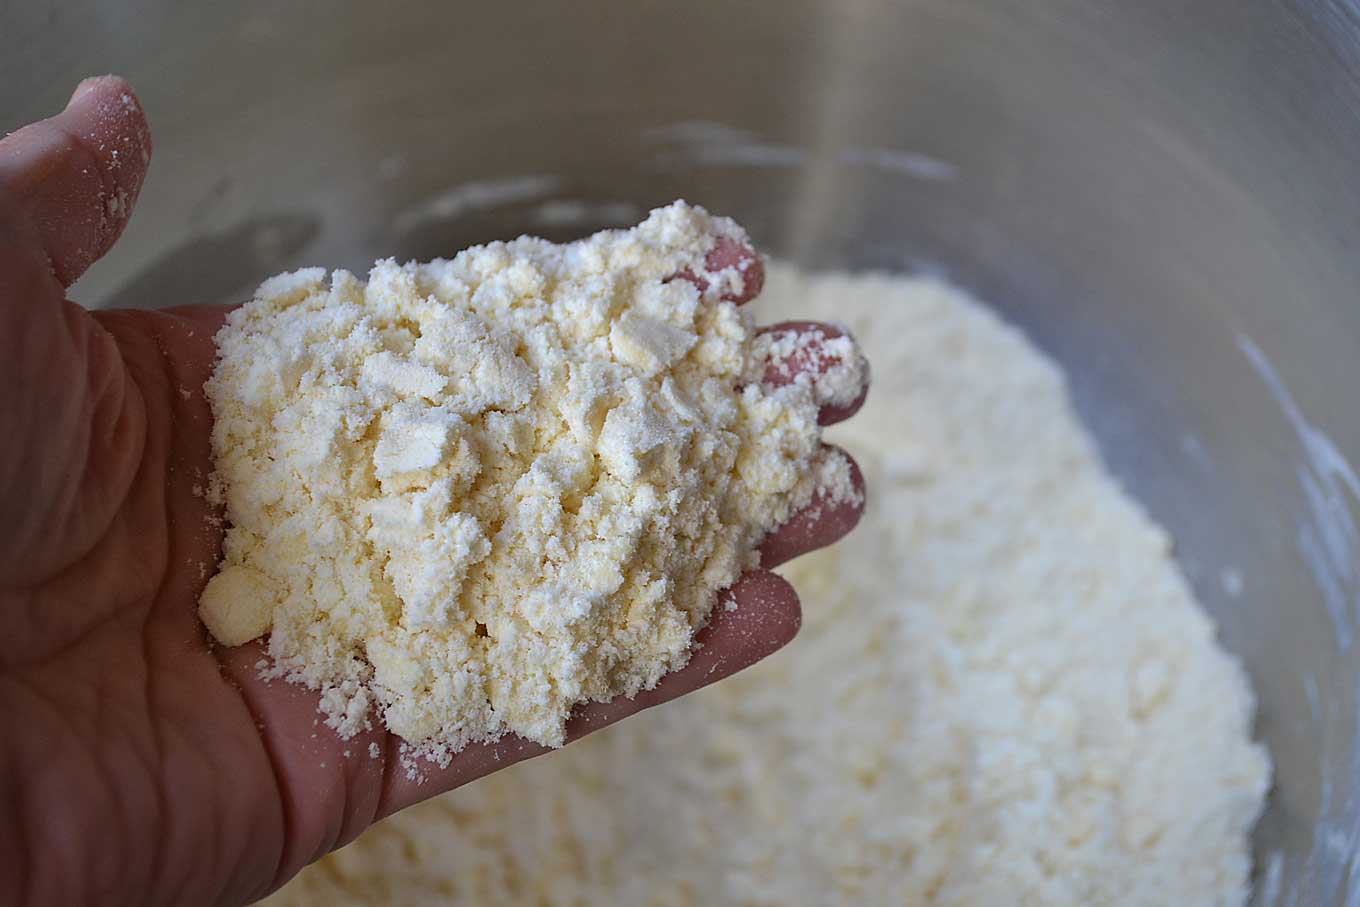
Add 1/2 cup of sour cream and continue to mix.
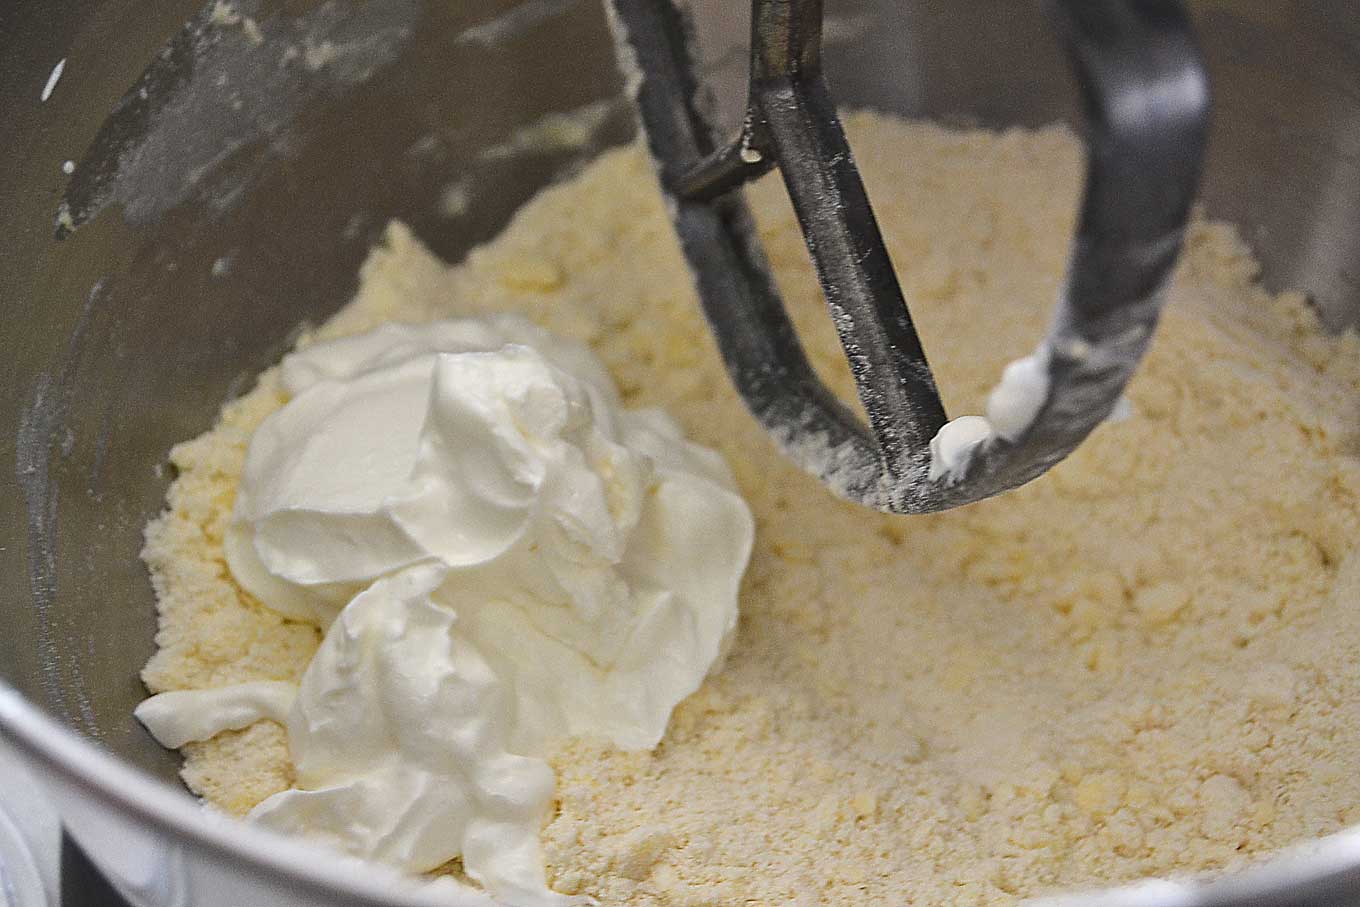
Soon the pastry dough comes together and begins to gather around the beater.
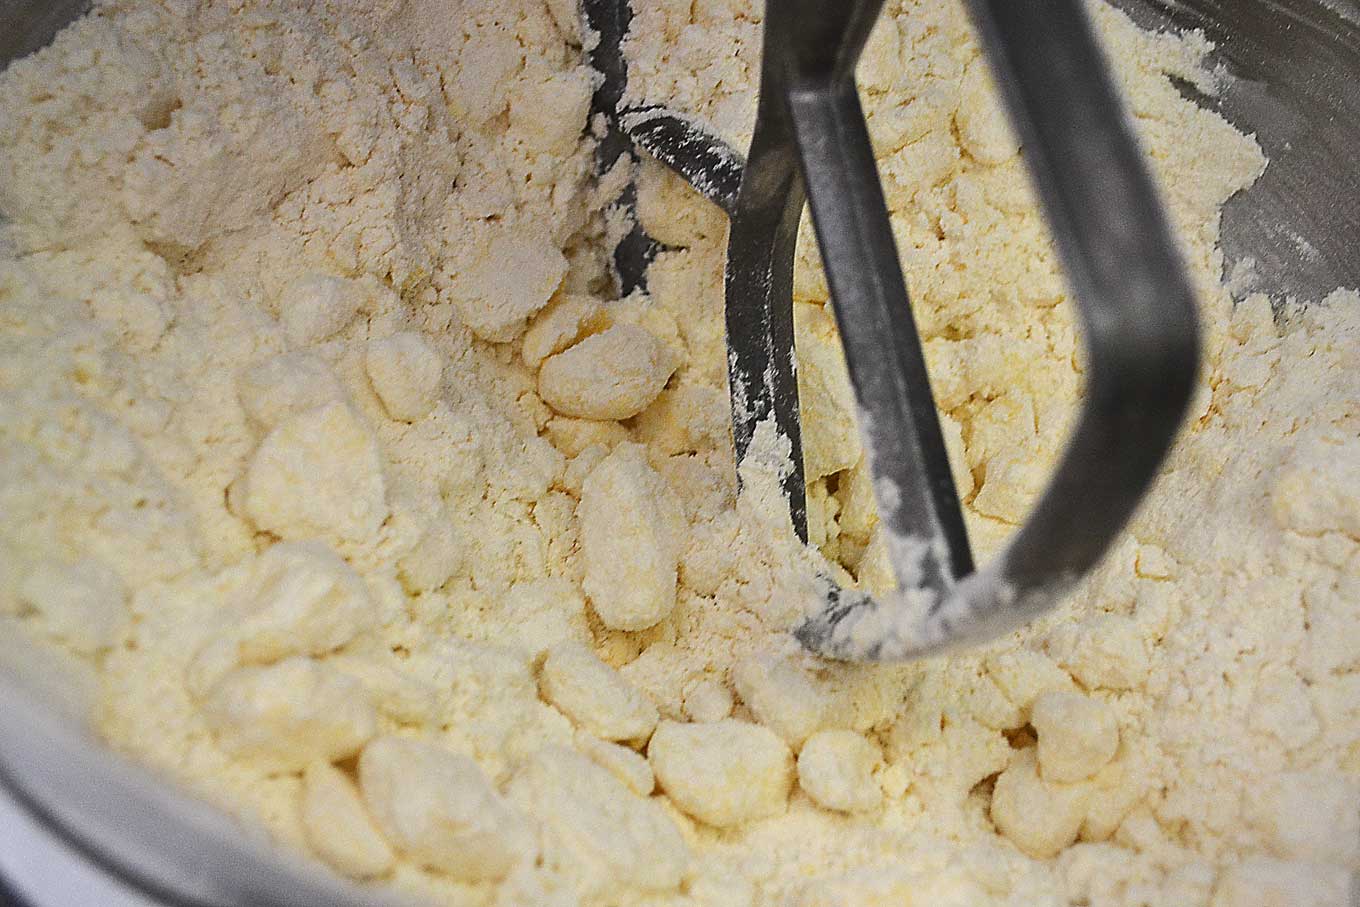
Remove the dough from the mixer and divide into thirds.
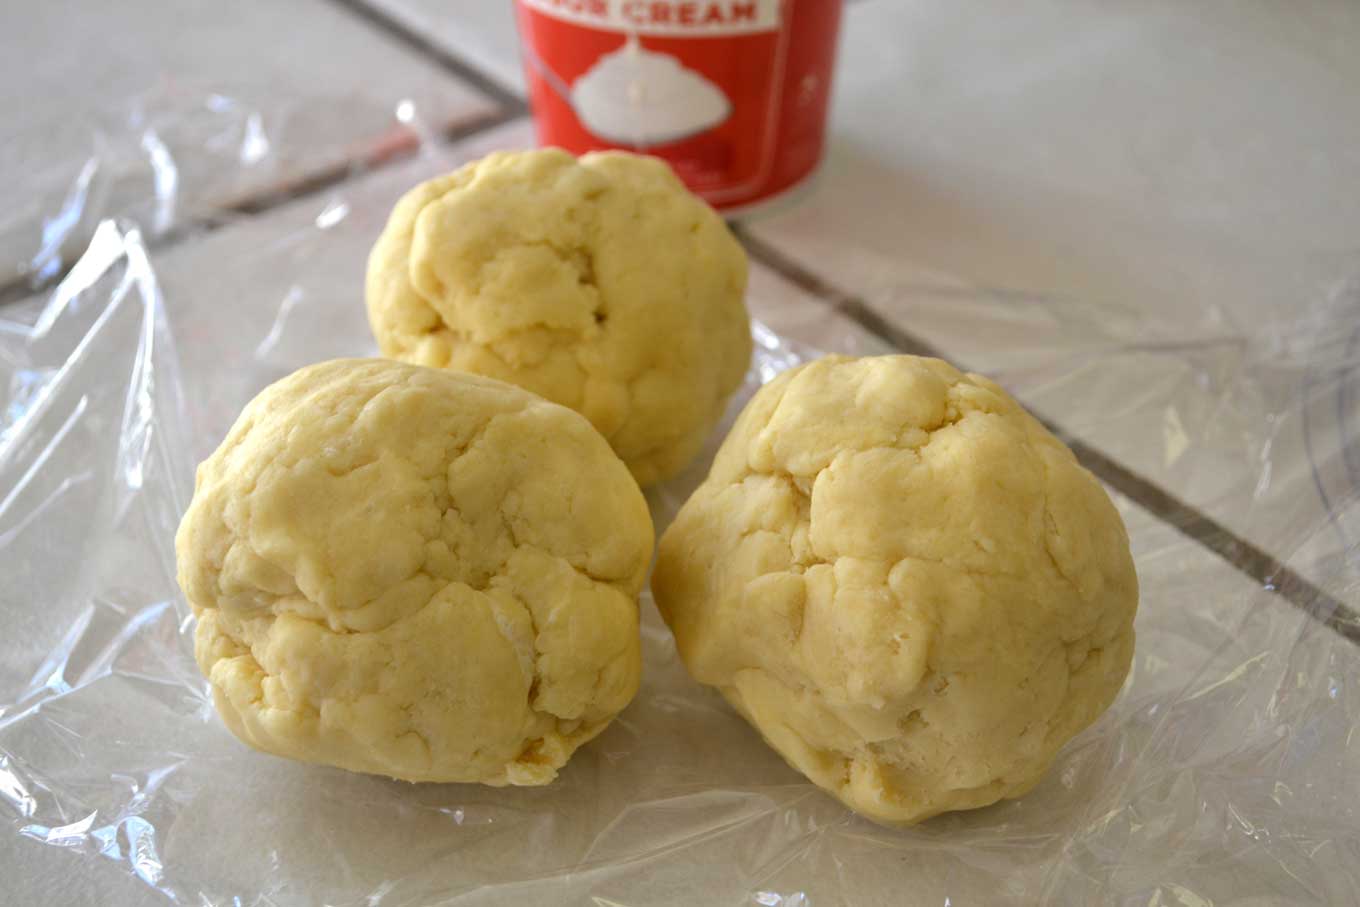
Combine two of the thirds into one disc. Pat the other third into a smaller disc. Wrap both discs in clear food wrap and refrigerate for 1 hour.
Preparing the filling
To prepare, preheat the oven to 450°F. Begin by roasting 2 chicken breasts that weigh around 1 ¼ lb. Place them in a small baking pan lined with aluminum foil (for easy clean up). Pour enough olive oil on the breasts to cover them with a thin film. Season them with Kosher salt and pepper. Sprinkle 1 teaspoon each of the minced thyme and sage evenly on each breast.
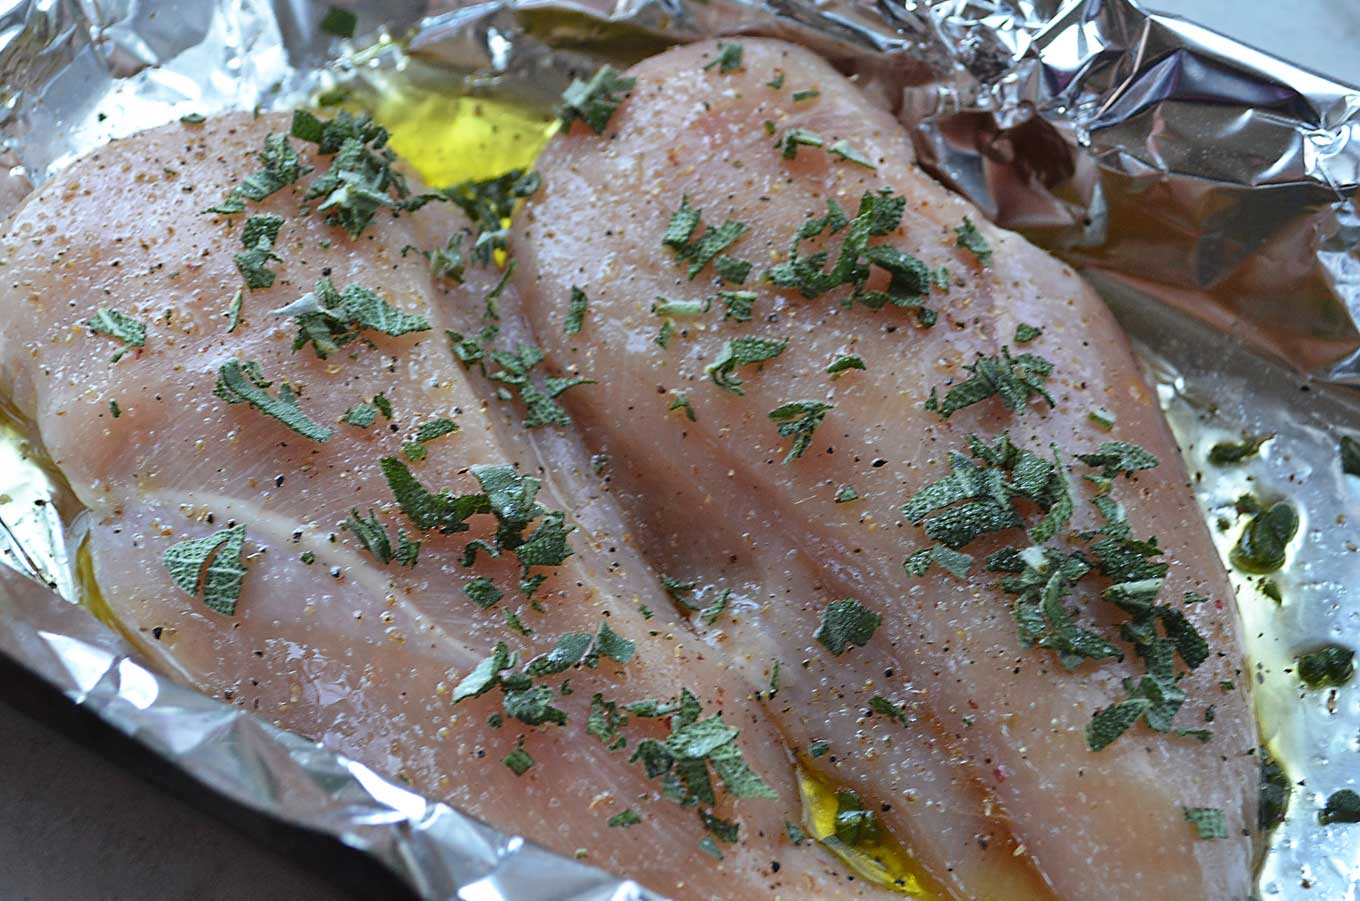
Cover loosely with aluminum foil. Place the pan in the oven and lower the temperature to 425°F. Bake for 30 minutes. Remove from oven and allow to cool.
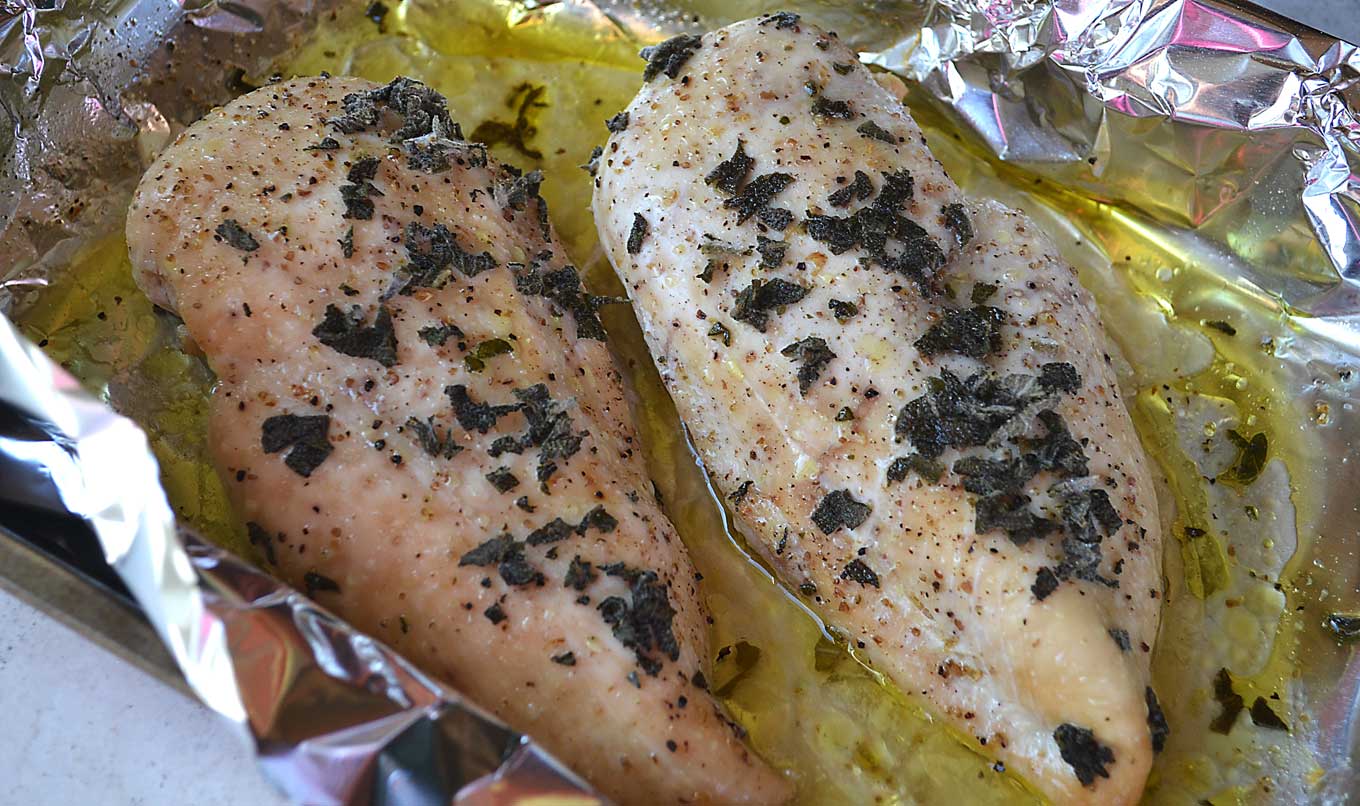
Cut and then shred the meat.
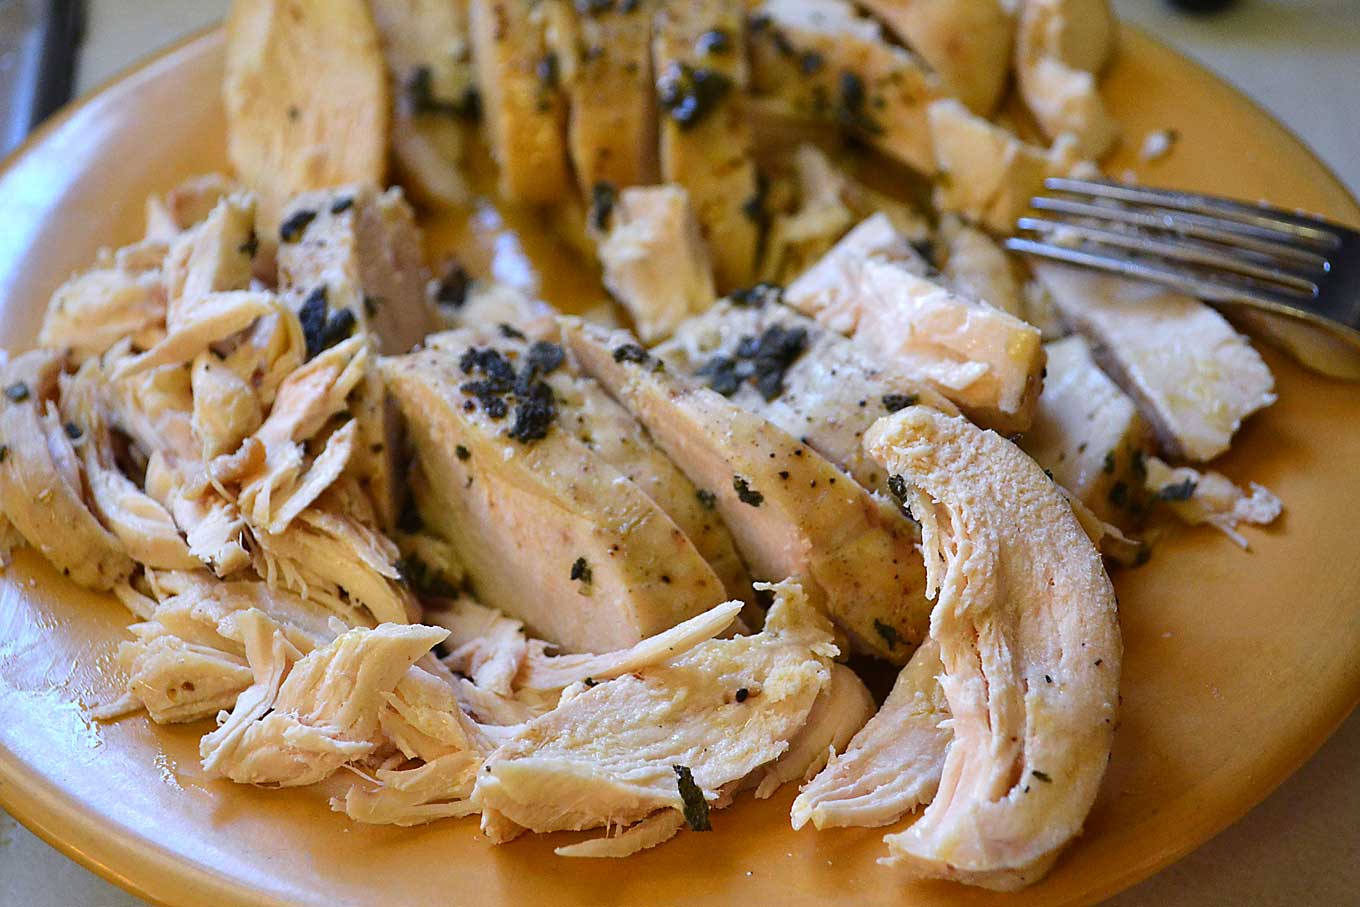
As the chicken is baking, place 4 cups of chicken stock in a small pot and boil until it reduces by more than half, to 1 1/2 cups. This should take about 12 minutes or so. Set aside.
Also, place 1/2 to 1 oz. of dried porcini mushrooms with enough warm water to cover them.
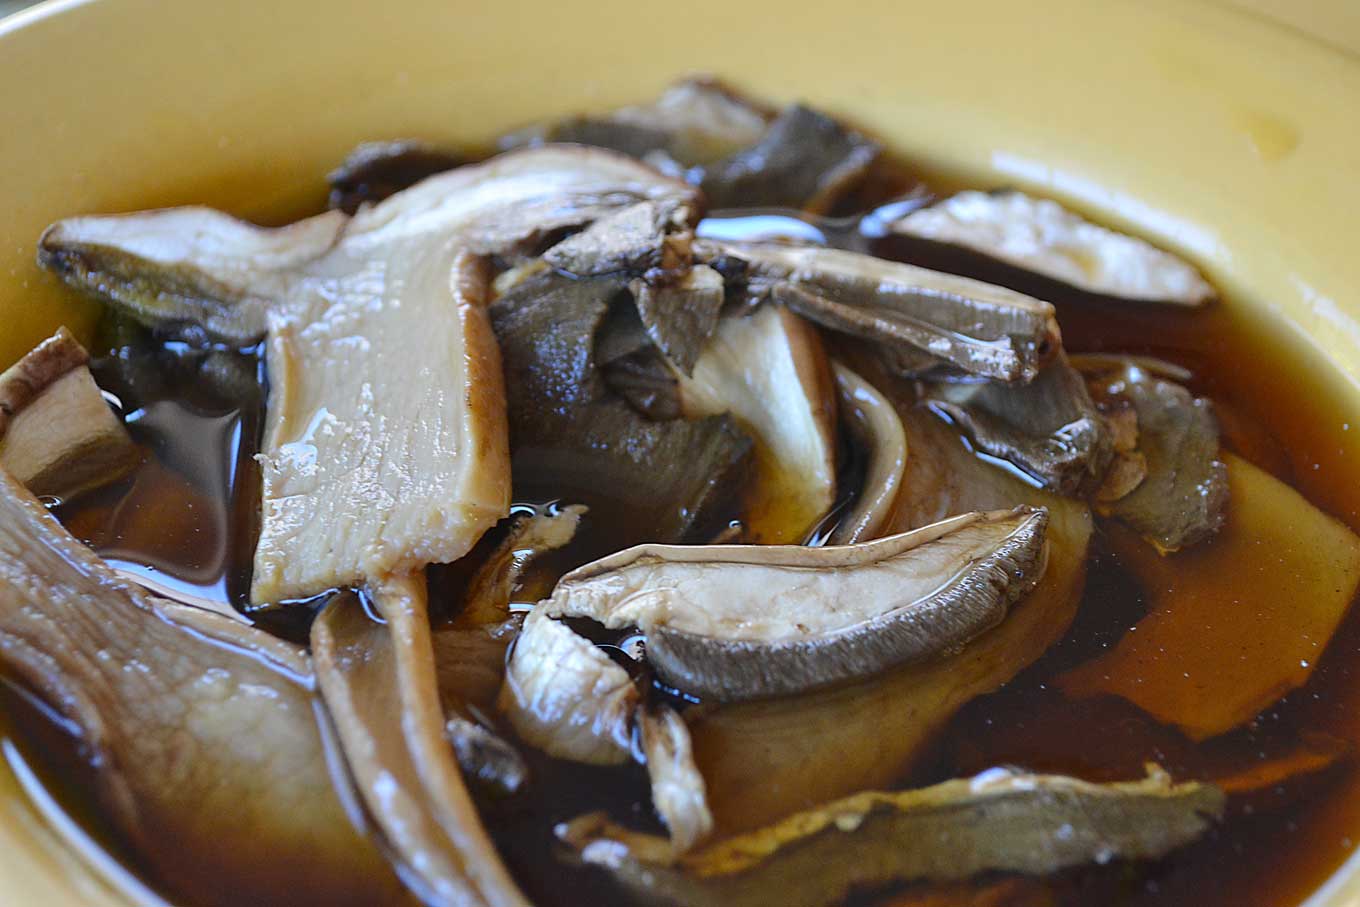
Let them reconstitute for 15 minutes. Squeeze them well in batches with your hands and then finely chop them.
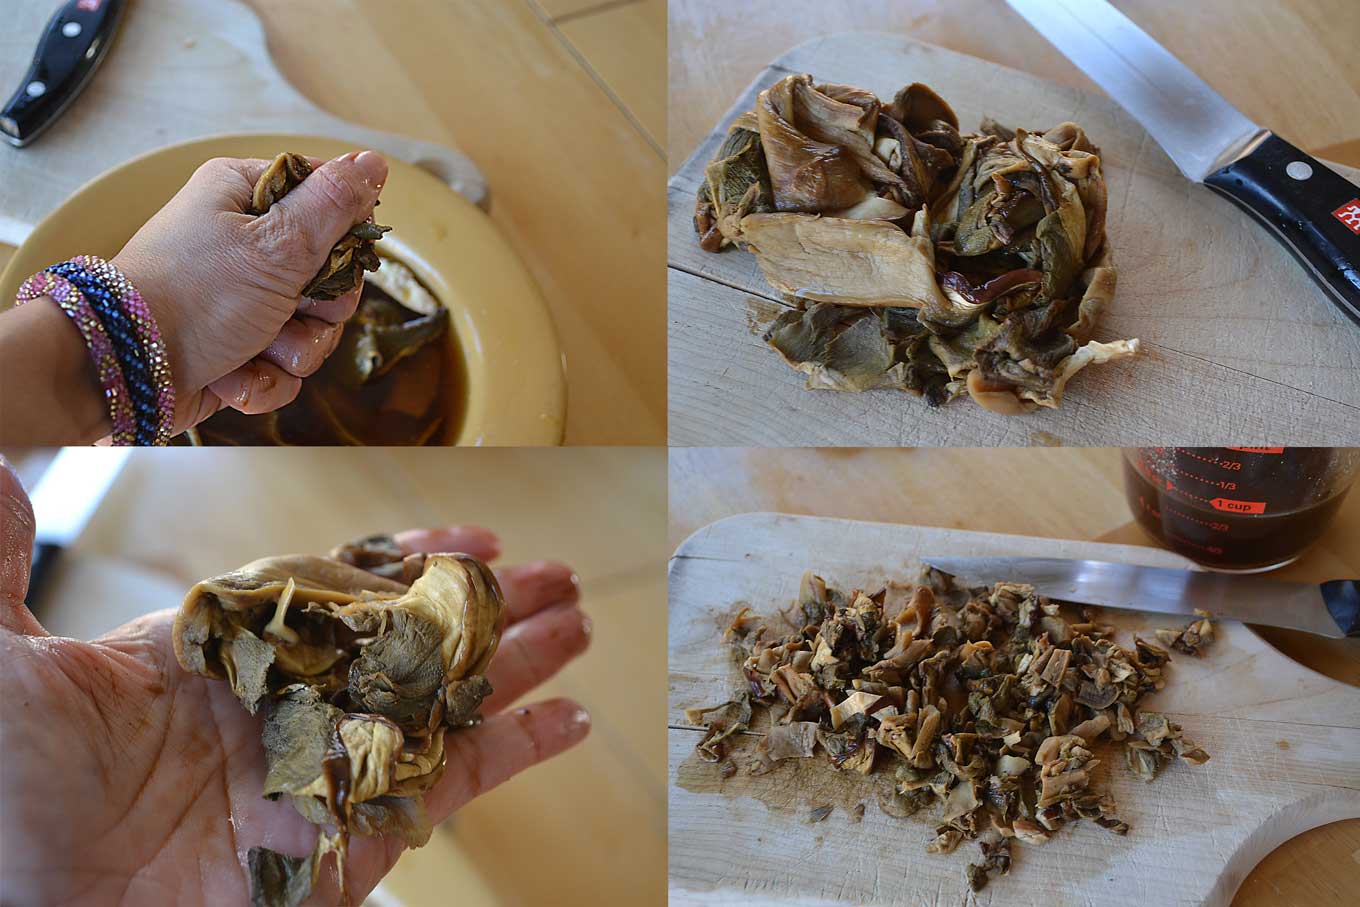
Make sure to reserve the delicious and aromatic water in the bowl. Strain this reserved liquid through a small, fine sieve colander set over a measuring cup. I also used a little piece of paper towel as well, just to be sure.
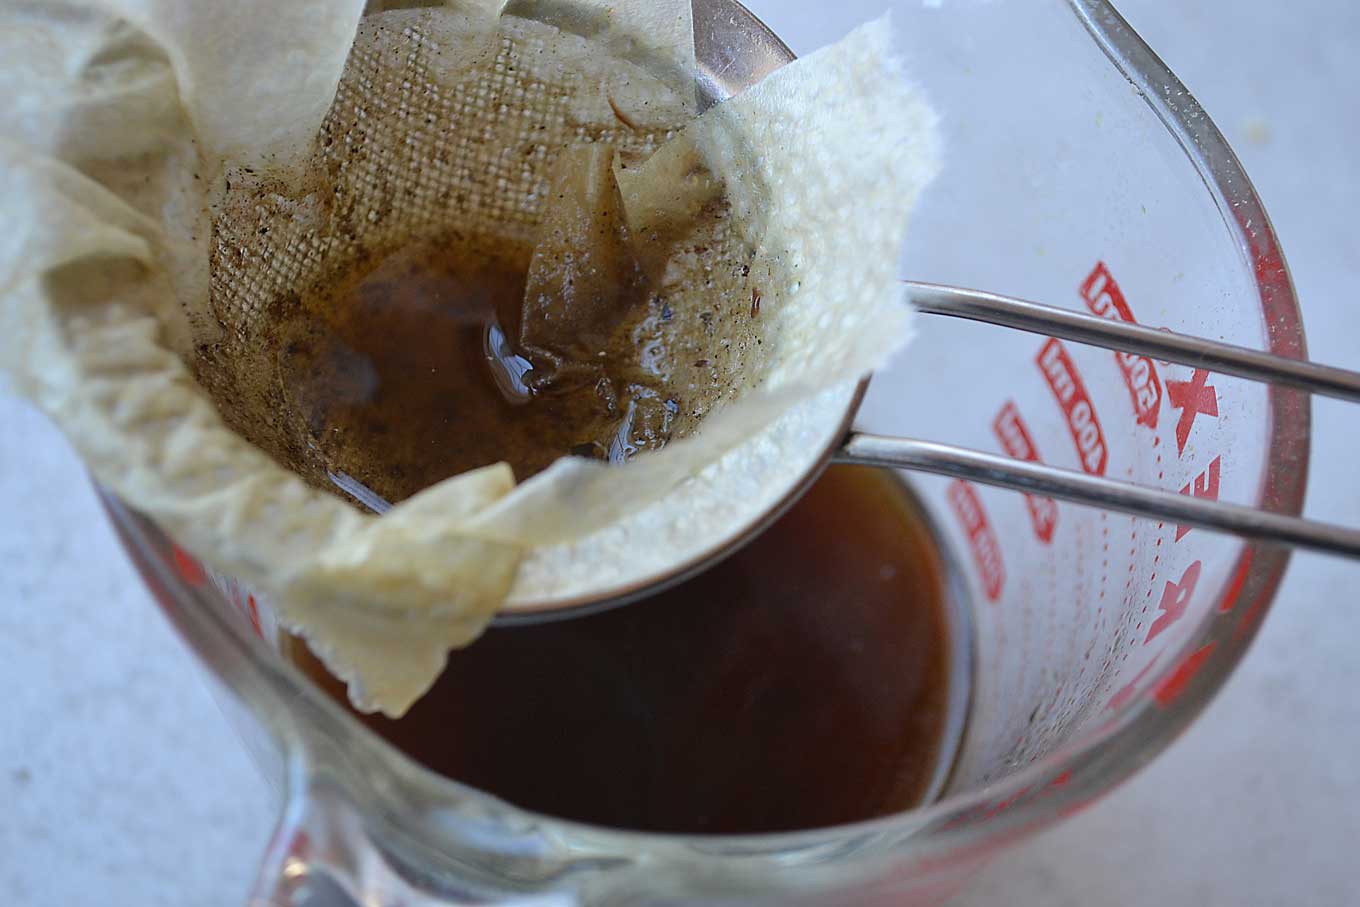
You will join the strained porcini liquid to the chicken stock later for a total of 2 cups of chicken broth and porcini water. It offers the most wonderful extra boost of flavor. Finely chop the porcini when they are cool enough to handle.
In a large, shallow skillet, melt 4 tablespoons of unsalted butter on medium high heat. Once the foaming subsides, add the chopped porcini mushrooms and 5 grated or finely minced shallots, and season with salt and pepper.
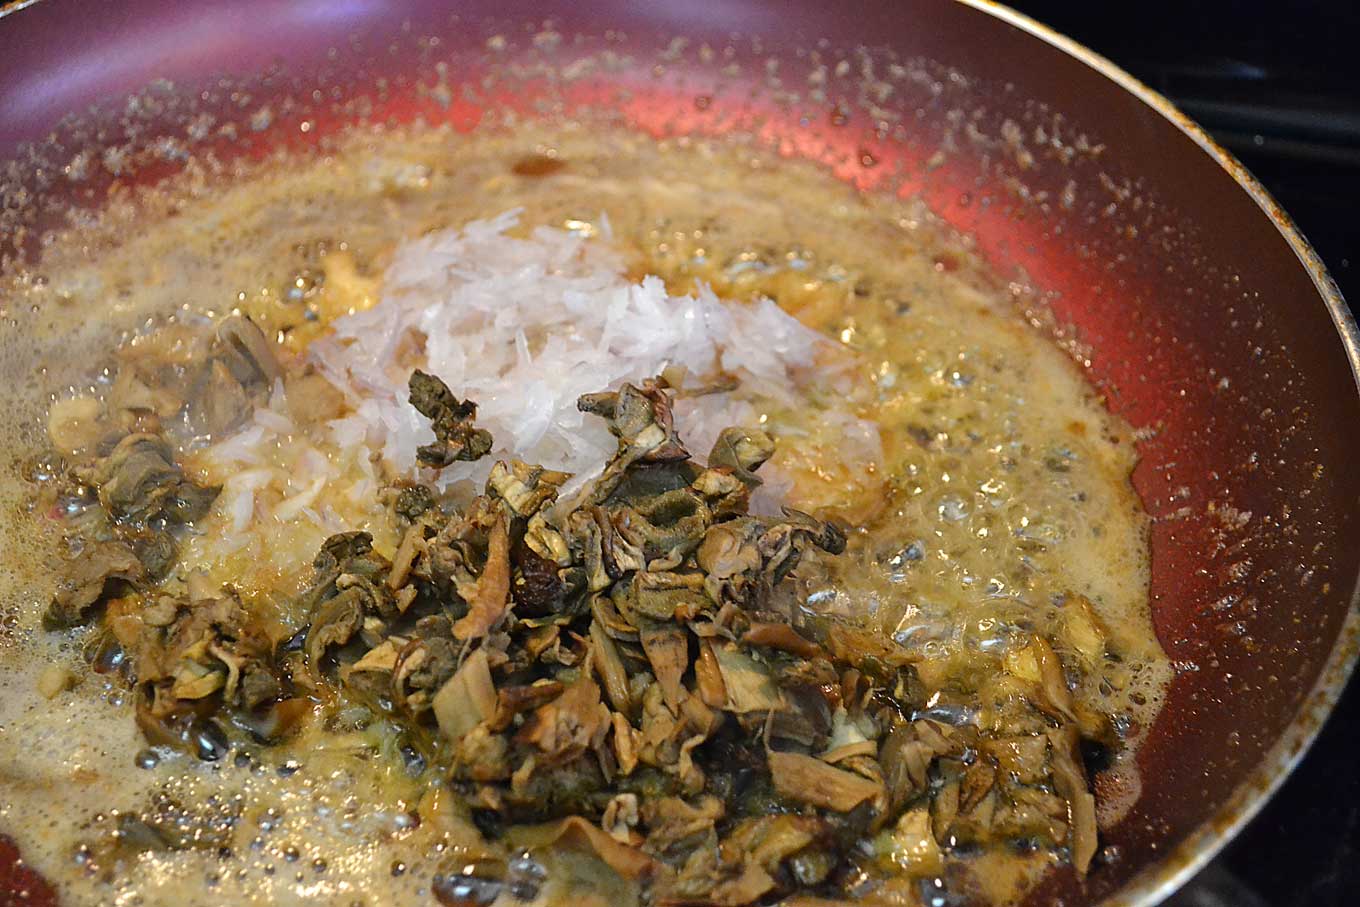
Cook for a couple of minutes and then add 8 oz. of cremini mushrooms, with the lower portion of their stems removed and thickly sliced, and 2 leeks that have been washed and sliced.
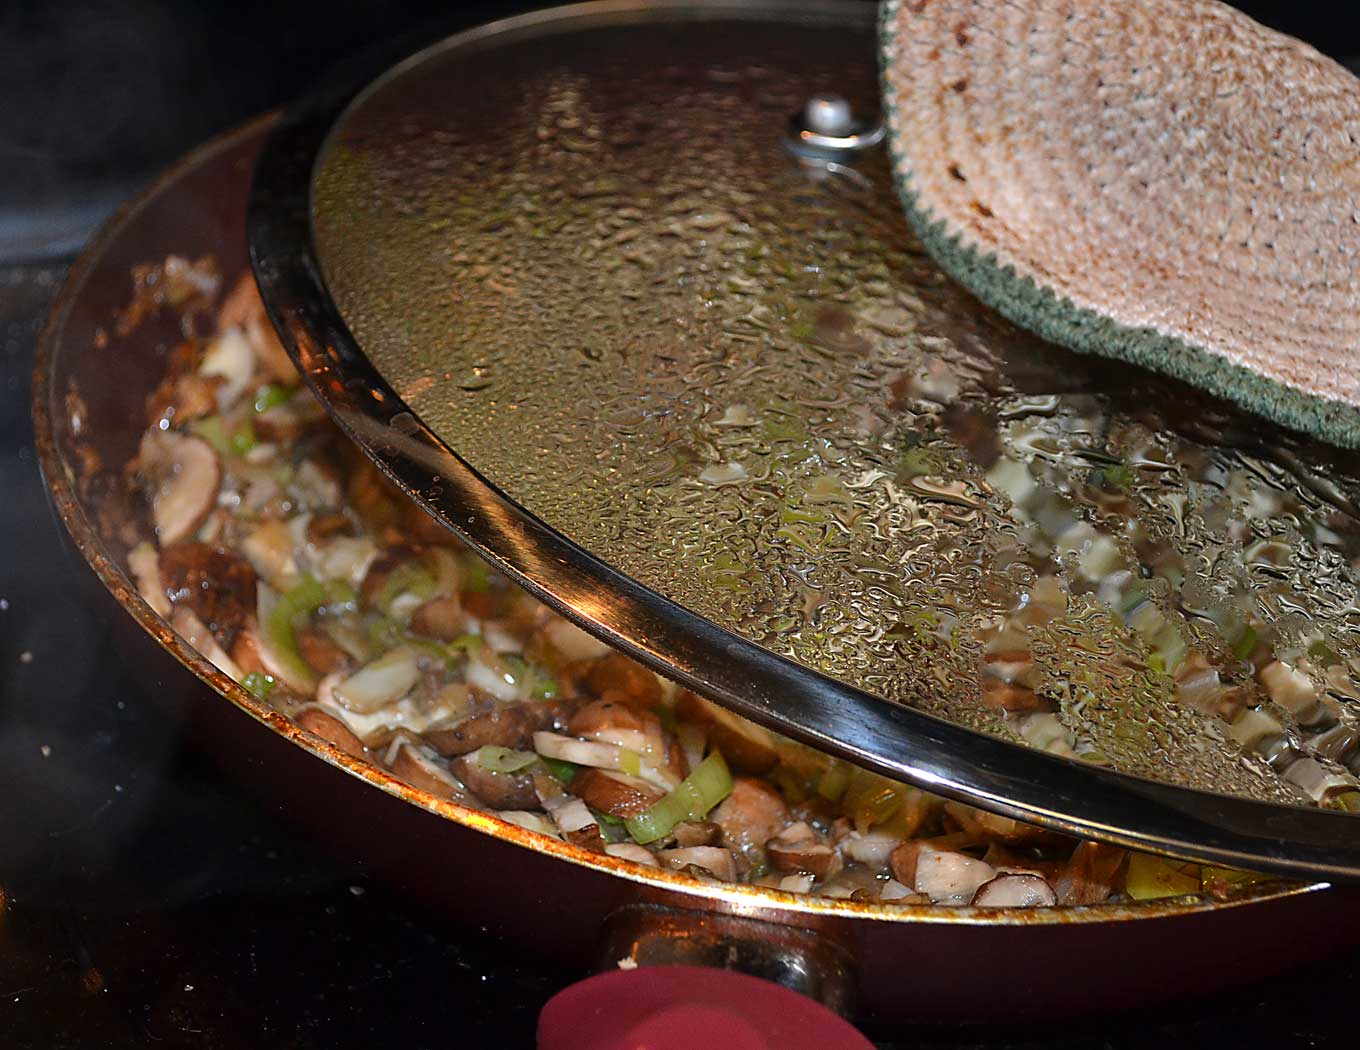
(Click here to learn how to prep leeks and click here to see an easy way to prep mushrooms.) Add a little more Kosher or sea salt and fresh-cracked pepper and mix well. Cook, covered, for 5 minutes, until the mushrooms and leeks have softened. Then cook another 5 minutes semi-uncovered, stirring occasionally.
Dust 1/4 cup of white, unbleached flour evenly over all the mushroom mixture. Mix well.
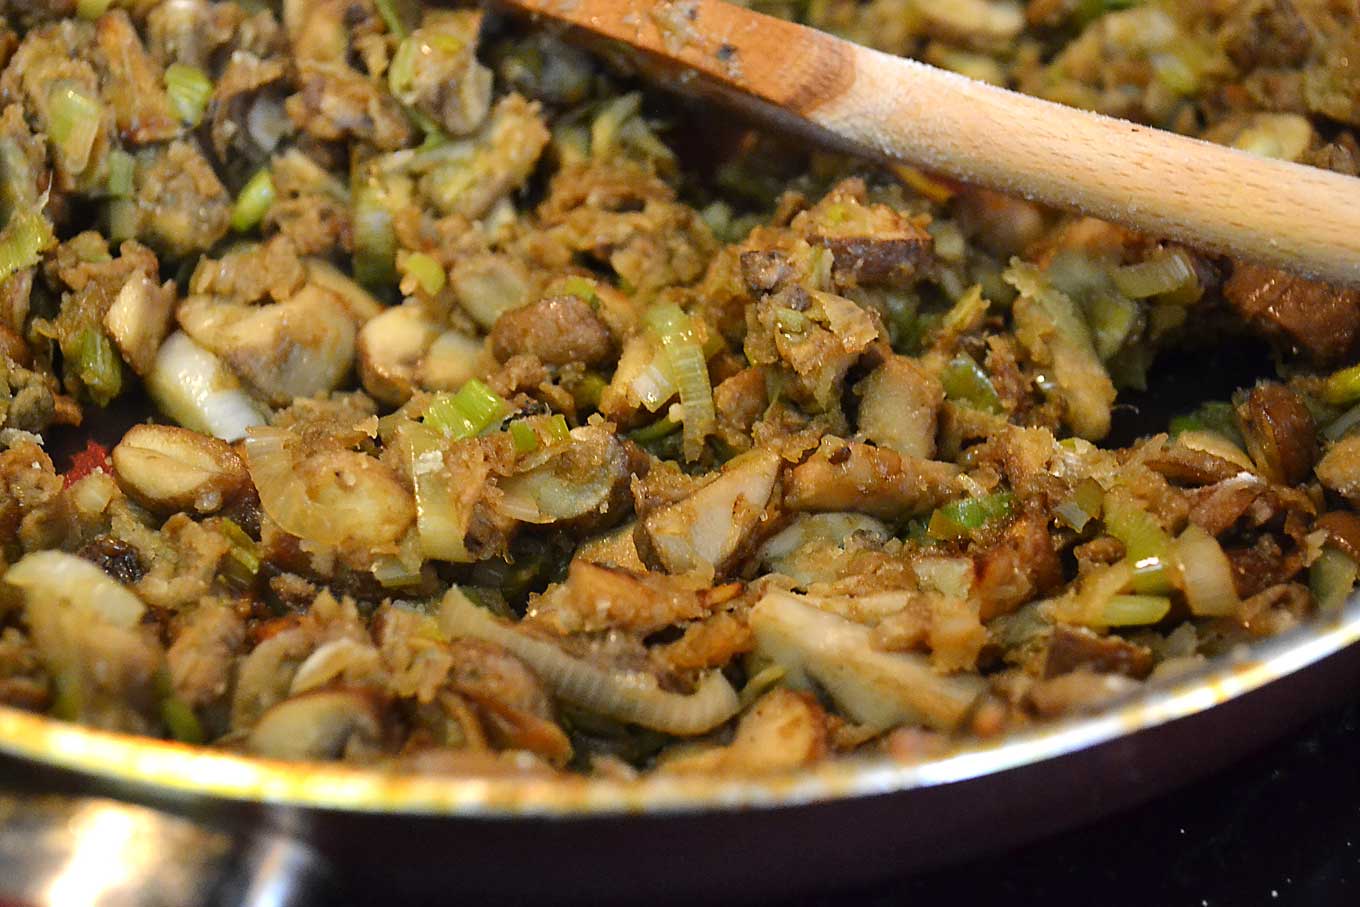
Add ¾ cup of heavy cream and the 2 cups of reduced chicken stock/porcini liquid and stir gently until the mixture begins to thicken.
This should take about 4 minutes or so. Add the shredded chicken, 1 teaspoons of minced fresh thyme leaves, 3 tablespoons of finely chopped parsley, salt and pepper.
Mix well once again. Take the mixture off the heat and allow to cool.
Preheat the oven to 450°F.
Place the larger of the two discs on a lightly floured surface.
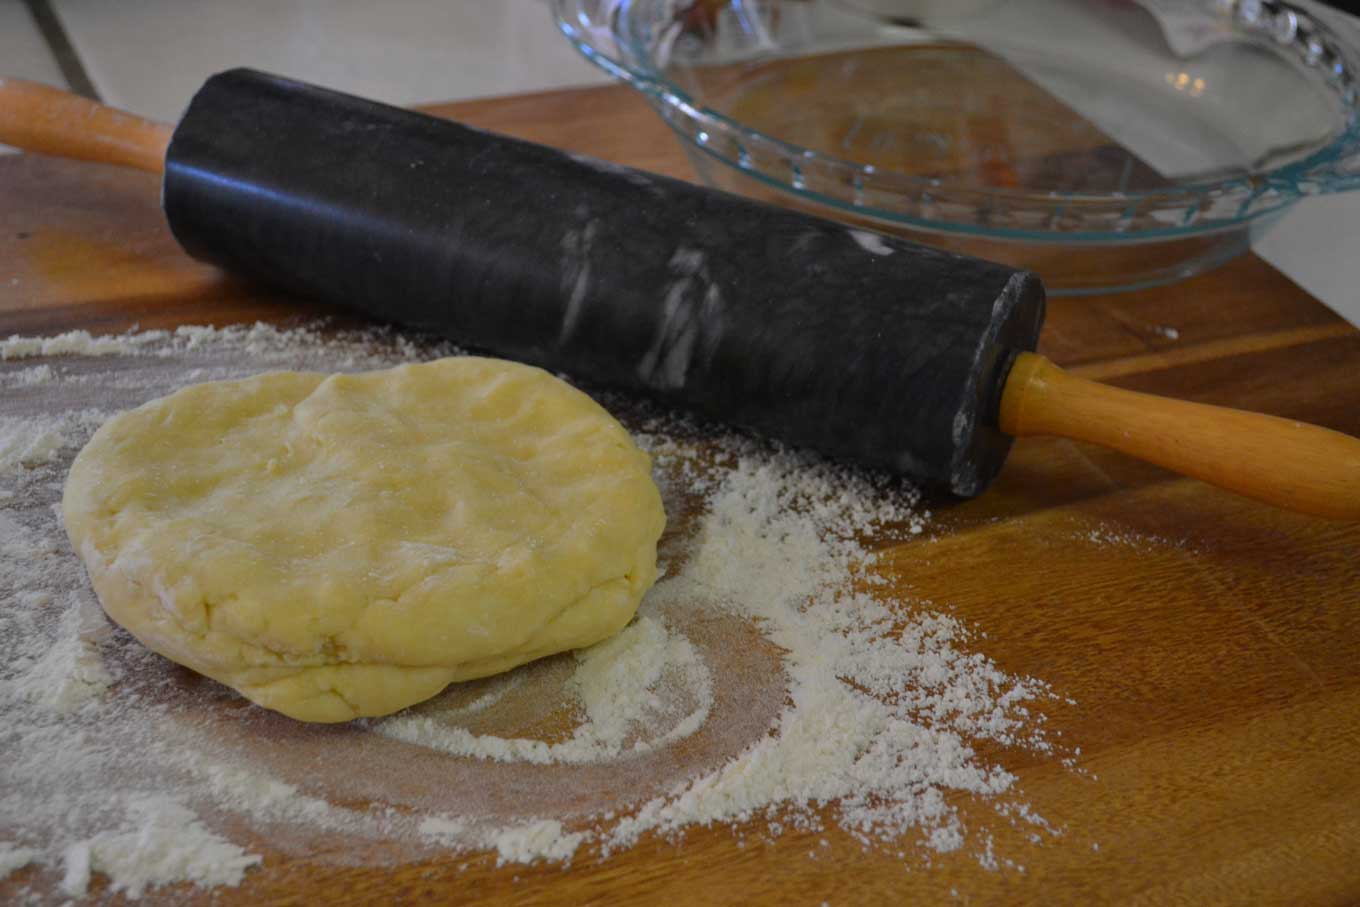
Roll it out into a 15-inch round using a pie pan as a reference.
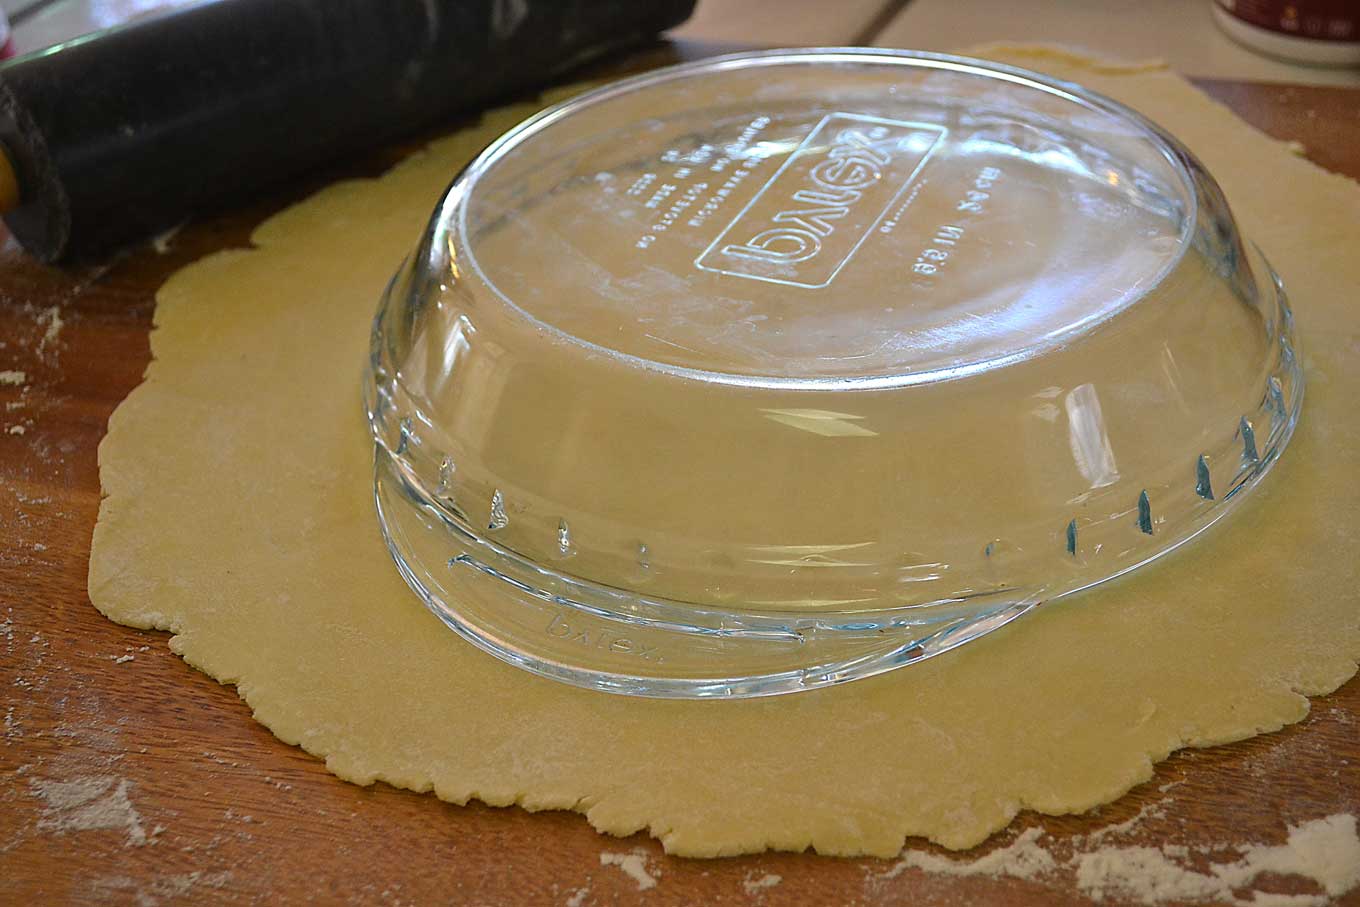
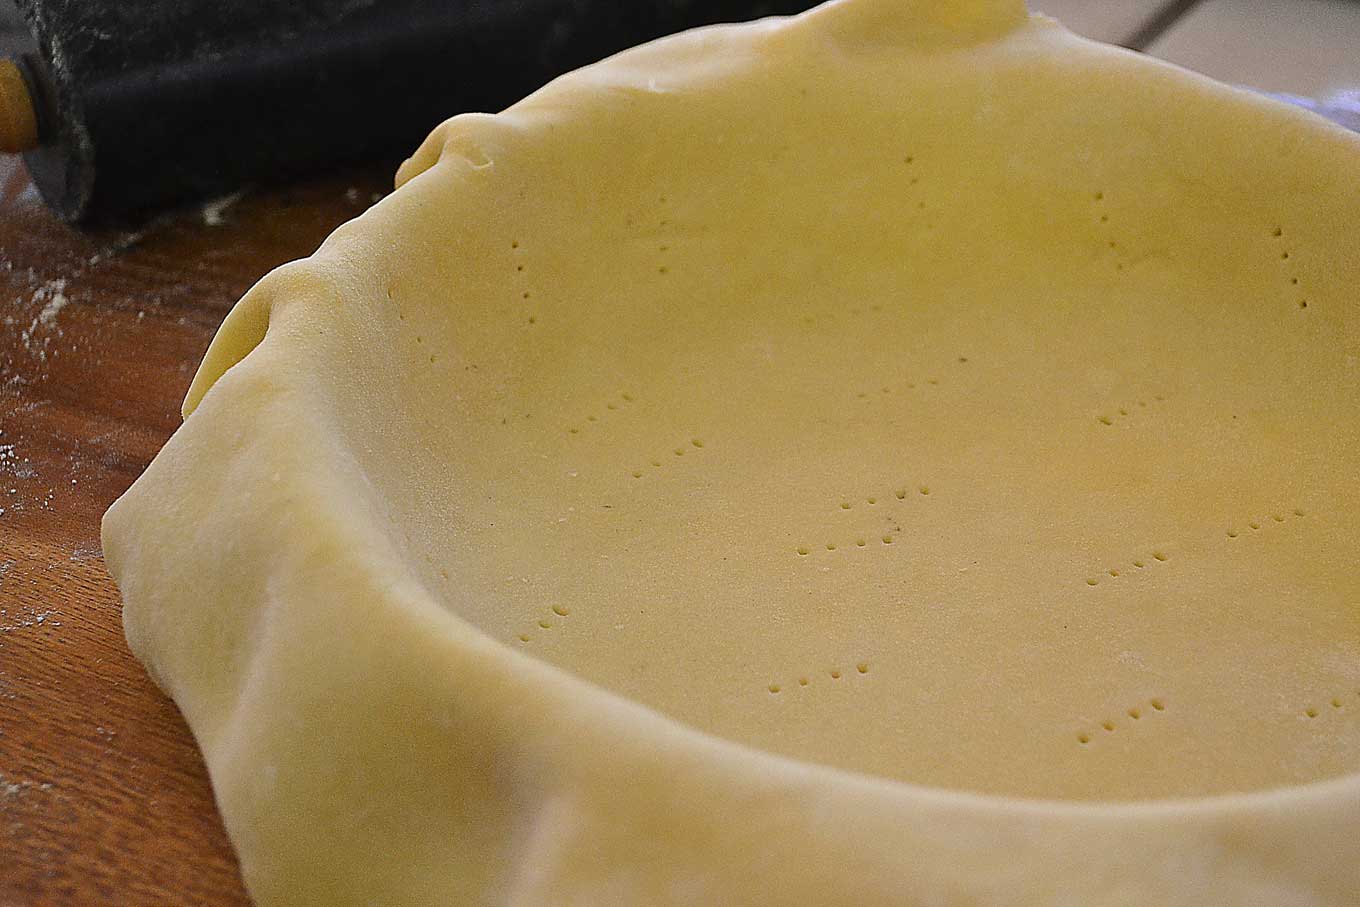
Carefully transfer the rolled out dough into a deep 10-inch glass pie plate. Pierce the dough on the sides and on the bottom of the pan with a fork.
Spoon the chicken filling into the pie pan.
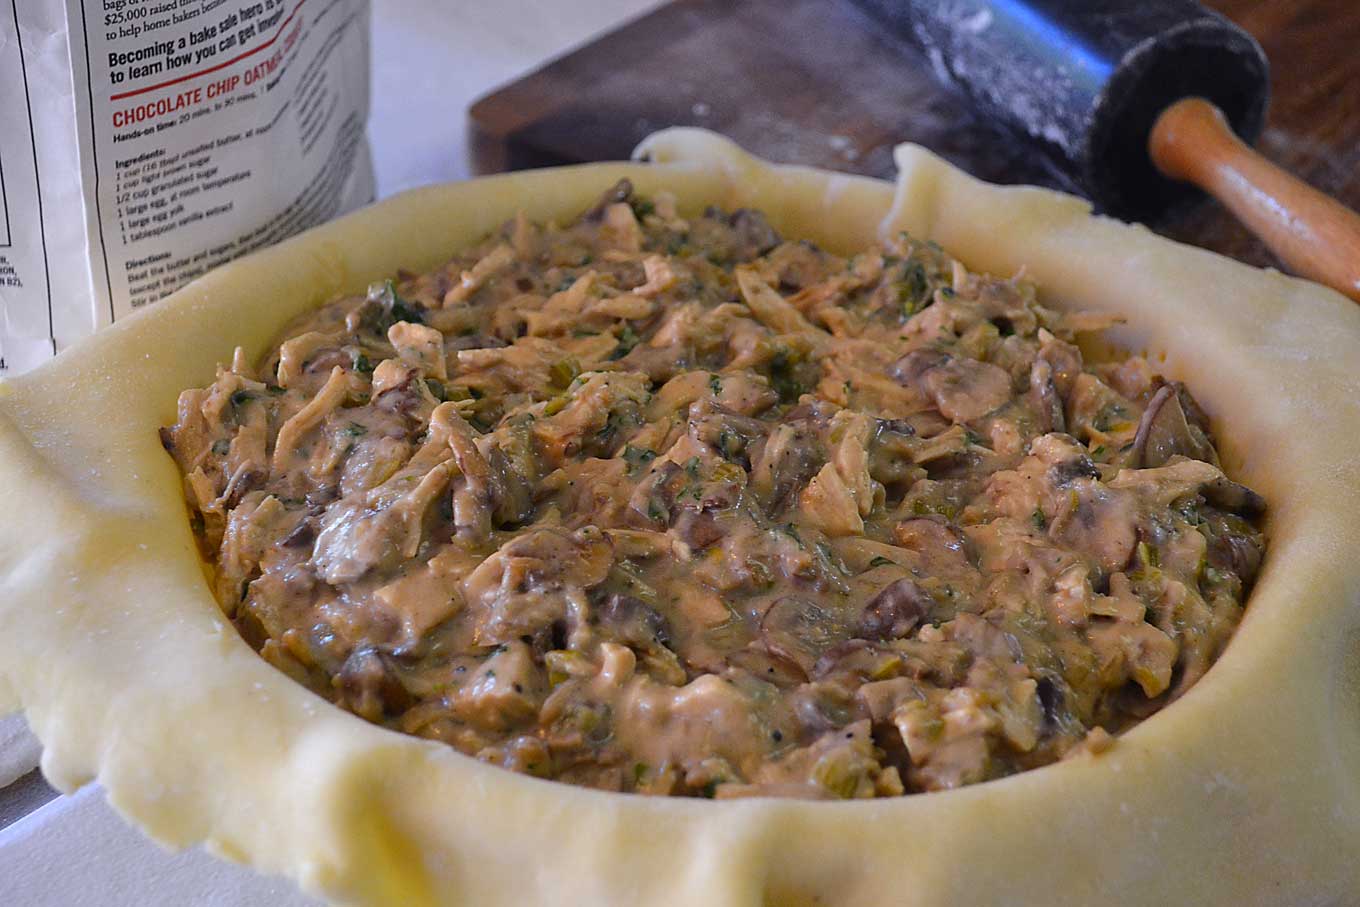
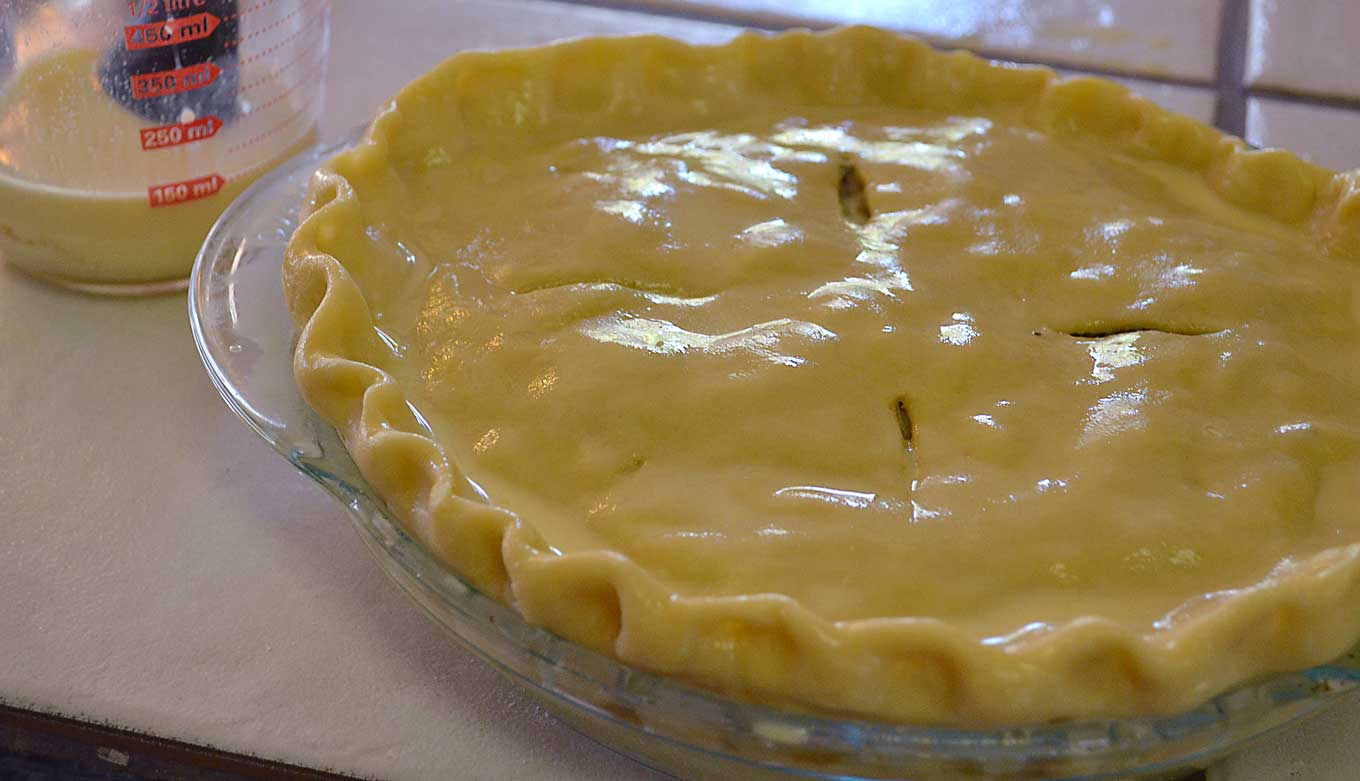
Brush the rim of the dough with the egg wash,
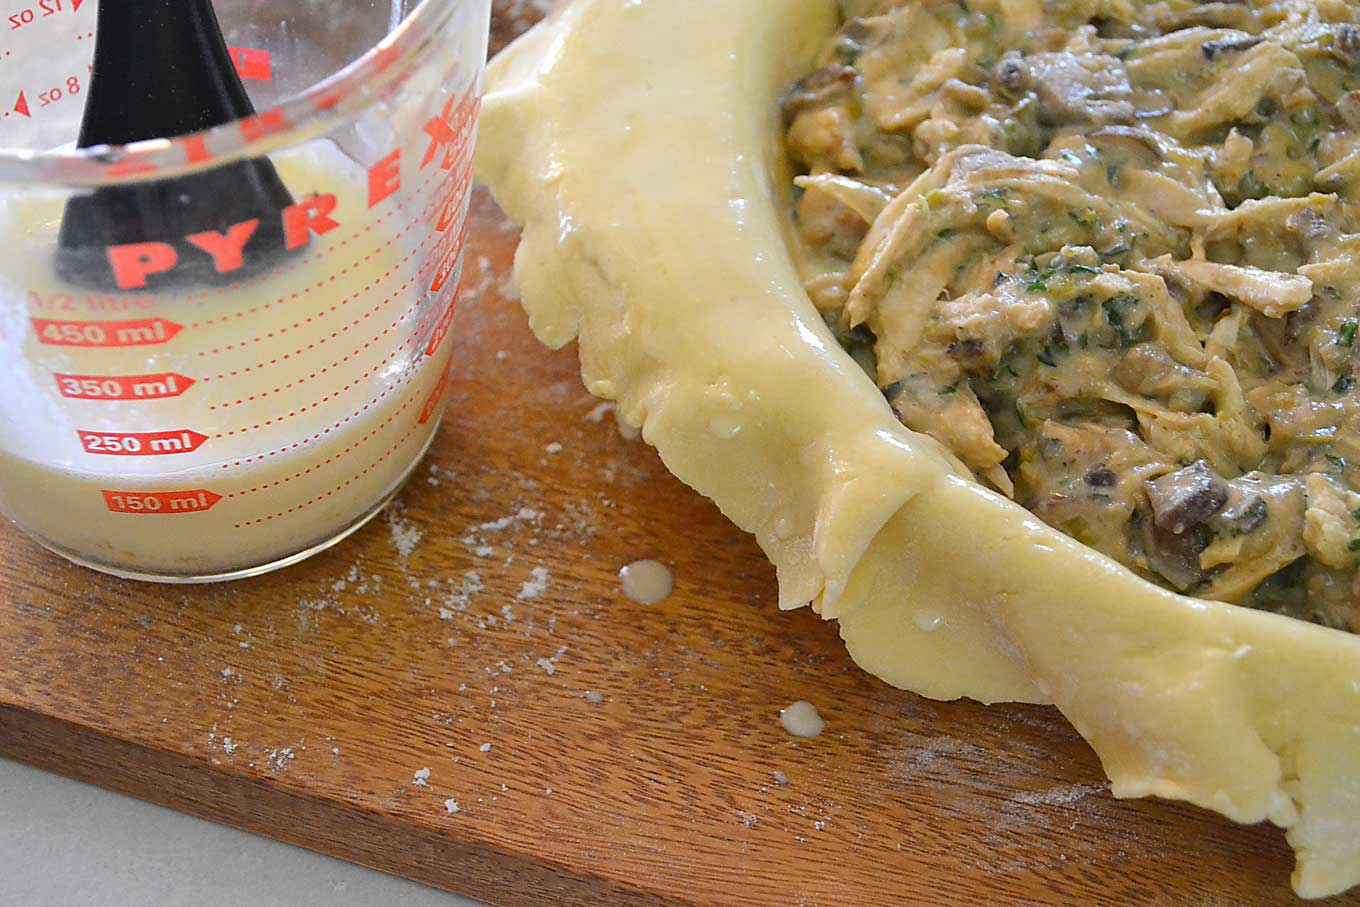
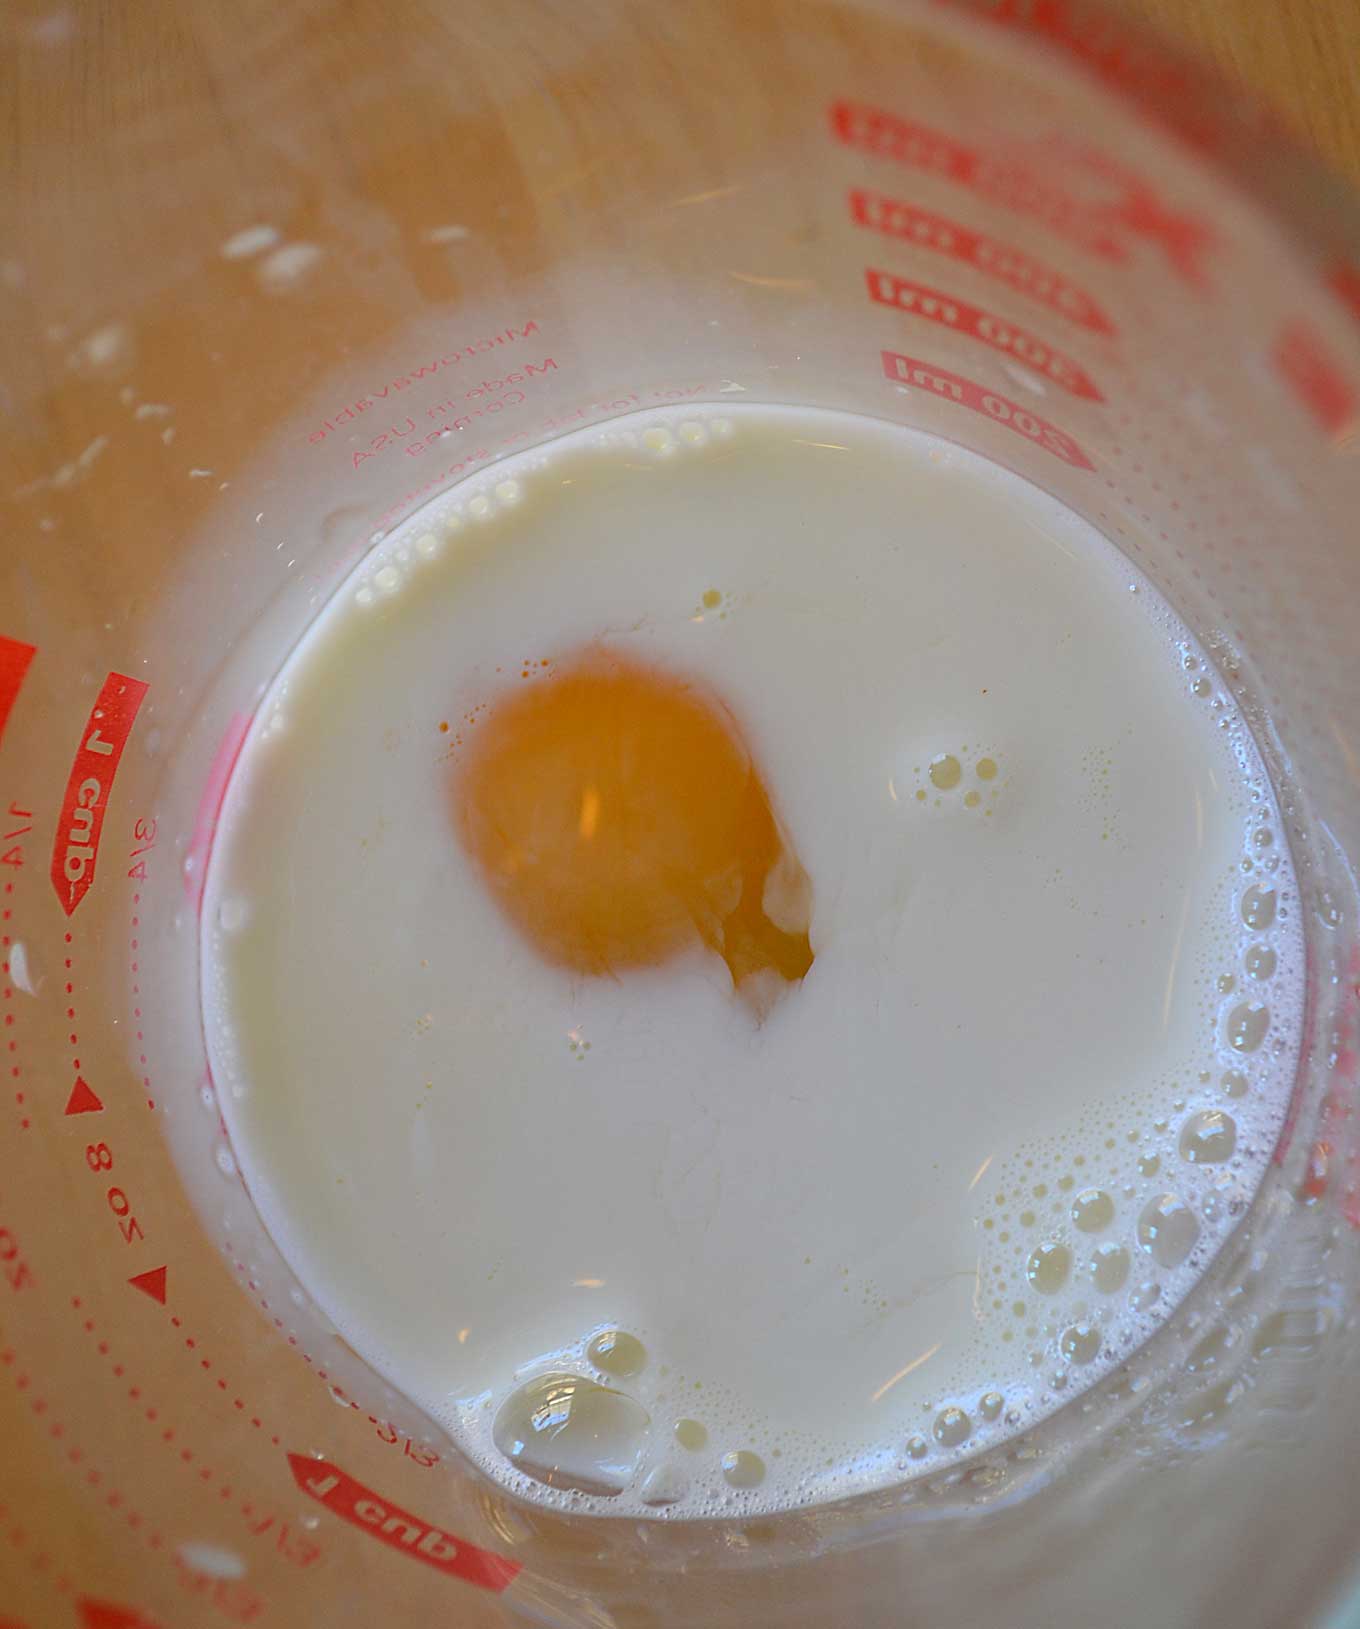
which you have made by combining 1 lightly beaten egg and 1/3 cup of milk in a small bowl.
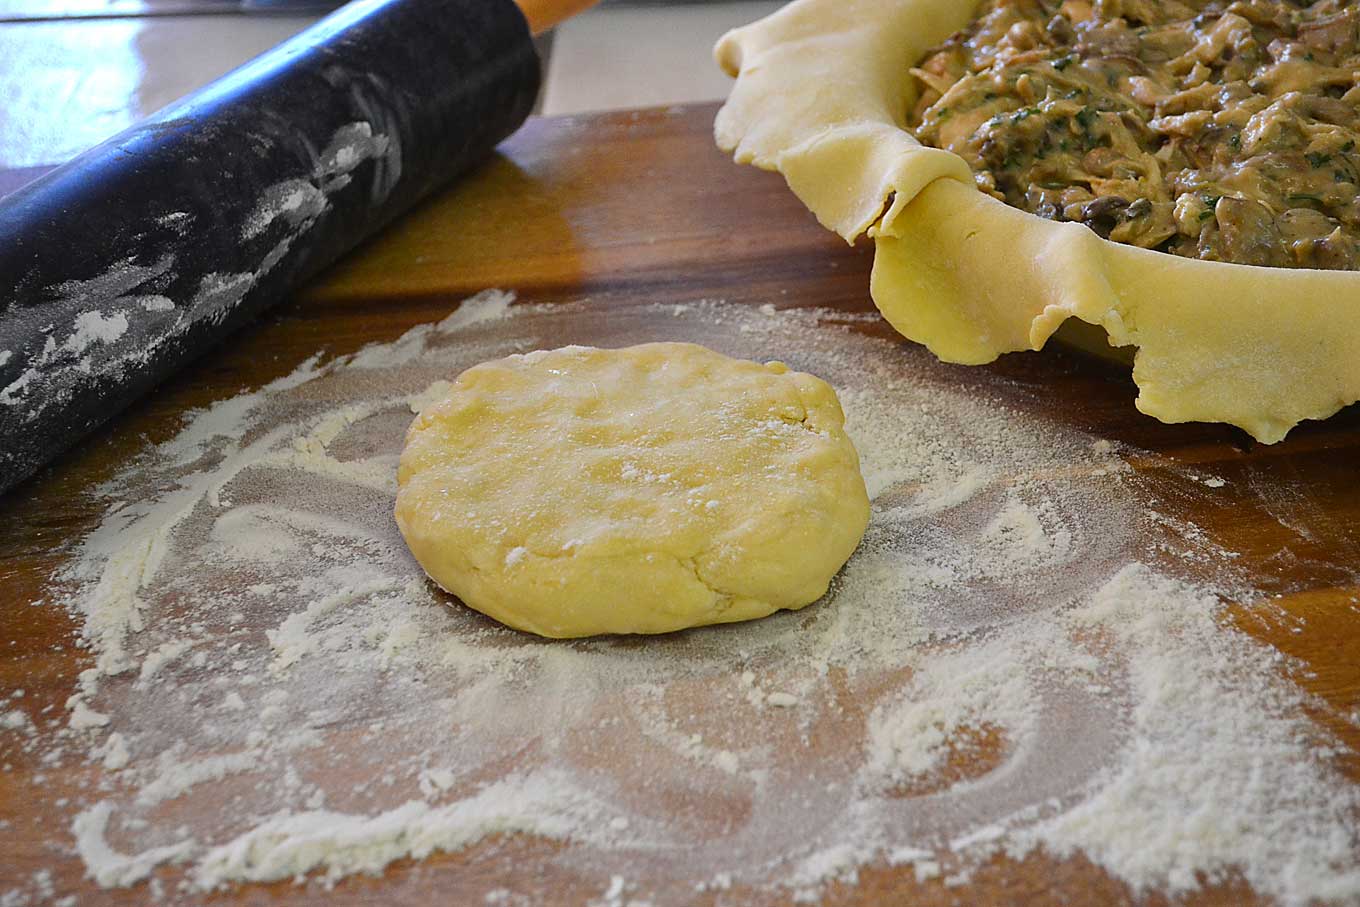
Place the smaller disc on the lightly floured surface.
Roll it out into a 12-inch round. Carefully lay it on top of the pie pan.
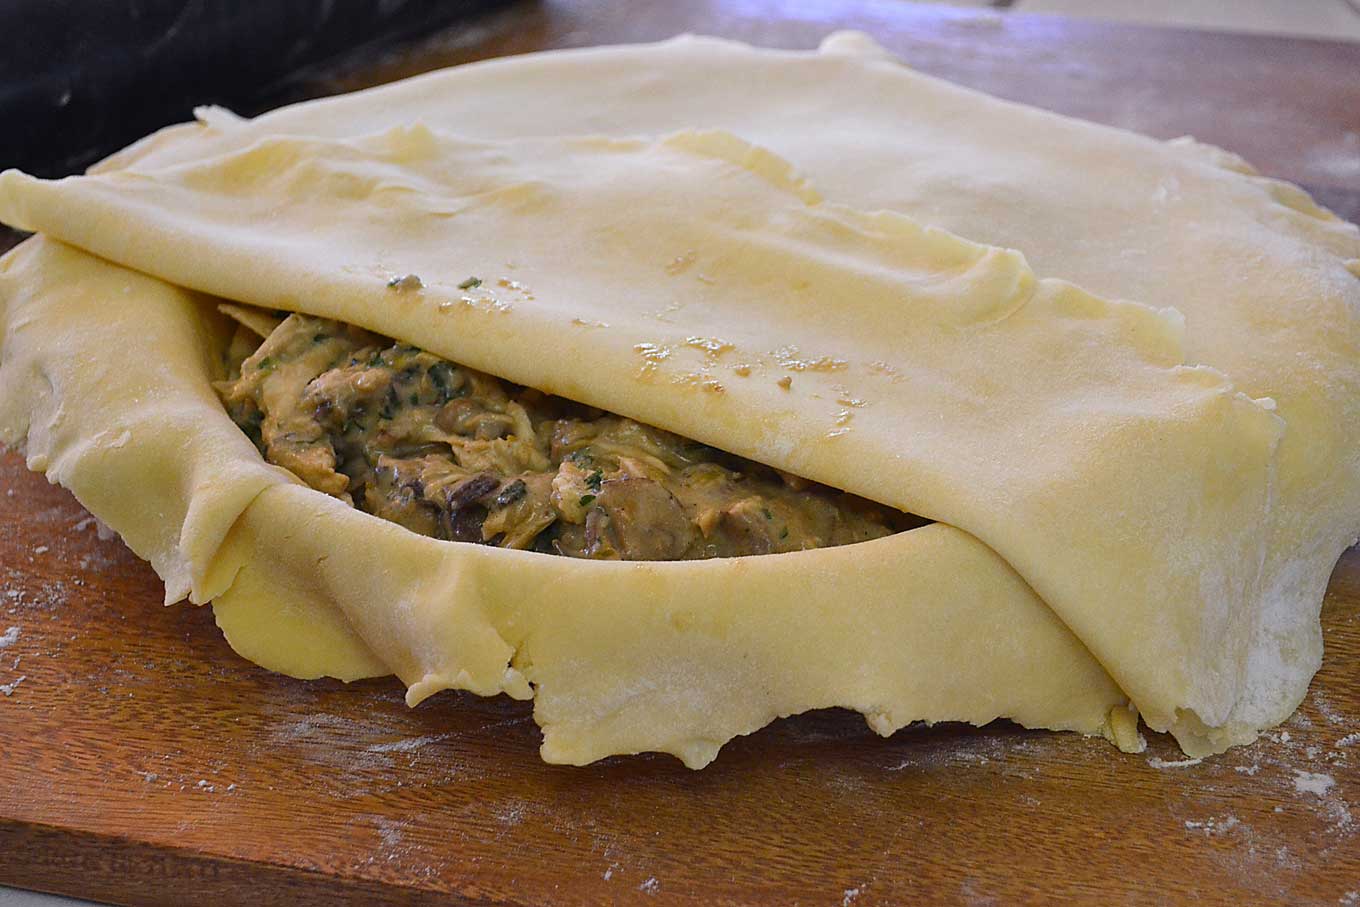
Trim using kitchen scissors, leaving about 1 1/2 inches.
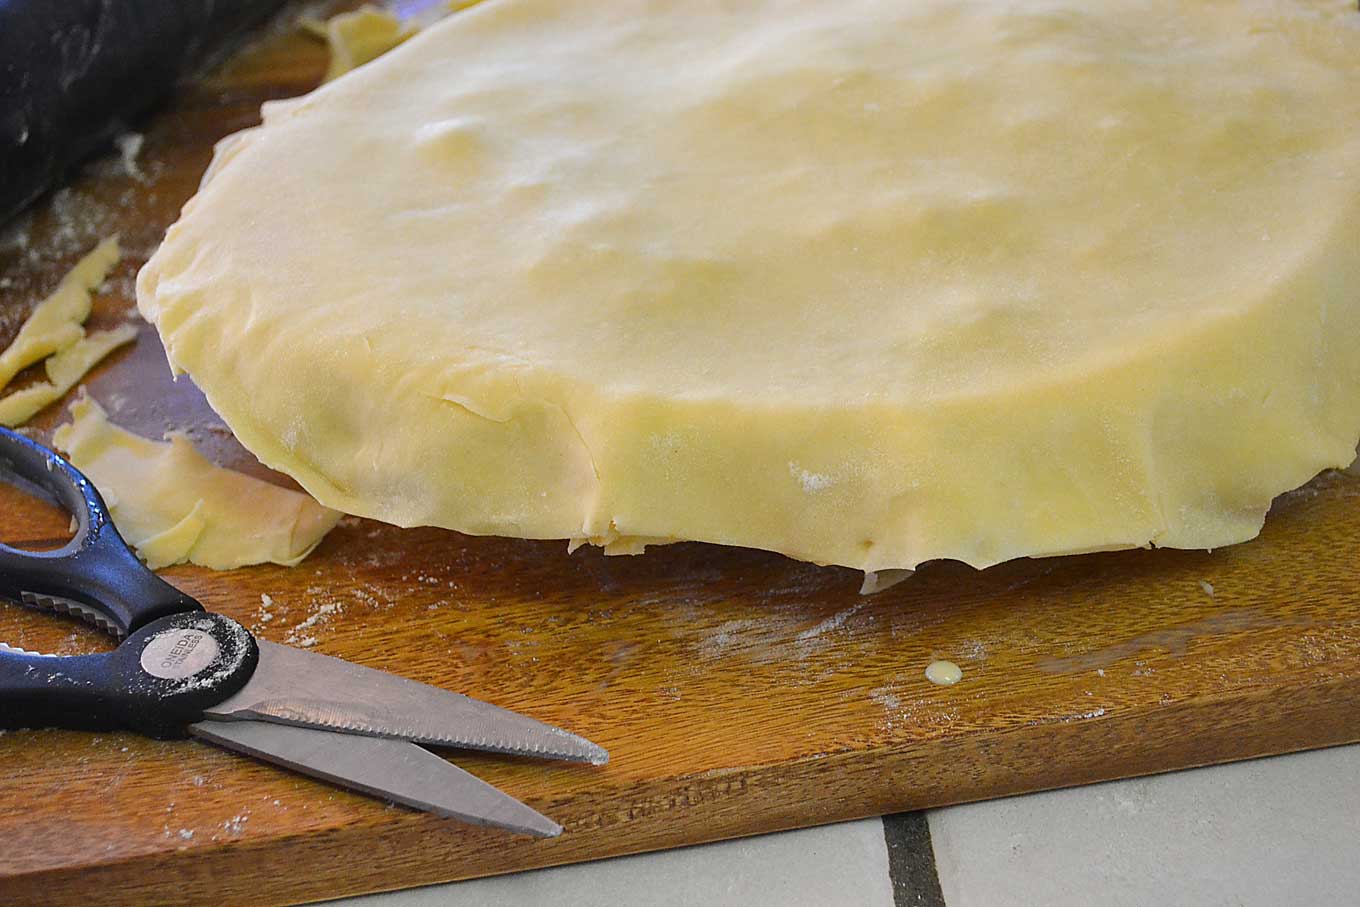
Press the two edges of the pastries together tightly. Fold the overhang dough under itself.
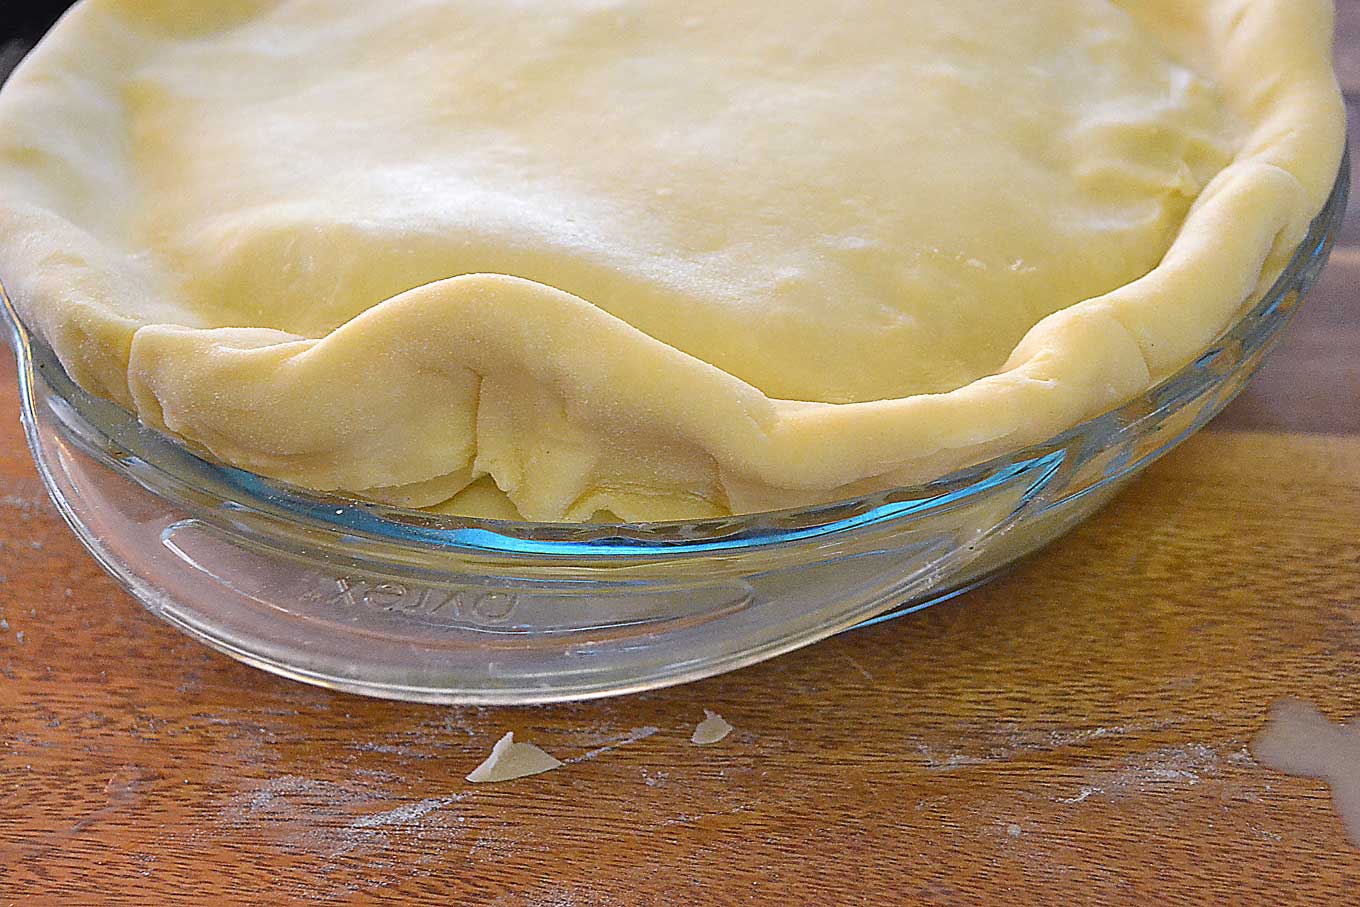
Use your fingers to create a decorative seal. Check out this super helpful video by Fine Cooking. It will show you three different ways to make your pie look as amazing as it tastes. Yay. I used the very basic technique here.
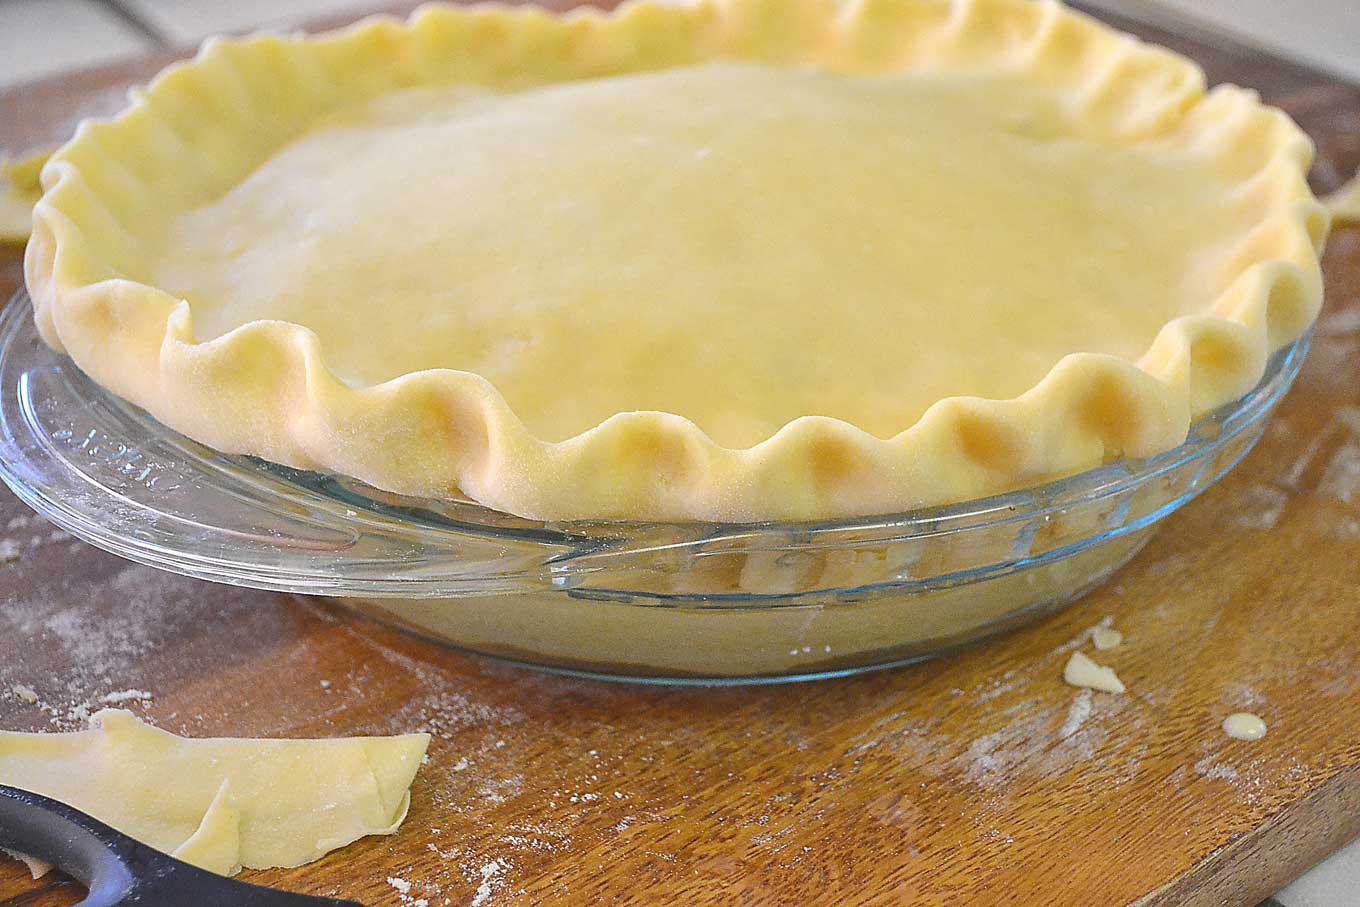
Also cut some slashes in the in the top crust. This will make sure that the steam inside the pie doesn’t build up and grace the walls of your oven. Always helpful.
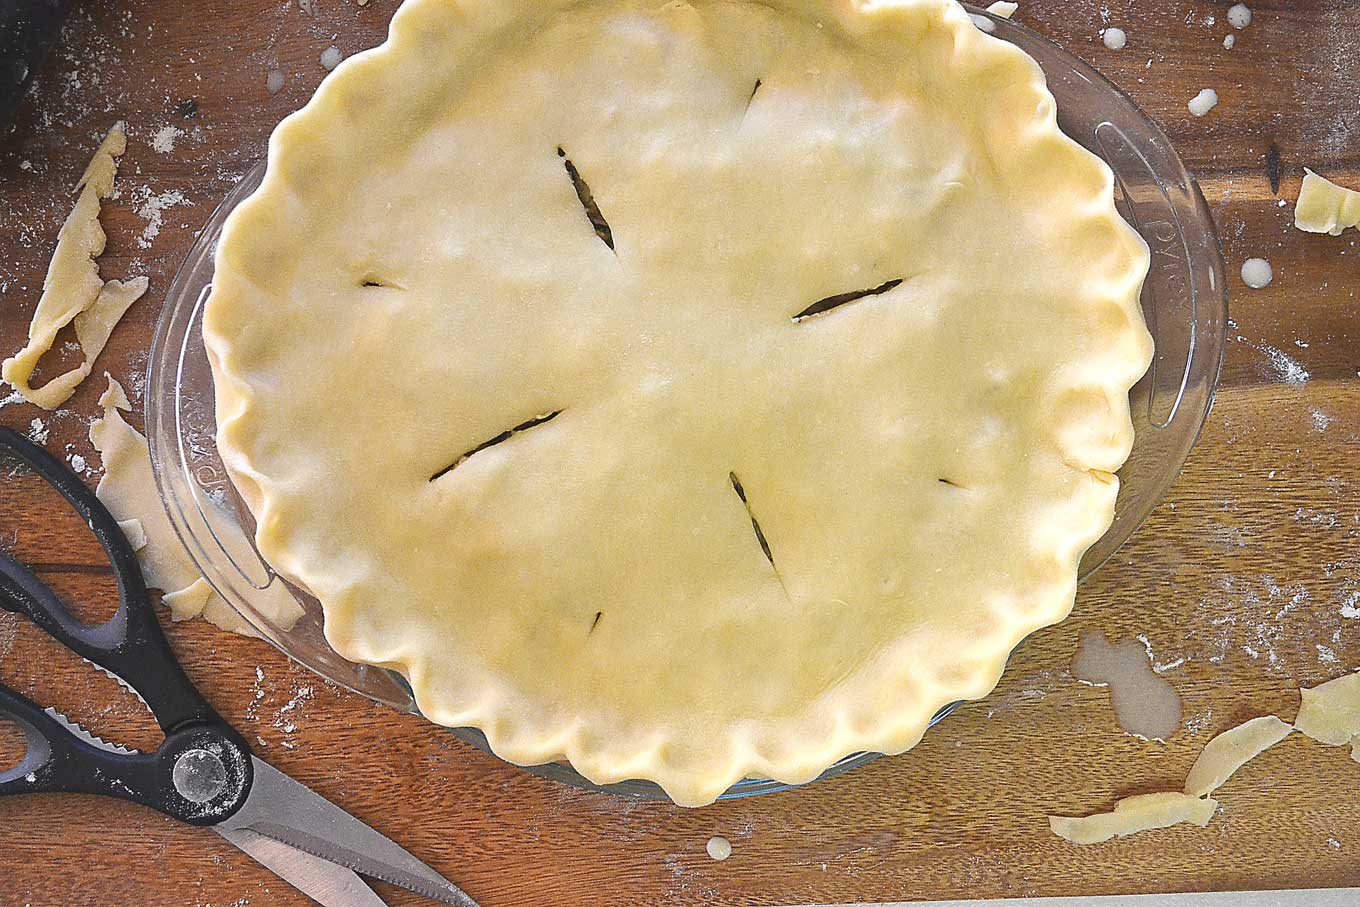
Finally, brush with the egg wash.
Create a crust rim protector with aluminum foil. This will prevent burning the rim of the pie before everything else is nicely cooked and colored.
Place the pie into the oven and lower the temperature to 425°F. Bake the pie for 20 minutes. The crust should begin to get nice and golden in color. Then, lower the temperature to 350°F and bake for an additional 15 minutes. Take the pie out and quickly and carefully remove the crust protector and bake for an additional 30 minutes. You should see some of the pie’s filling bubbling out of the slits in the top pastry dough at this point. If the crust starts coloring too quickly, cover it loosely with aluminum foil. Remove the pie from the oven and allow to cook for 20 minutes before serving. Makes 1 9-inch pie, or about 6 servings.




Leave a Reply