how to make a savory pie crust
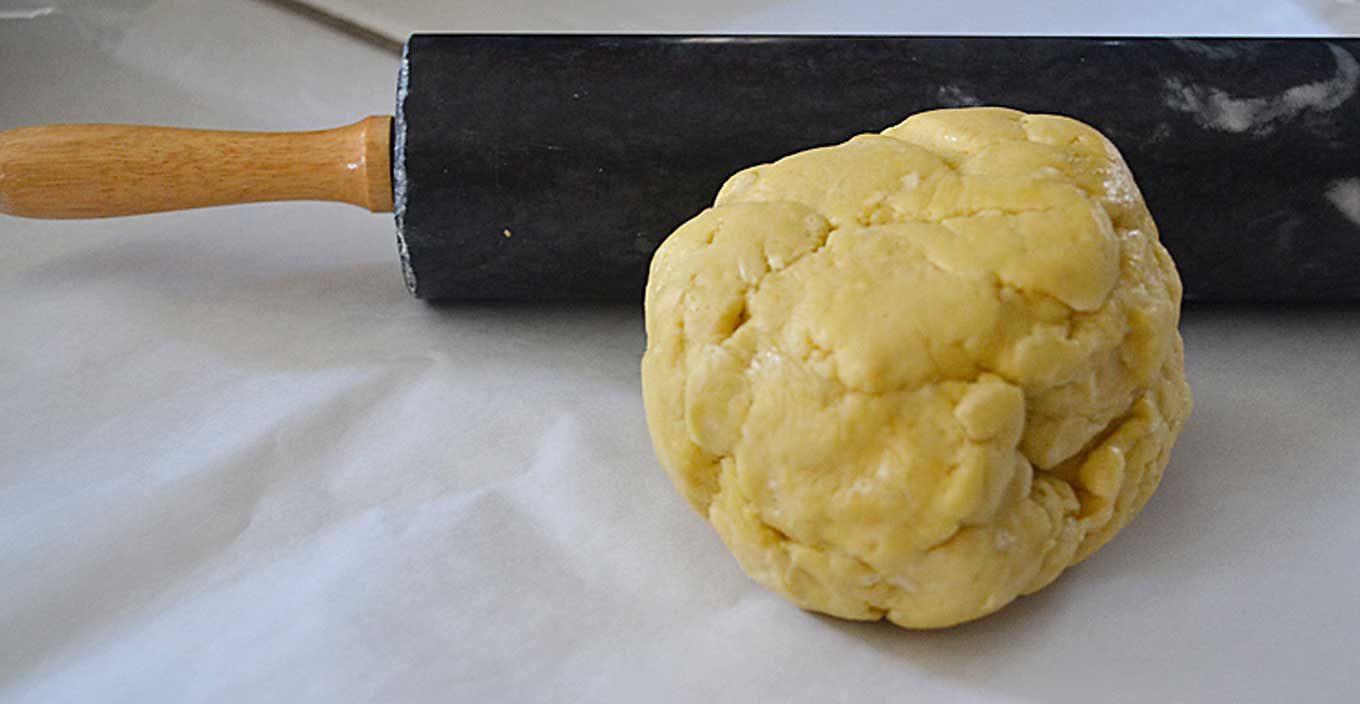
Using am upright mixer takes all the sweat-breaking work out of making pastry dough from scratch.
Ingredients:
1 ¾ cups all-purpose flour
¼ teaspoon salt
¾ cup (1 ½ sticks) of chilled, unsalted butter, cut into ½ inch cubes
2 tablespoons (or more) of ice water
How To:
Blend flour and salt in a stand mixer like a KitchenAid. Add the butter.
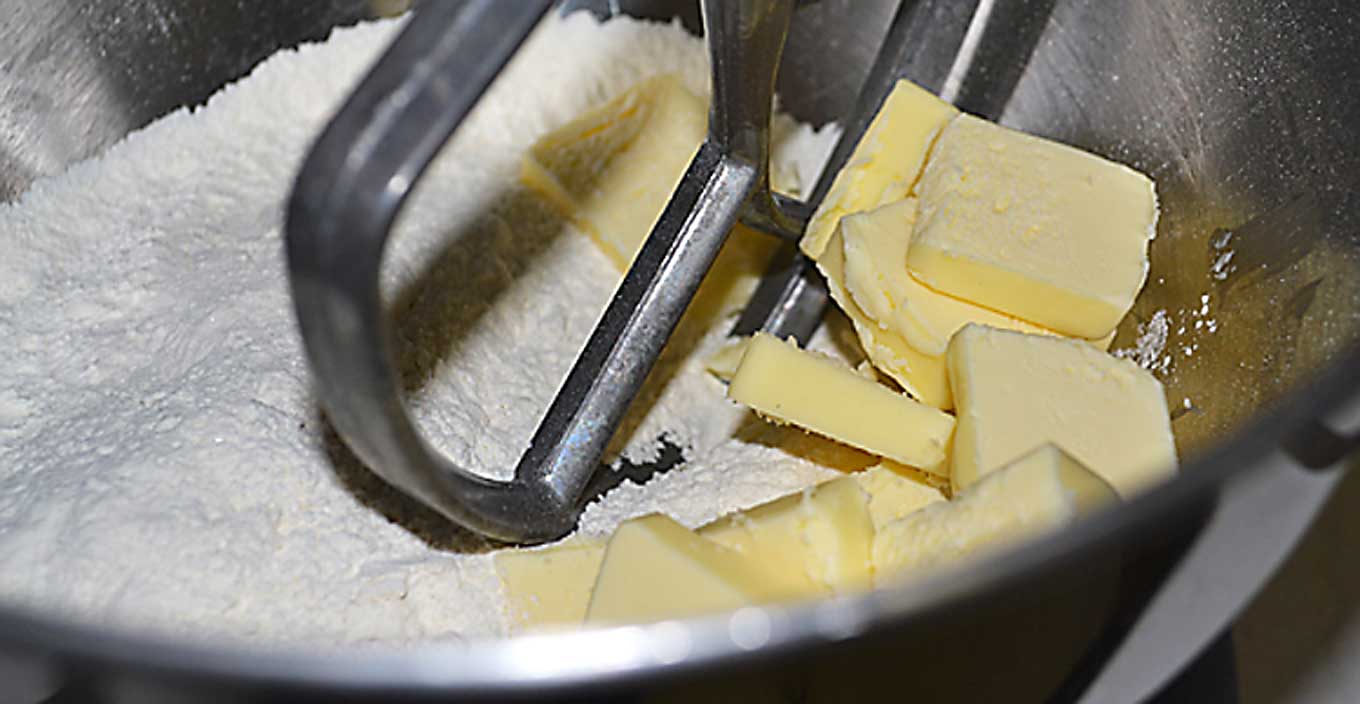
Blend.
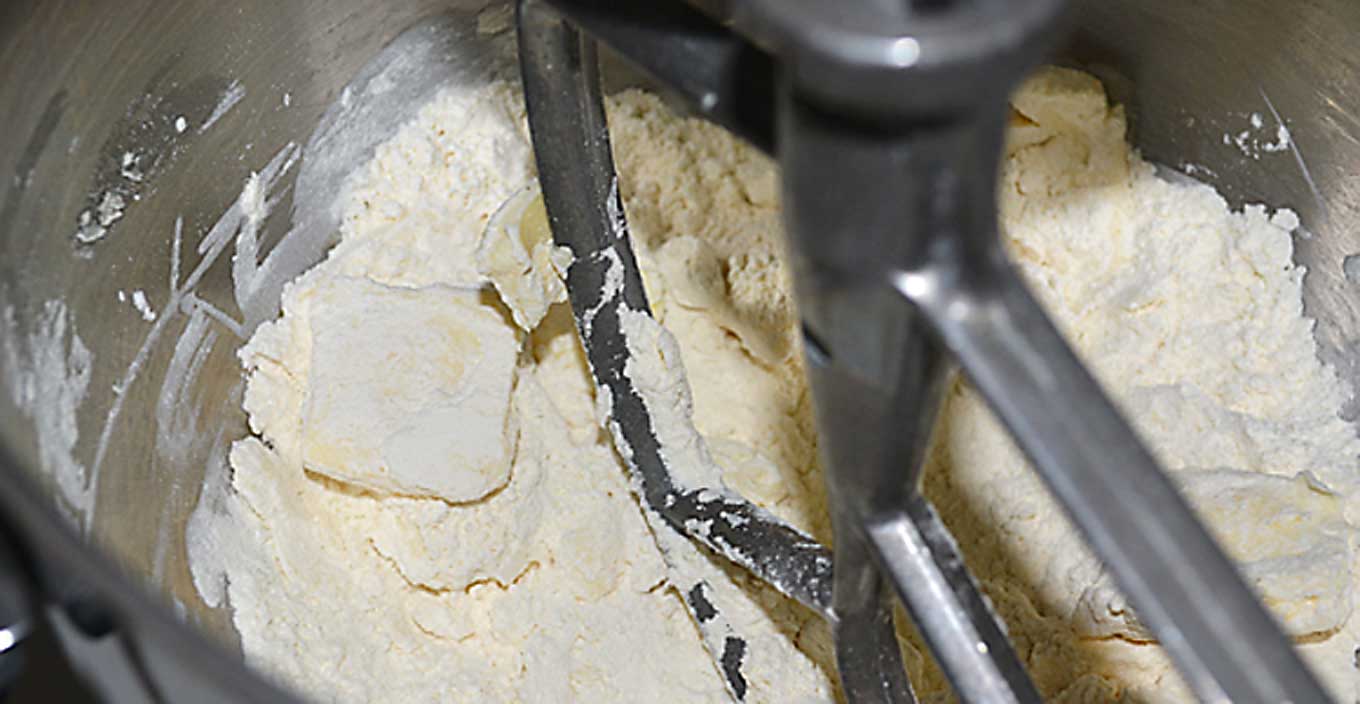
Continue blending, intermittently turning the stand mixer on and off.
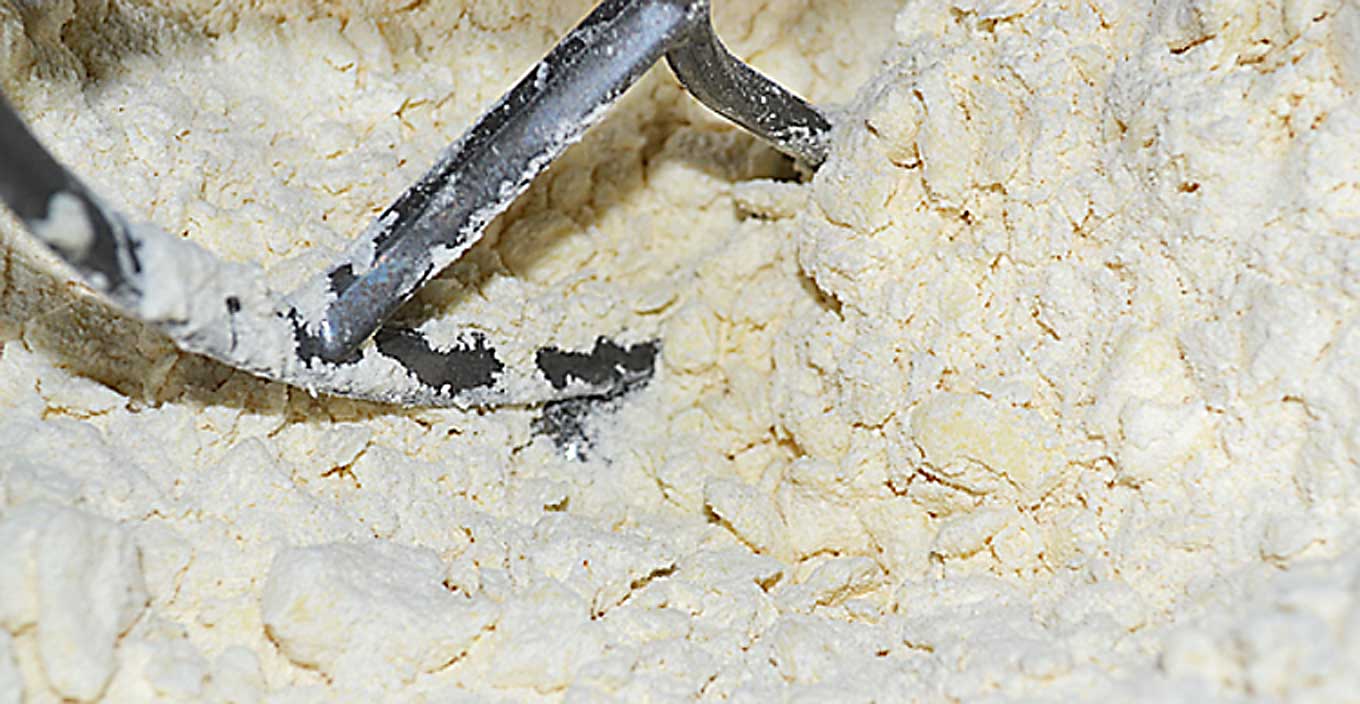
You’re done when the mixture resembles coarse meal.
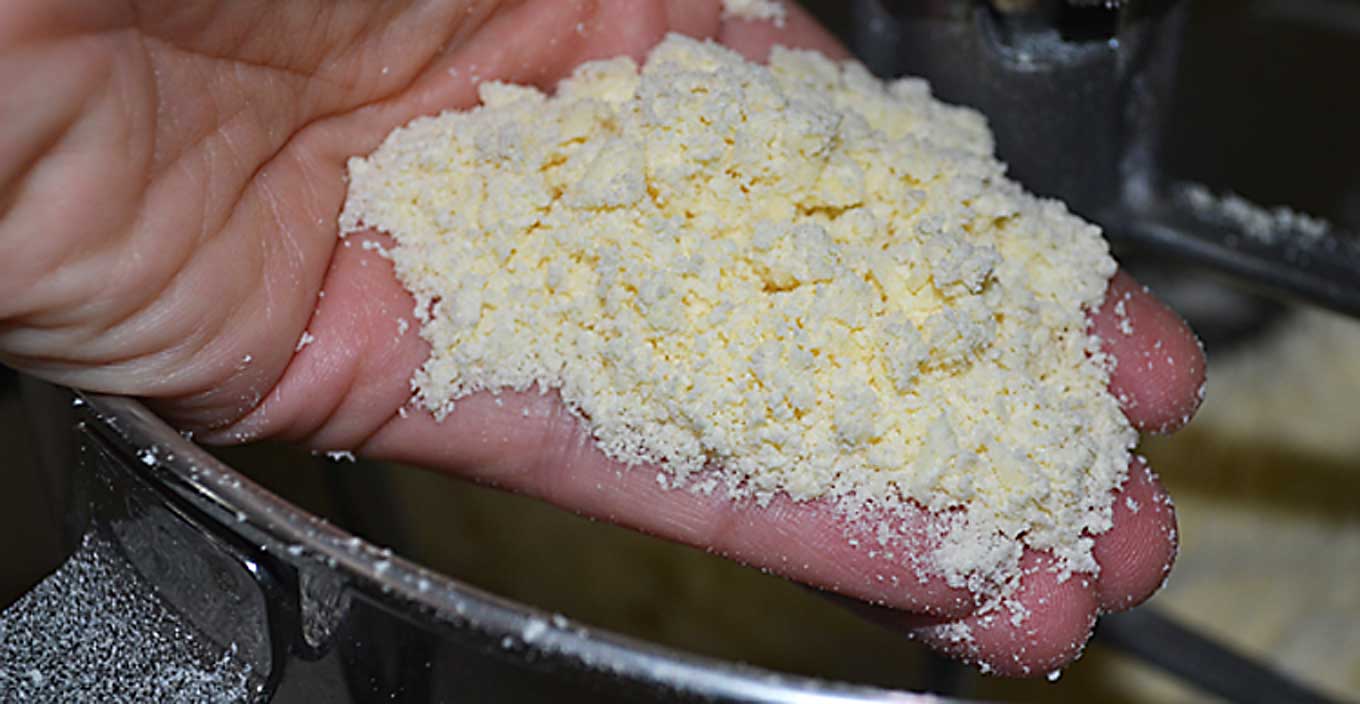
Add two tablespoons of ice water and blend until the dough begins to clump together. I usually wait until the whole thing is stuck to the beater blade.
Remove the dough from the blade and roll it up into a ball. Wrap in clear food wrap and chill for at least 1 hour. (You can keep it refrigerated for up to two days, in case you want to get a jump start on something you’re planning on making the next day.)
Take the dough ball out of the fridge and place it on a flat surface on which you can roller-pin. Now you’ll need to roll out the dough between two sheets of parchment paper. To do this, I’ve started using this nifty kitchen paper called Non-Stick Pan Lining Paper, which has aluminum on one side and parchment paper on the other. I like it because it allows me to easily handle the dough once it’s to the thinness that I need and also because it’s much stronger than regular wax paper. This means that it doesn’t tear when I’m rolling and managing the dough. You can find it alongside all the other wax papers and aluminum foils at the supermarket. I just love it.
So, back to rolling out the dough…you will need to roll it until it’s approximately 1/8 of an inch. You do this by first flattening out the ball by gently…well, beating it down with the rolling pin. : ) It’s a great way to let your frustration out AND to very quickly get the ball flattened out enough to be able to actually roll it. Every once in a while, turn the paper 45 degrees and continue rolling. Doing this helps to create close to a circle. In the picture below, I removed the top paper so that you could see.
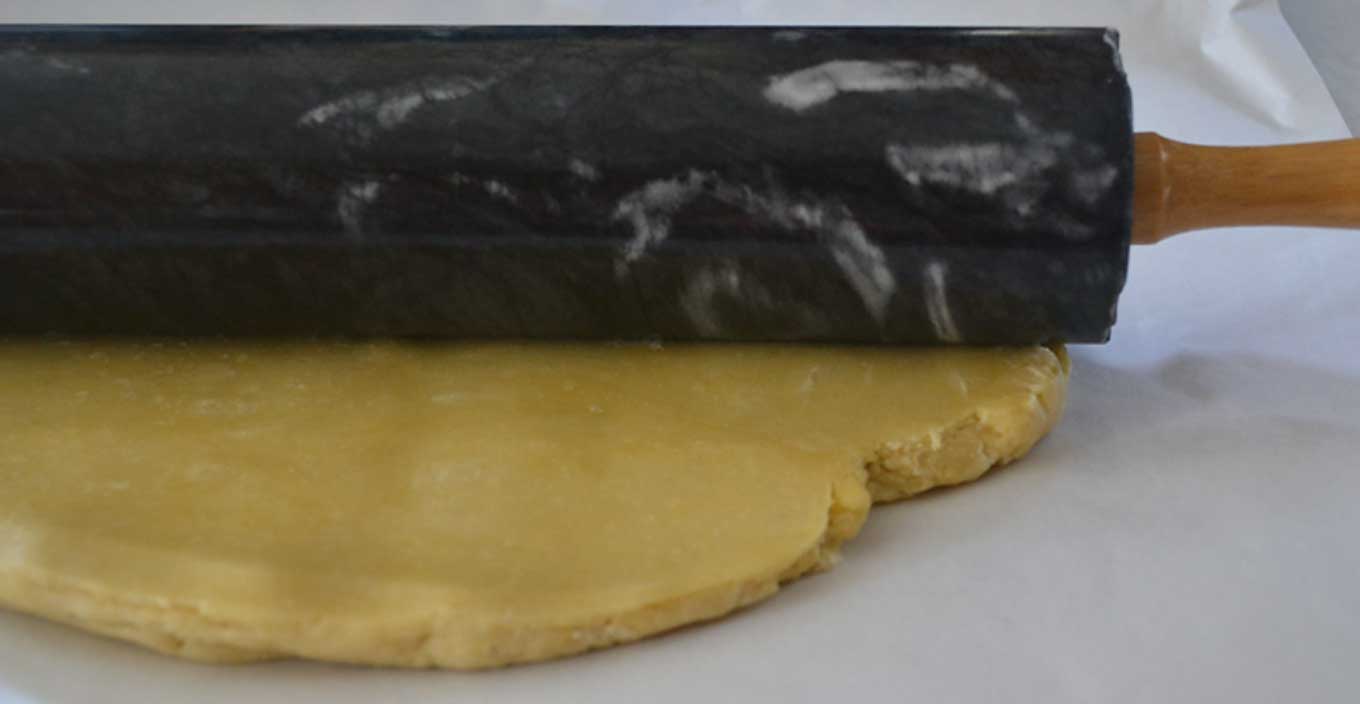
Once it’s two inches or so larger than the baking dish you’re going to use, you are done rolling, which is my favorite part.
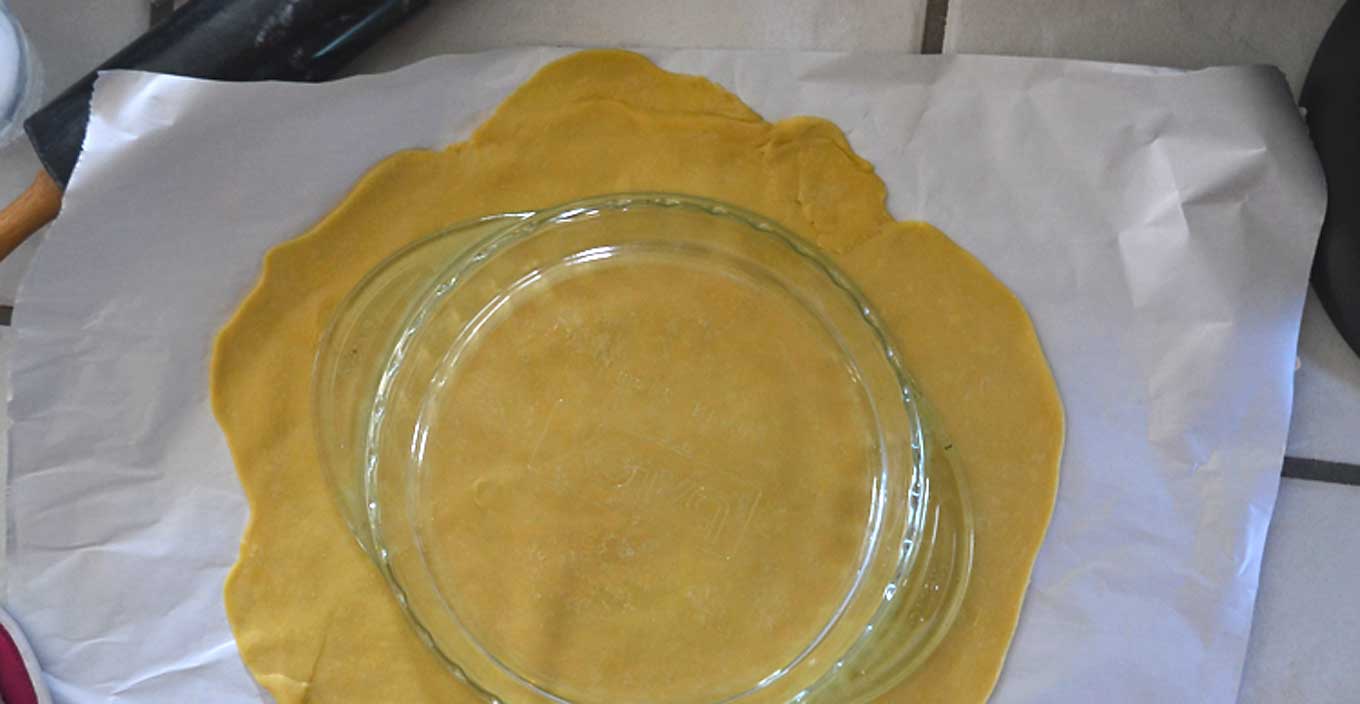
Then gently flip the dough and paper.
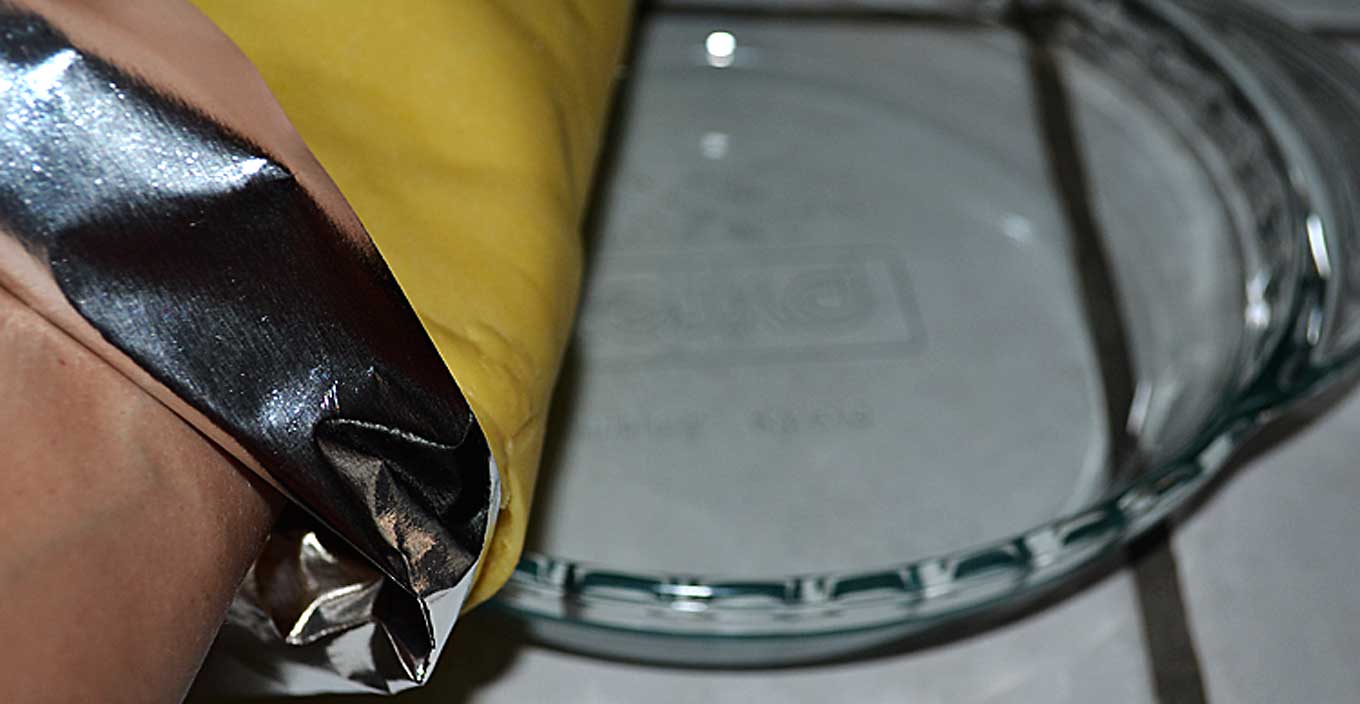
Center it on the baking dish and carefully detach it from the paper.
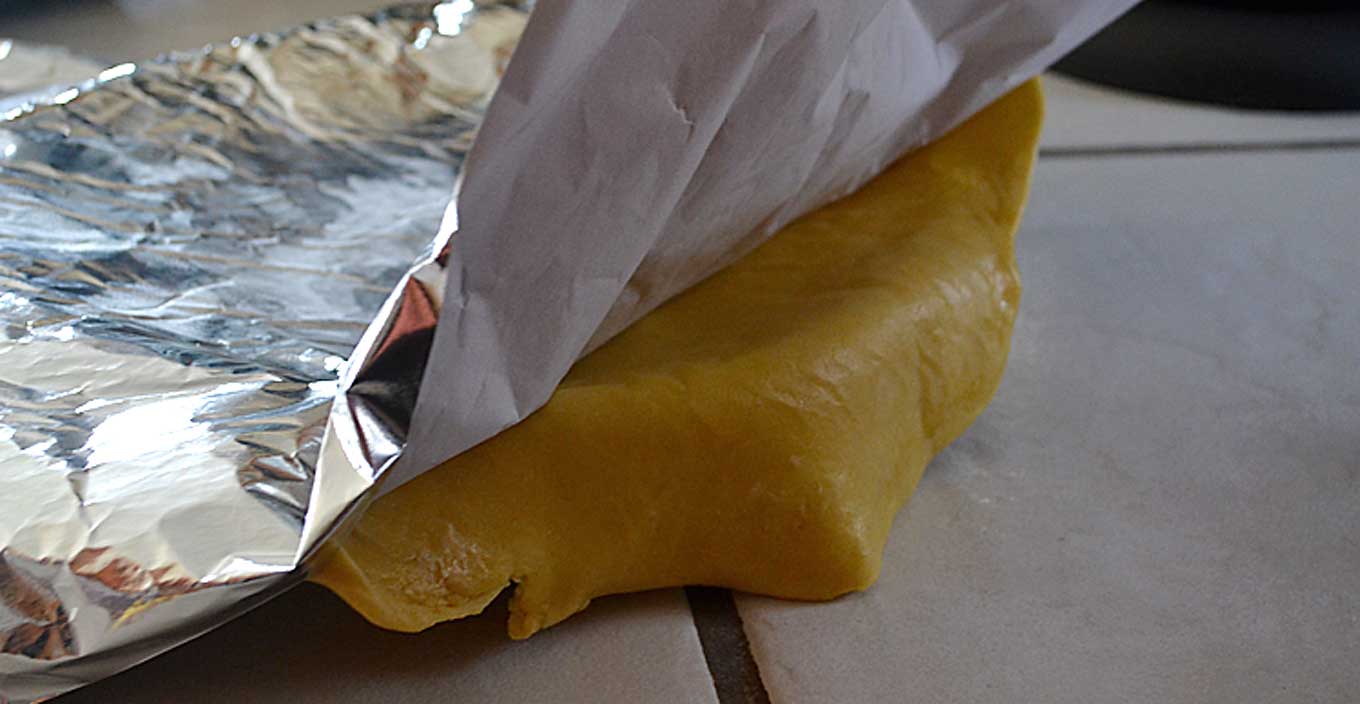
You shouldn’t have any difficulty doing this, but if you do, chances are the dough has gotten a little too warm and so it’s acting fussy. Put the dough in the fridge (I usually find a way to just lay it flat on whatever I have in the fridge) for 5 minutes or so to allow the butter to harden a bit, which will then allow you to handle the dough more easily.
Center the dough. Right after I took this shot, I actually shifted it slightly to the right, as there was too much dough on the side you can easily see.
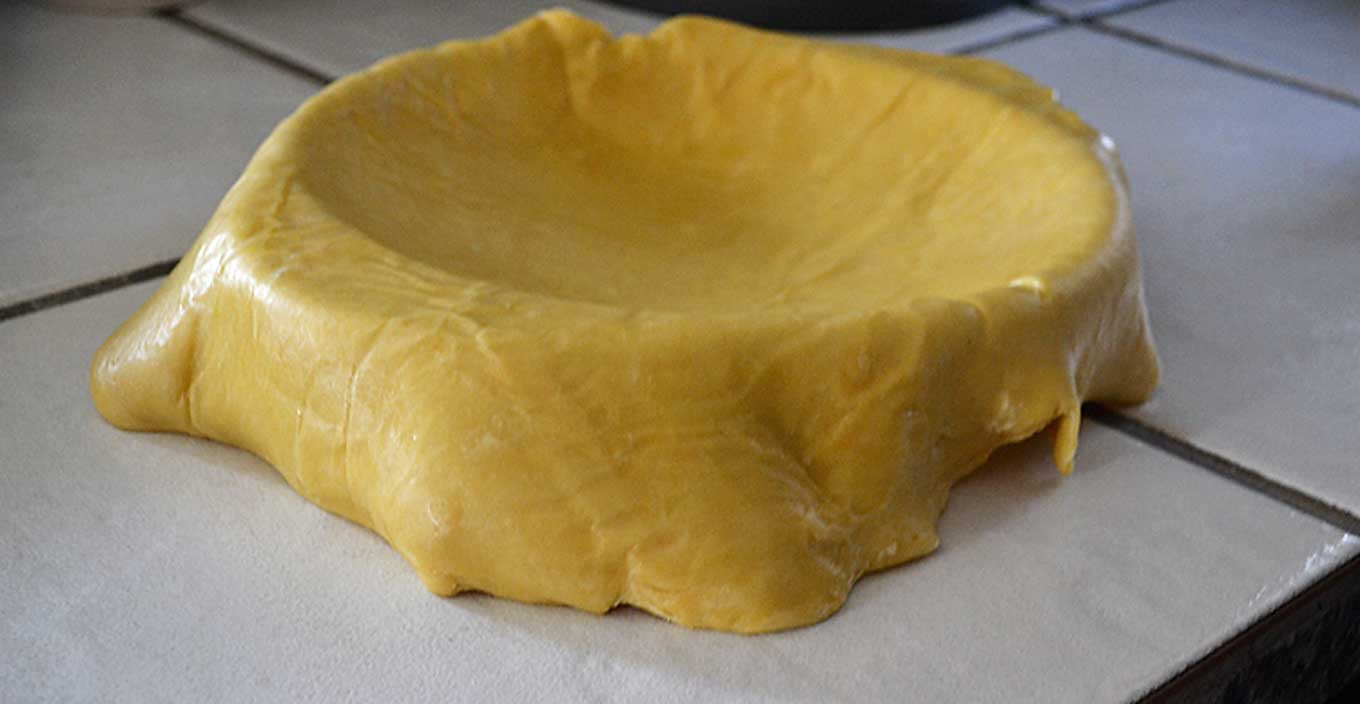
Then lightly adjust the dough down into the baking pan, so that it’s touching the sides of the baking dish.
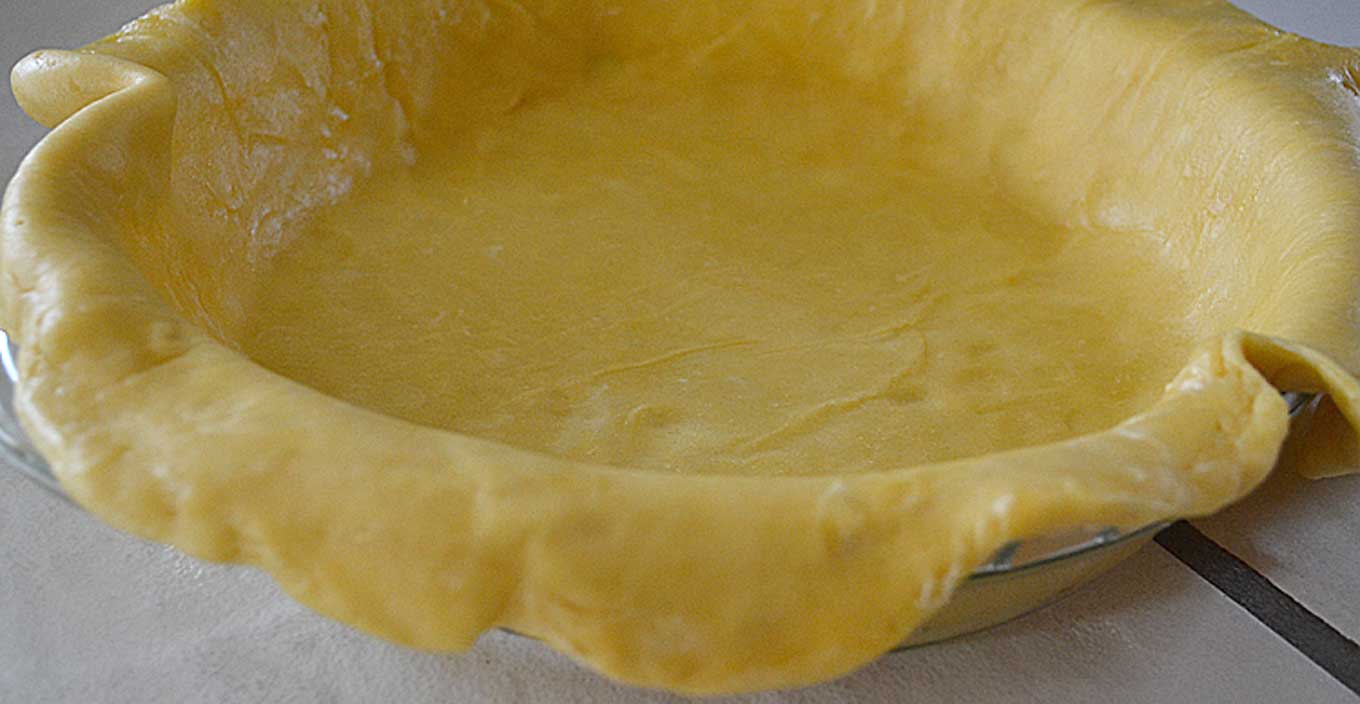
Prick the sides and bottom of the dough with a fork.
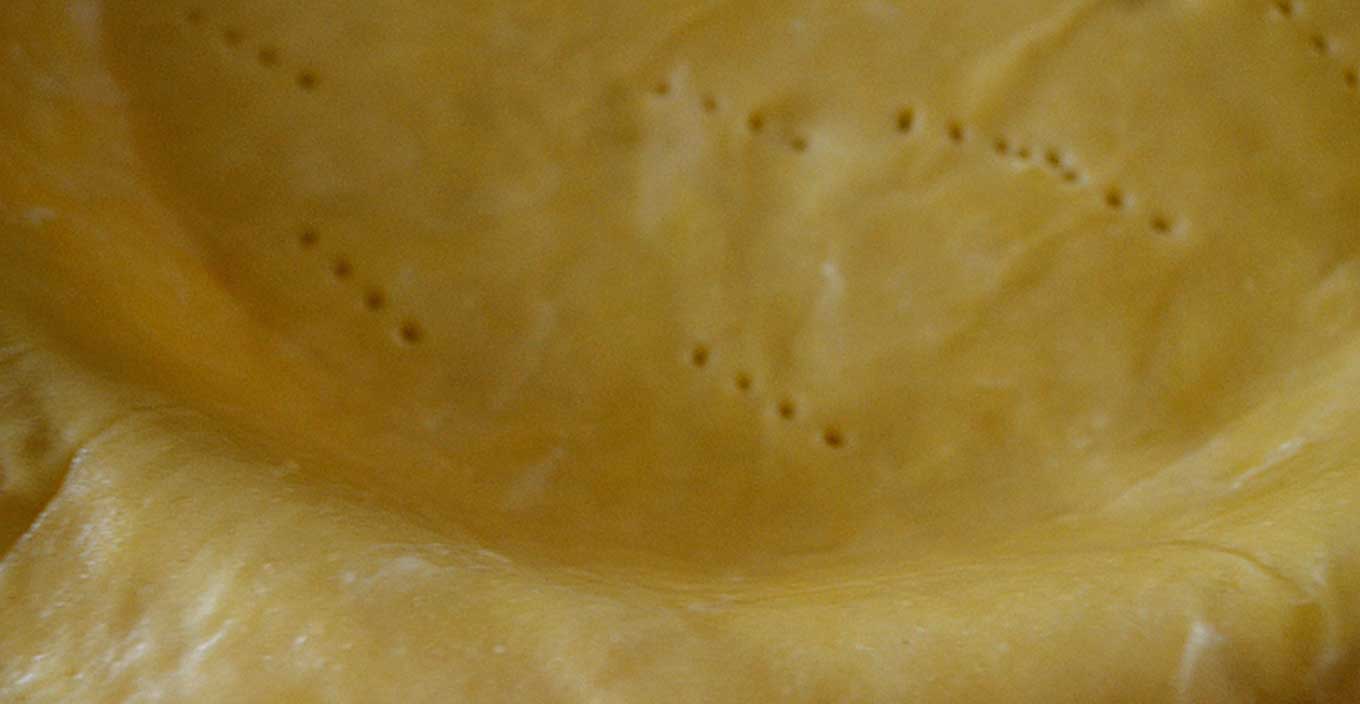
You are then done. All you’ll need to do is to fill it with something delicious and then fold the side of the dough over to form a crust. This creates the beautiful rustic look that I so love.
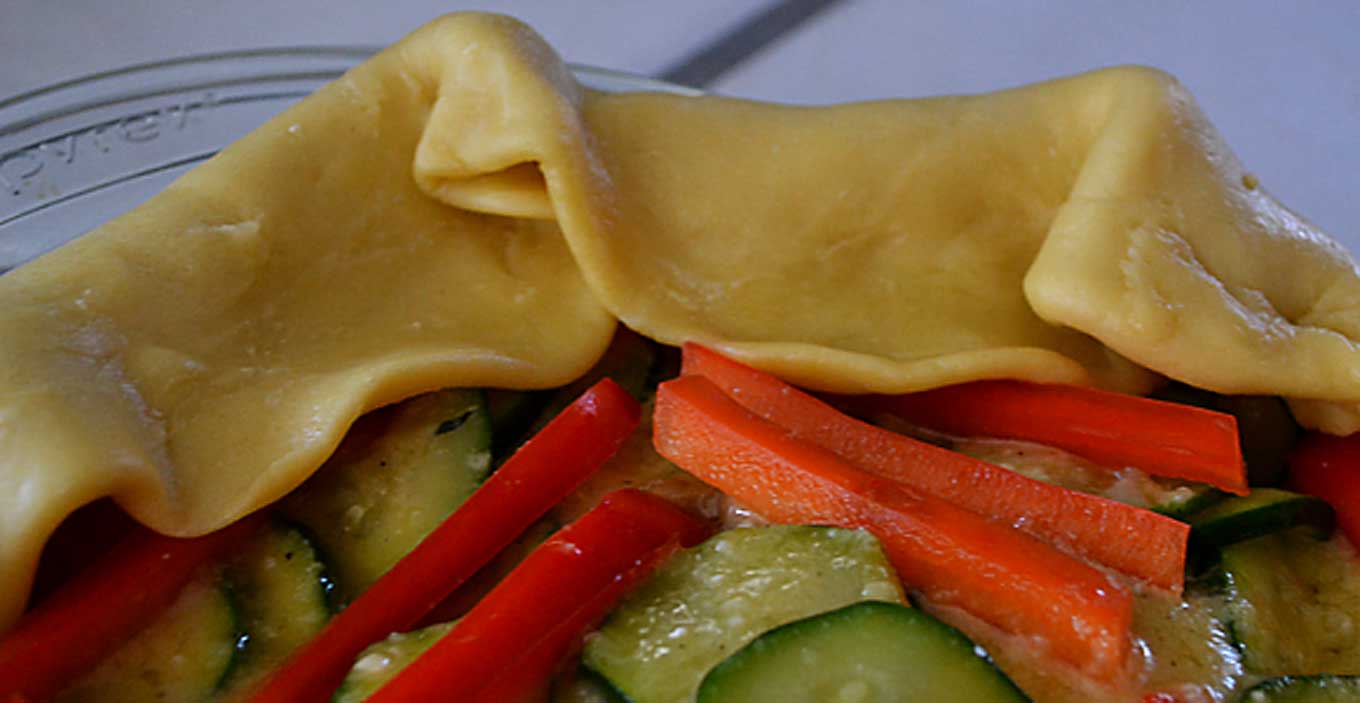
Should you be in the mood for something that looks a little more “finished-looking,” you can do this. Go to where the folds in the crust are and place your index and middle finger against the outside of the piecrust.
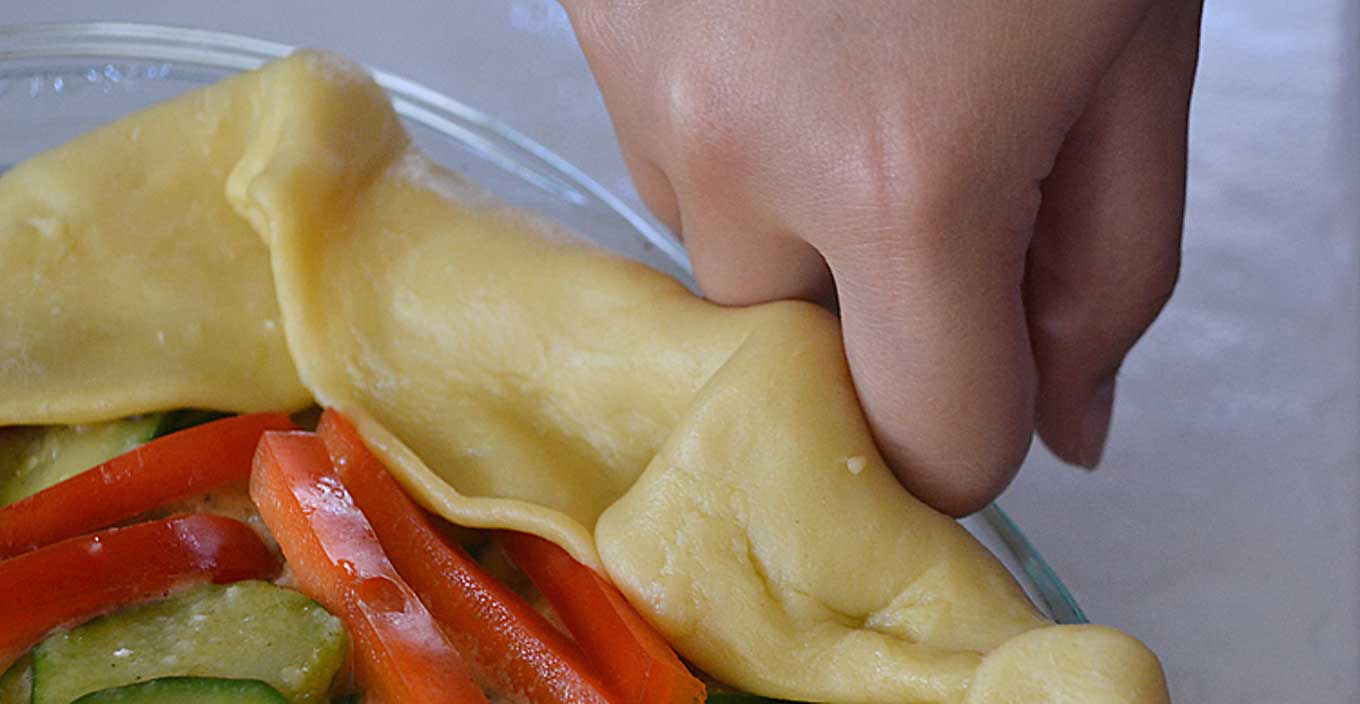
Then with the index finger of your other hand, press into the dough from the other side.
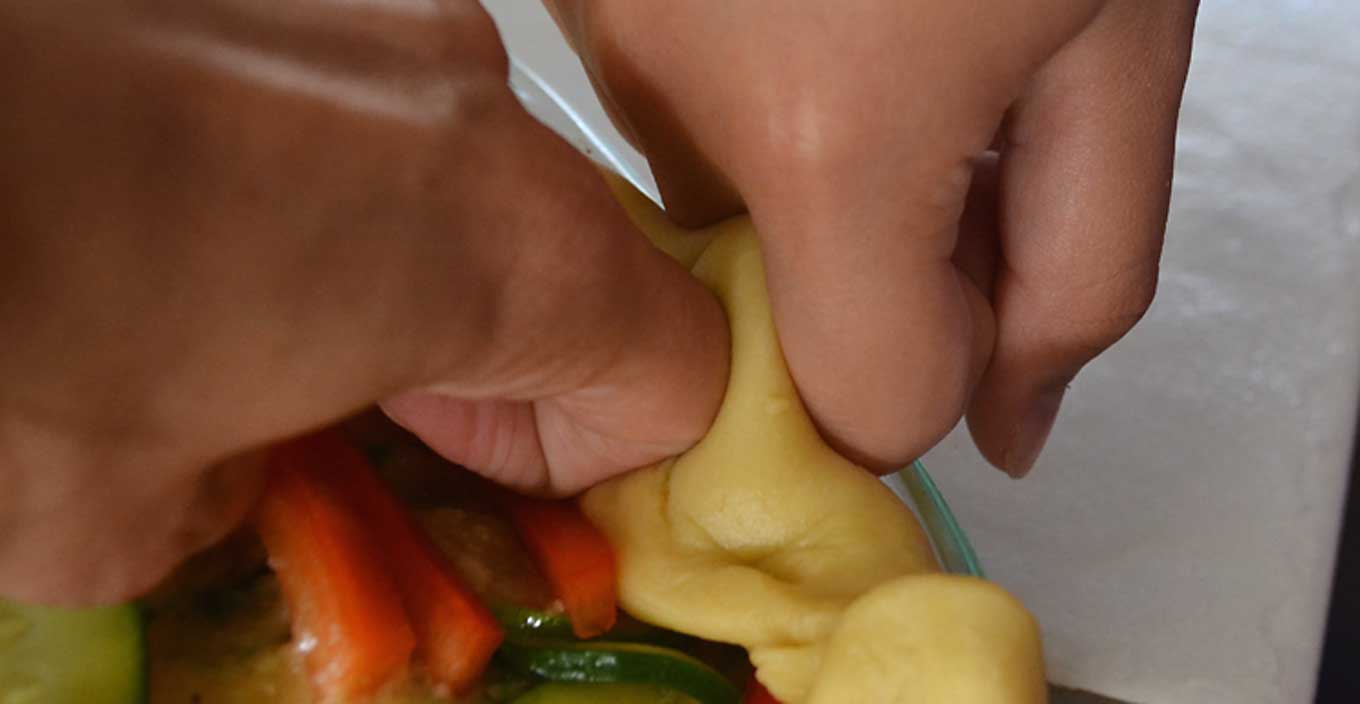
Voila! It will create a cute little ridge in the dough. You may need to experiment a few times before you get the hang of it.

