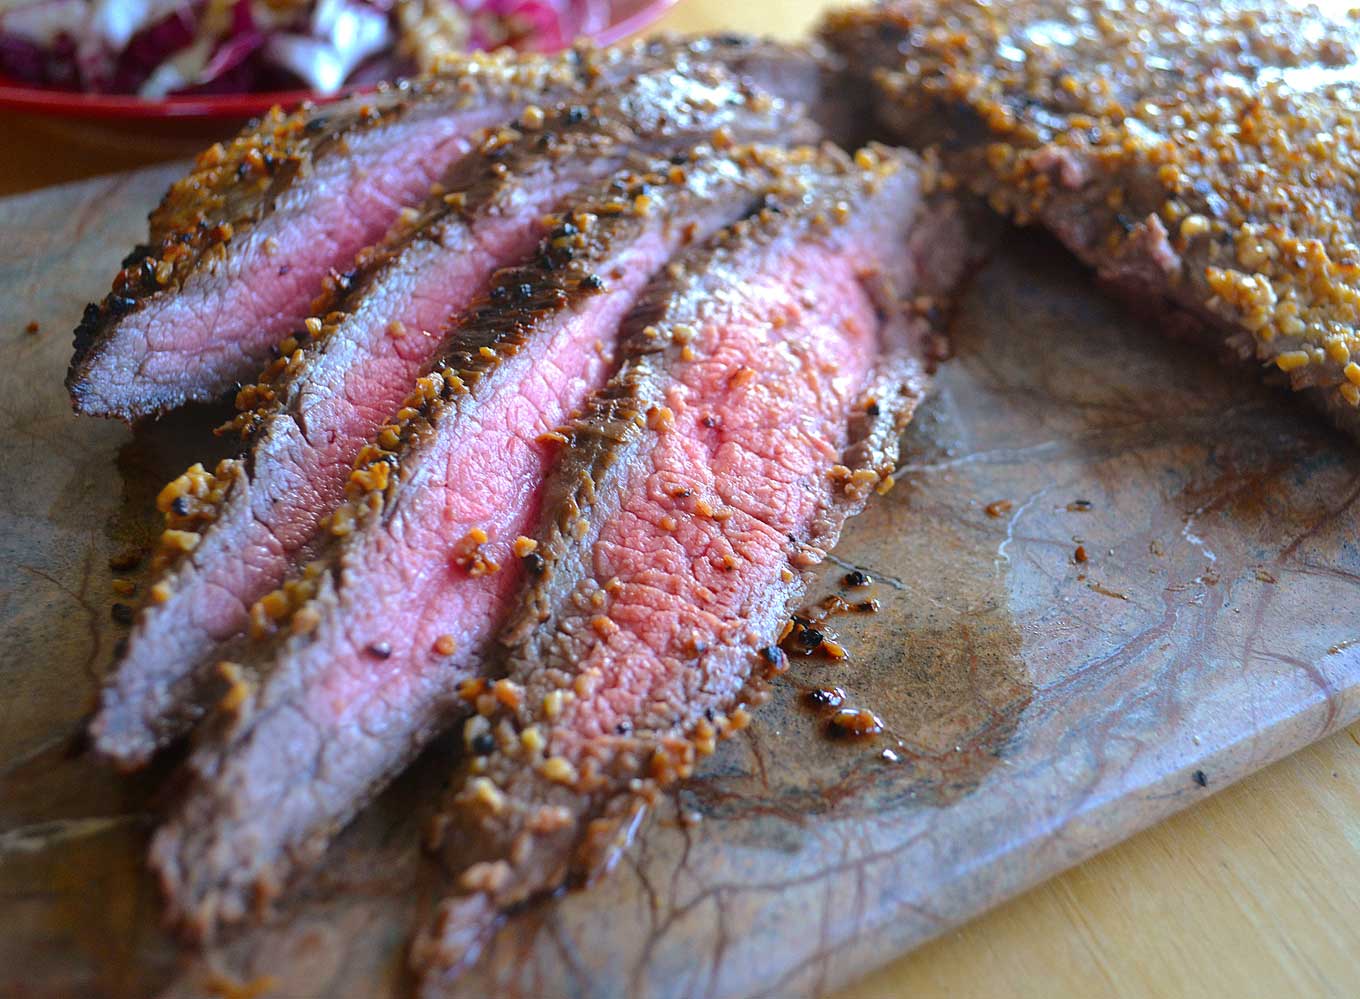
Feminists out there may cringe when I say this, but I love being a woman because I’m not expected to grill. It’s not for me…having to stand over all that heat, sopping up the beads of sweat streaking down my brow, waving the billowy smoke away from me and, worst of all, swatting at the pesky bugs set on fraternizing around the fire.
Unfortunately for our otherwise blissfully happy family unit, grilling is not for my husband either. He tries, bless his heart, but things end up either too raw in the middle or too ‘crispy’ on the outside. Now, when he suggests grilling something, I think Alaska can hear me swallow. Hard.
I thought I was destined for a life of devouring deliciously grilled steaks either at restaurants or at friends’ homes. Then I discovered the almighty broiler, or where I’ve stored my flat pans at various points in my life. Of course, broiling can’t beat the distinct flavor you get using a charcoal grill, especially when mesquite or hickory wood is added to the mix, but it certainly can hold a candle to gas grills.
American food journalist and author Mark Bittman described this kitchen tool best: “If I’d told you I had an appliance that could brown like a grill, was as convenient as your oven, and cooked most food in less than 10 minutes, you’d buy it. But you don’t need to.” Indeed. Using it has brought cooking delicious steaks back into the annals of my family’s cooking repertoire. Now, liberated from my personal misgivings about grilling, not to mention the whims of inclement weather, I have become a rather proficient broiling machine.
Some say that a broiler is primarily a go-to tool for confident cooks, but I believe it just takes an informed one. The confidence comes over time, with each delicious cut of meat you prepare. All it takes is a watchful eye and following a few simple techniques.
For starters, use a shallow roasting pan with a raised rack, like what you use to cool cookies, instead of broiler or cast iron pans. The rack allows air to circulate underneath the meat as it’s cooking and prevents it from steaming on the bottom and looking grayish.
As an added bonus, raising the meat from the pan also helps to cut down on smoke. The space between the two allows you to cover the bottom of the pan with a thin layer of Kosher salt. The salt then absorbs the super hot fat bubbling out from the steaks and prevents it from burning on the pan and turning your home into a smoke house.
Second, broil meat only after it has reached room temperature. If the middle of the steak is still really cold when you broil it, it won’t cook evenly. This requires taking it out of the fridge and allowing it to warm up. Thirty minutes for thin steaks and 2 hours for decadent 1 ½ to 2 inch-thick steaks should do the trick. This rule also applies to grilling.
Third, crank up your oven to its maximum temperature of 550°F before turning on the broiler, and then let the broiler ‘warm up’ for 5 minutes before adding the meat. This concentration of heat is what creates that lightly charred and caramelized crust we crave. Once you add the meat, leave the oven door slightly ajar. This allows a little of the heat to escape and avoids the oven from turning itself off because it thinks it is overheating.
Finally, heat the shallow pan and raised rack until almost crackling hot before broiling on it. You want to hear a nice, happy sizzle when that rib eye or flank steak hits the rack. Doing so allows the meat to cook more evenly because the heat source is now coming from both above and below the steak. I place my pan in the oven right before turning the broiler on and take it out only when I’m ready to cook the meat.
Once you let that cut of meat rest, loosely covered, with aluminum foil for 5 to 10 minutes, you can enjoy a delicious, no hassle steak. Every time. Regardless of weather hiccups or grilling proficiency.
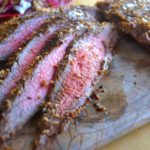
All of this to say, I now can broil up this bad boy in a snap and it’s absolutely delicious and perfectly cooked every time!
My friend Albert Bauer made this particular tasty steak for me and my family a long time ago and I immediately asked him for the recipe. It’s the only type of meat dish, besides meatloaf and breaded chicken cutlets, that my little one eats with abandon. Come to think of it, we all eat this flank steak with abandon!
making garlic & tamari flank steak
Place 1 2-lb. flank steak in a baking dish. Spoon half of the contents of 1 4.5 oz. jar of crushed garlic onto steak. (You can usually find crushed garlic jars by the garlic and onions in the produce section of most supermarkets.)
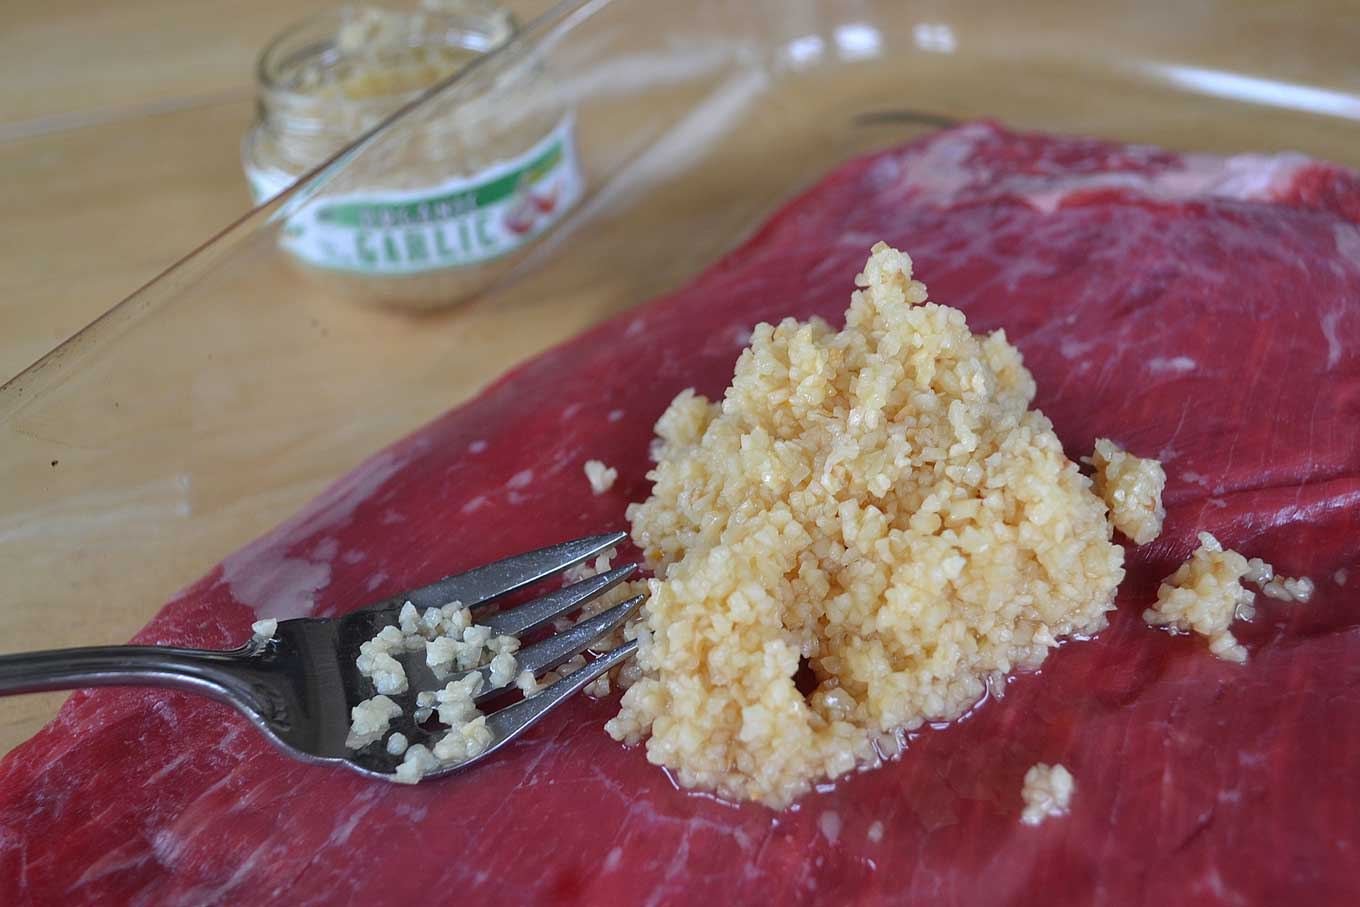
With a fork, distribute the garlic throughout the entire steak by rubbing it following the grain of the meat.
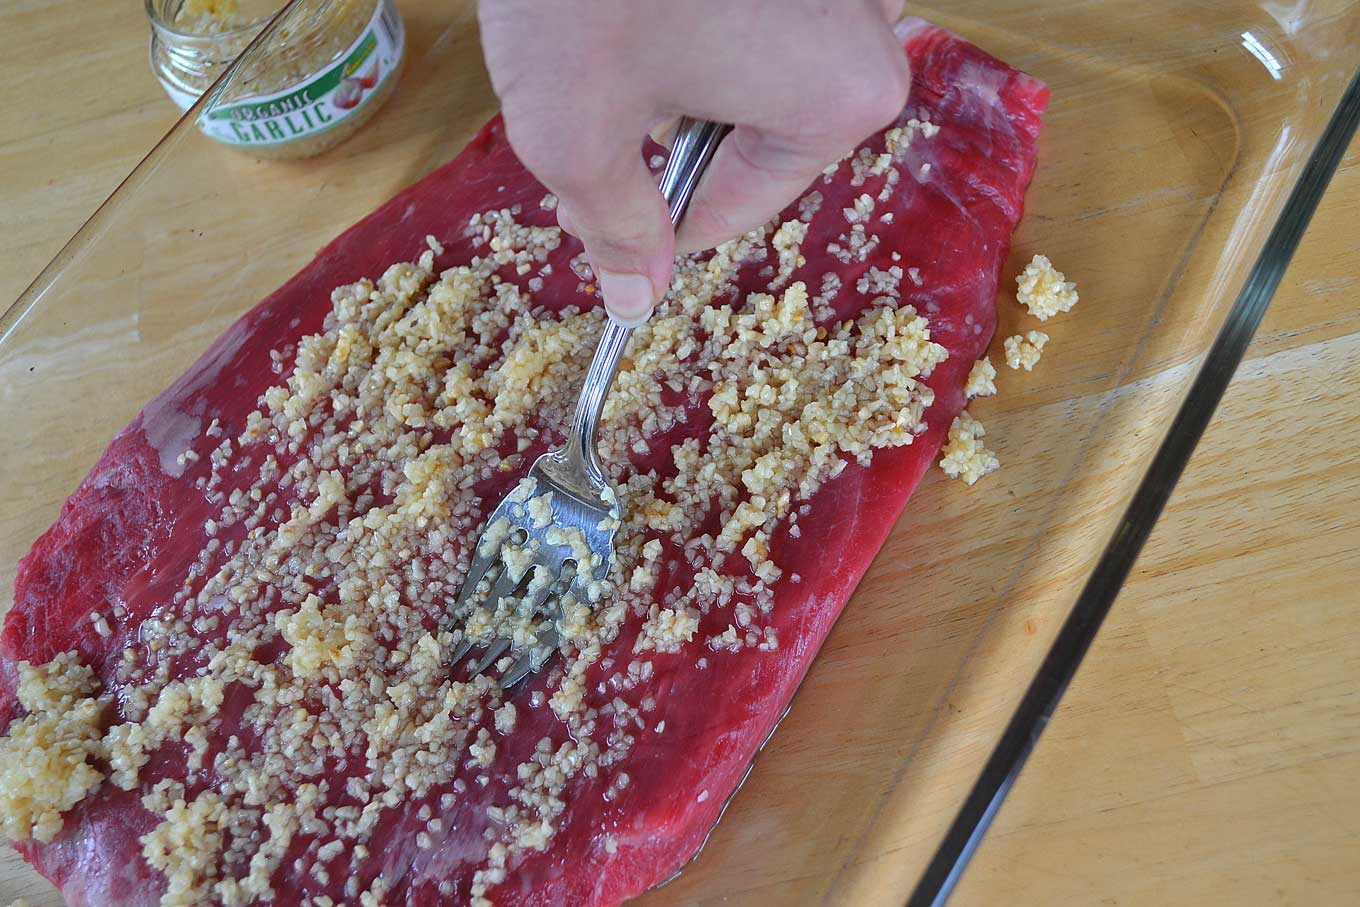
It will look like this when the garlic is evenly distributed.
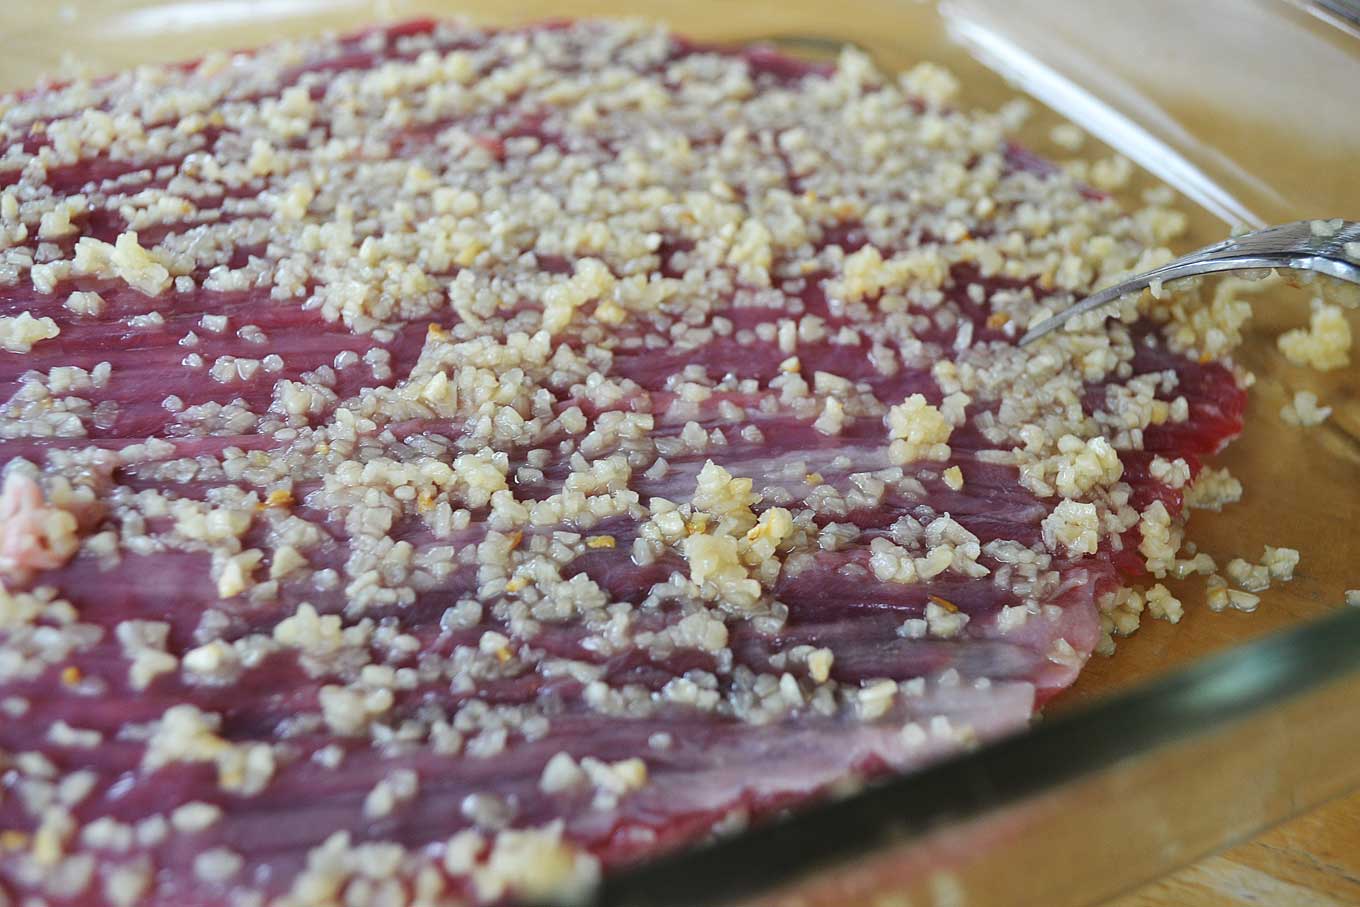
Flip steak, empty out the remainder of the crushed garlic and repeat rubbing following the grain of the meat. Flip steak again.
Pour 1/3 cup of soy sauce onto the steak and rub it with a fork, following the grain of the meat.
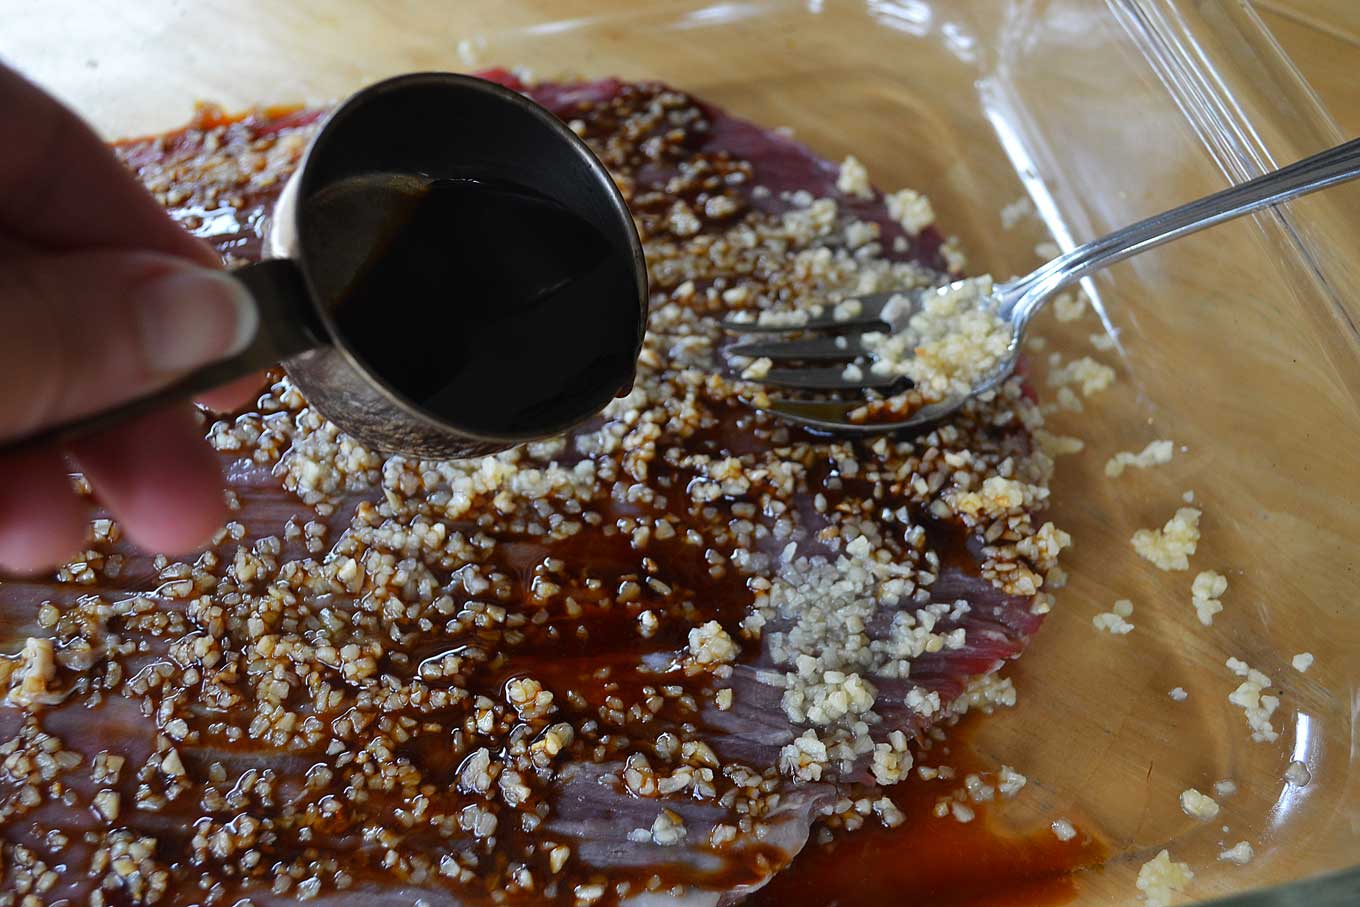
Flip steak, pour another 1/3 cup of soy sauce onto the steak and repeat rubbing following the grain of the meat. Flip steak again.
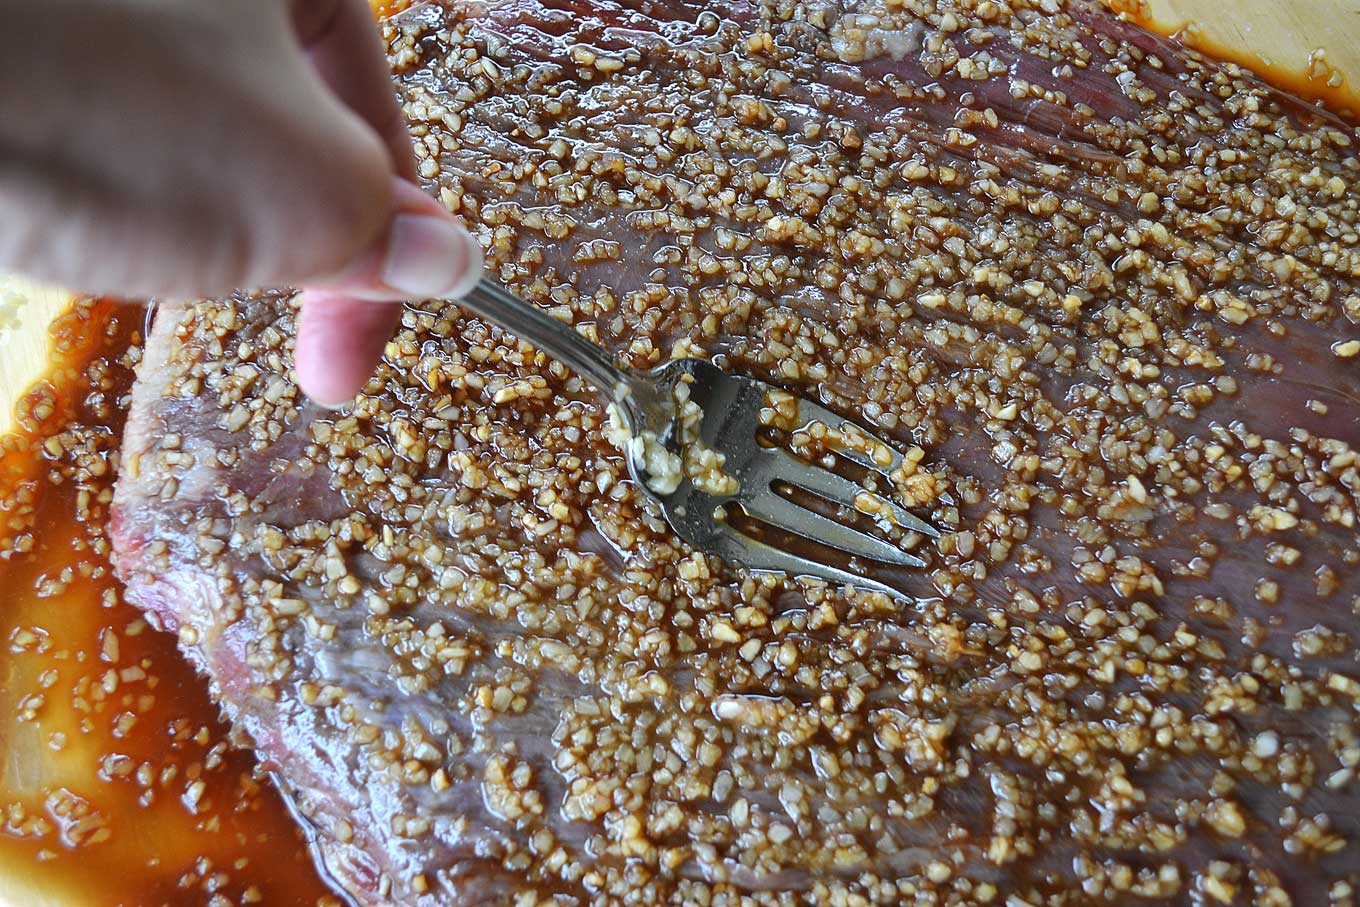
Pour 2 tablespoons of olive oil and rub steak with a fork, following the grain of the meat. Season with some fresh-cracked pepper. Flip steak, pour another 2 tablespoons of olive oil and rub following the grain. Flip steak again.
Marinade the steak for three hours or so, occasionally flipping it.
Cover a shallow roasting pan with aluminum foil (for easy clean up).
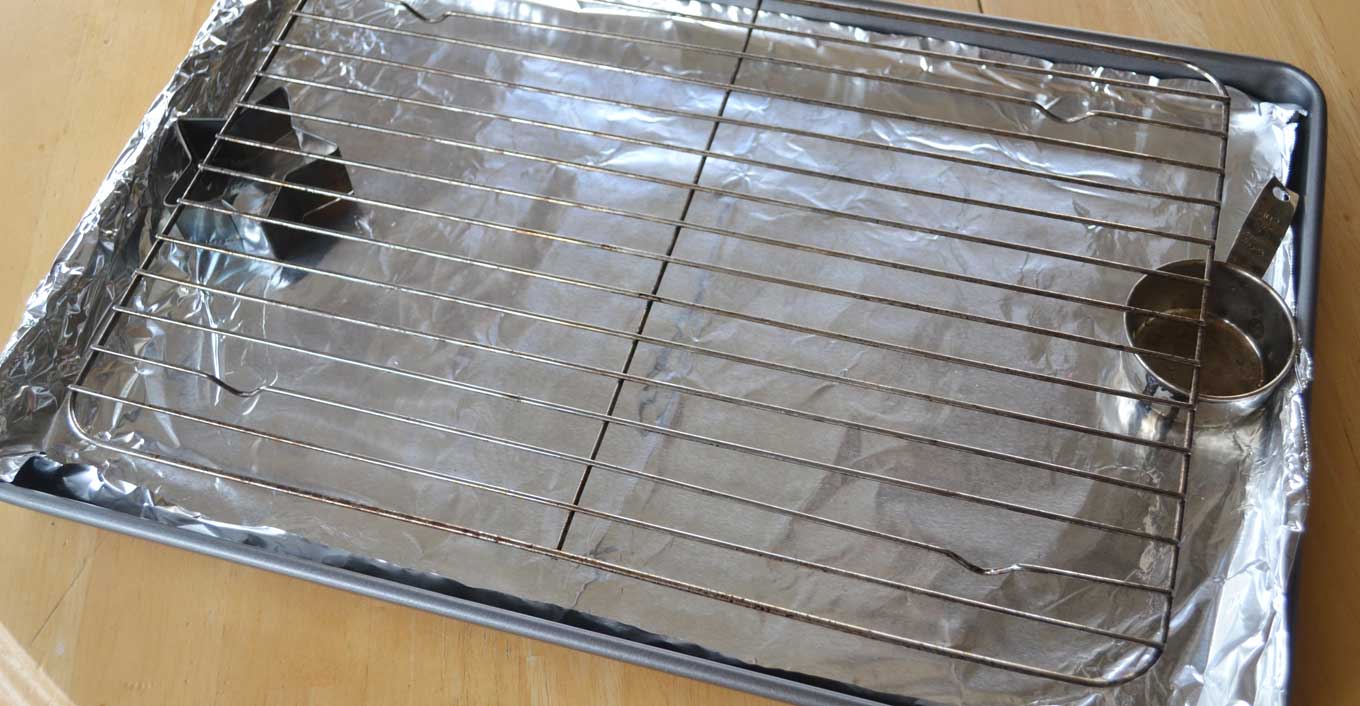
Notice the measuring cup and the metal star? Yes…about that. I realized that the ‘raised’ part of the raised rack wasn’t raised enough if I didn’t want the flank steak to touch the Kosher salt so I created some height using some oven-friendly things I had on hand. I will need to find a prettier solution one of these days, but for now my little friends do the job.
Add a thin layer of Kosher salt to cover the bottom of the pan and place a raised rack on top.
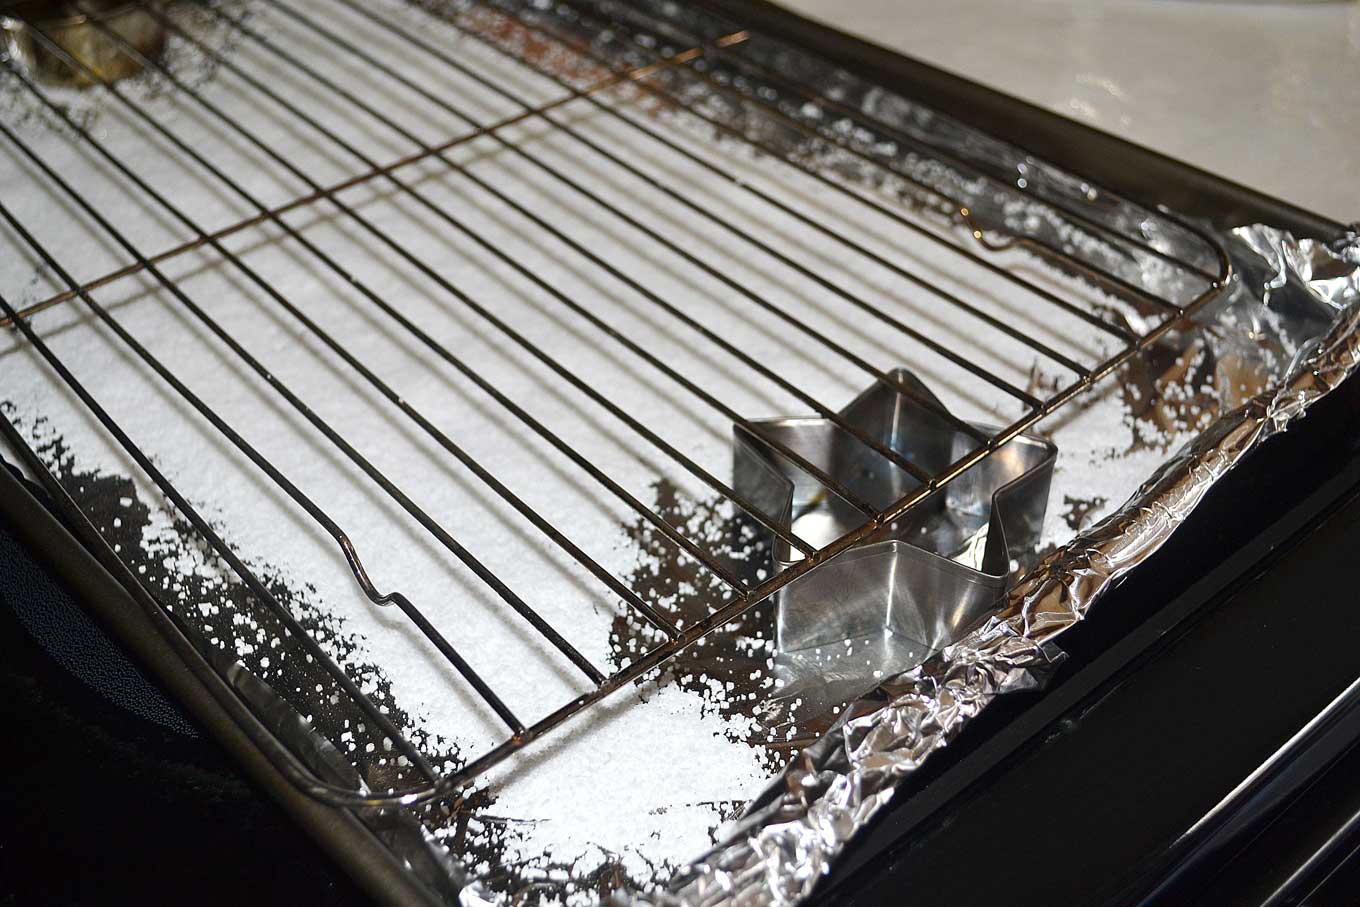
Pre-heat oven to 550° and place the roasting pan in the oven to heat up. Then turn the broiler on and allow it to ‘heat up’ for 5 minutes, since you want it to be broiling on all cylinders by the time you add the steak. Remove the pan from the oven and immediately place the steak on the raised rack. You will hear the happiest sizzle when the steak hits the rack.
Broil for 2,3 o 4 minutes on each side, depending on whether you want medium rare, medium or medium-well done. Remove from the oven, place on a platter and cover loosely with aluminum foil. Allow it to rest for 5 to 10 minutes before cutting. Makes 6 servings.


Leave a Reply