It’s never fun when a dish doesn’t turn out. We invest our time, and possibly even some emotional excitement, into the affair, and then poof! …our hopes are dashed in an instant. Not a stranger to this sort of letdown, I can vouch that it feels a lot like the look on Meg Ryan’s face, in the movie Sleepless In Seattle, after she rushes up to the top of the Empire State Building only to find that dashing Tom Hanks is not there. I saw downright heartbreak in her eyes.
The whole affair is somber enough, but to then have said defective dish outright weep on you on top of it all…why, it’s too much to bare.
And yet, if we are making meringue cookies, those light, airy and sweet confections made chiefly of egg whites and sugar, it might just be the drama we face. Should we not follow certain precise steps, and I mean precise!, we are almost guaranteeing a trip to the store for a box of Kleenex.
I swore off making meringue anything several lifetimes ago, while still a teenager, after seeing my sister Elena live a tempestuous relationship with these capricious treats.
Her first attempt at making them was, as it turned out, miraculously successful. They were lightly crispy on the outside, moist and chewy on the inside, and tasted like the glorious puffs of a sweet vanilla cloud. The batch disappeared almost instantly, with significant assistance from a certain annoying little sister (ok…me).
Encouraged by her success, she immediately made another batch. This time, however, as the meringue cookies baked, they began to shrink, much like the water-spritzed Wicked Witch of the West. They also began to release a coppery liquid that almost made them look like snails making their way somewhere. This, I later learned, is what’s considered weeping. Technically, it happens when the eggs’ protein to moisture balance is destabilized due to a myriad of variables. If you ask me, the term came about as a result of people wailing when their much anticipated meringue treats didn’t pan out.
Anyway, we scrutinized them. They certainly didn’t look like the fluffy mounds of goodness that had gone into the oven. We wrestled them away from their sticky weeping liquid, which had become gummy and had stuck to the pan, and bit into what turned out to be a cloyingly gluey texture. Just for the record – Elena and I didn’t cry in that moment, but we ate them in silence, which was equally sad.
We never had meringue glory again. After too many failures to count, she gave up and we never spoke of it.
Fast-forward a few decades and I now find myself knowing a thing or 37 about whipping egg whites, and have come to understand how Elena’s road to peak-condition meringues (pun intended) was fraught with danger. Perhaps there was a smidge of yolk in the egg whites, or the eggs weren’t room temperature, or maybe the eggs weren’t partial to the 1970s band Foreigner playing in the background. We’ll never know.
What I do know is that meringue, or as Marissa Sertich Velie from the website Serious Eats called it, ‘the voluminous lovechild of marshmallow and whipped cream,’ is worth it. Unlike with most garden-variety cooking, you will find yourself becoming a bit of a lab technician as you prepare them. You’ll need to prep bowls and whips a certain way and time certain processes with precision. Sure, you can joke about buying a white lab coat for the job, but these steps insure against weeping. Its great demands will reward greatly, and you’ll be paid in foamy, velvety sweetness.
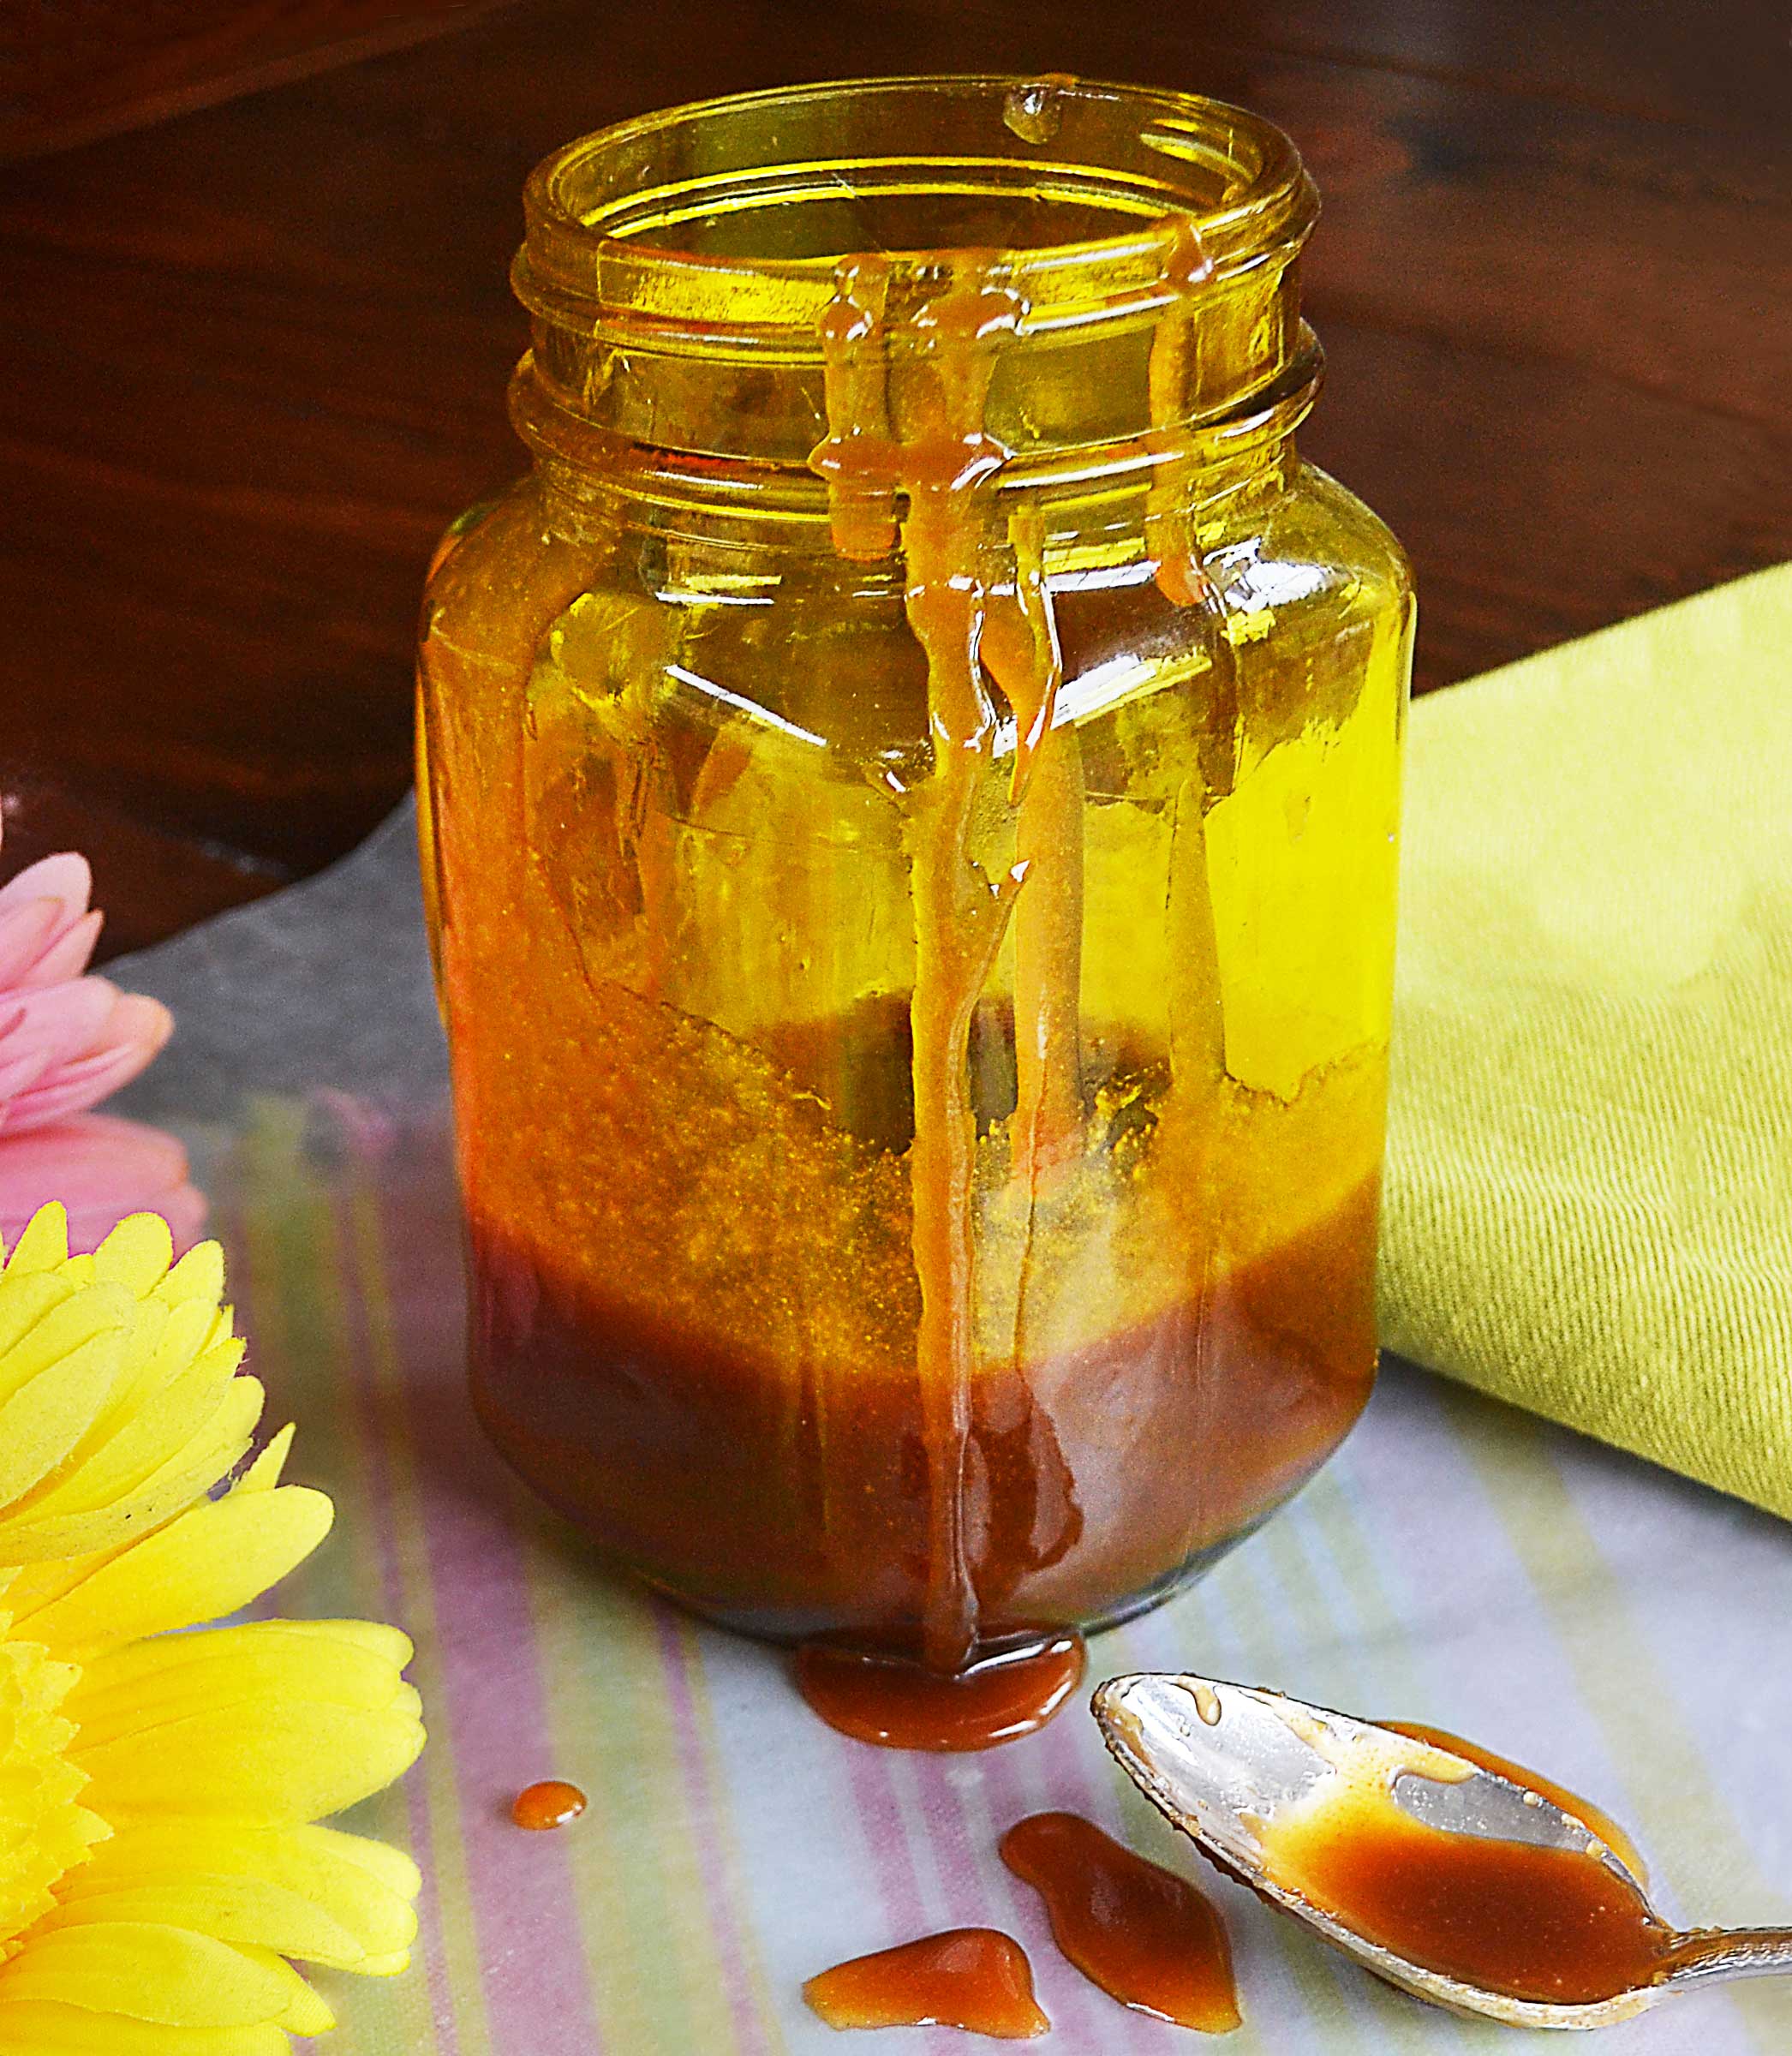
Mastering meringue also paves the way to creating other memorable desserts, such as Southern Black Bottom Pies or Lemon Meringue Cakes. All which you can enjoy. Without any weeping. From anybody.
So without further ado, here you will find the love-child of a collection of numerous sites I have read on making fail-proof, weep-proof meringue. I have tested each tip and technique myself various times and am sharing what I have found most effective. If you have, in your own efforts, acquired your own nuggets of wisdom on this process – or notice I’ve skipped a step – please chime in. It takes a village, folks…
One final thing…what I find most challenging about making this recipe, to be honest, is not eating all of it before any of it makes its way into the oven. What can I say…it’s better tasting and has a silkier texture than marshmallow cream!
So here goes…
making chocolate meringue mounds
Several hours prior to making the meringue, take 4 extra large eggs (or 2/3 of egg white liquid) out of the refrigerator and separate them. (It’s easier to do this when they are cold.)
Tip: Crack them on a flat surface, such as your kitchen countertop, instead of the edge of a bowl. This avoids the risk of a shell puncturing the egg yolk.
Tip: Separate the eggs, one at a time, into two small bowls — one for the yolk and one for the egg white. In this way, if a little yolk accidentally gets into the white, you’ll eliminate just that one egg white instead of the whole batch.
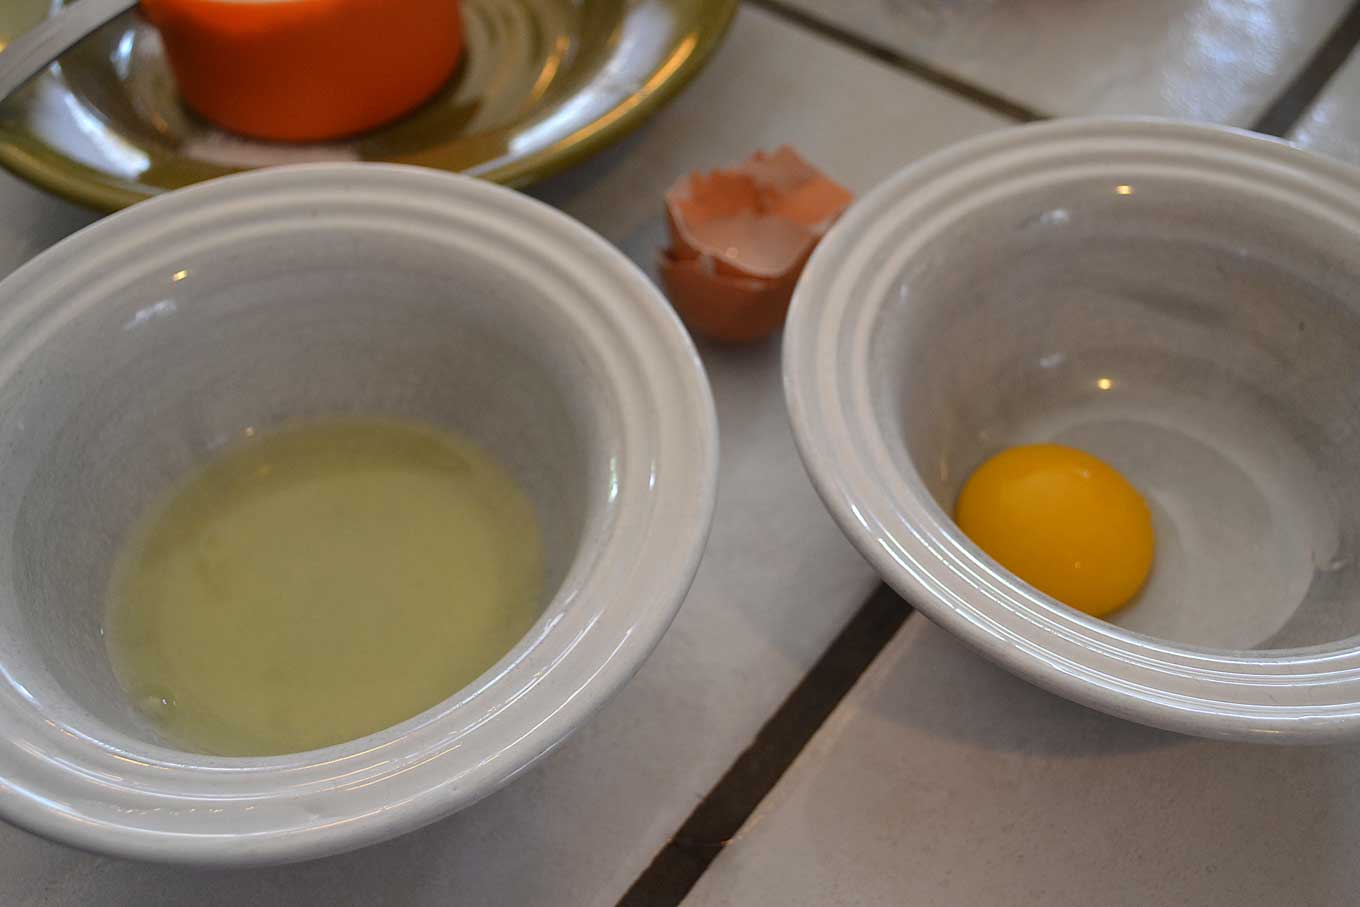
Set the egg whites aside, covered, for at least an hour until they reach room temperature, which is when they will attain the most loft when whisked.
Prep the stainless steel bowl of your stand mixer to ensure that it contains no traces of oil or soap. Do so by adding 1 teaspoon of salt and 1 teaspoon of distilled white vinegar into the bowl.
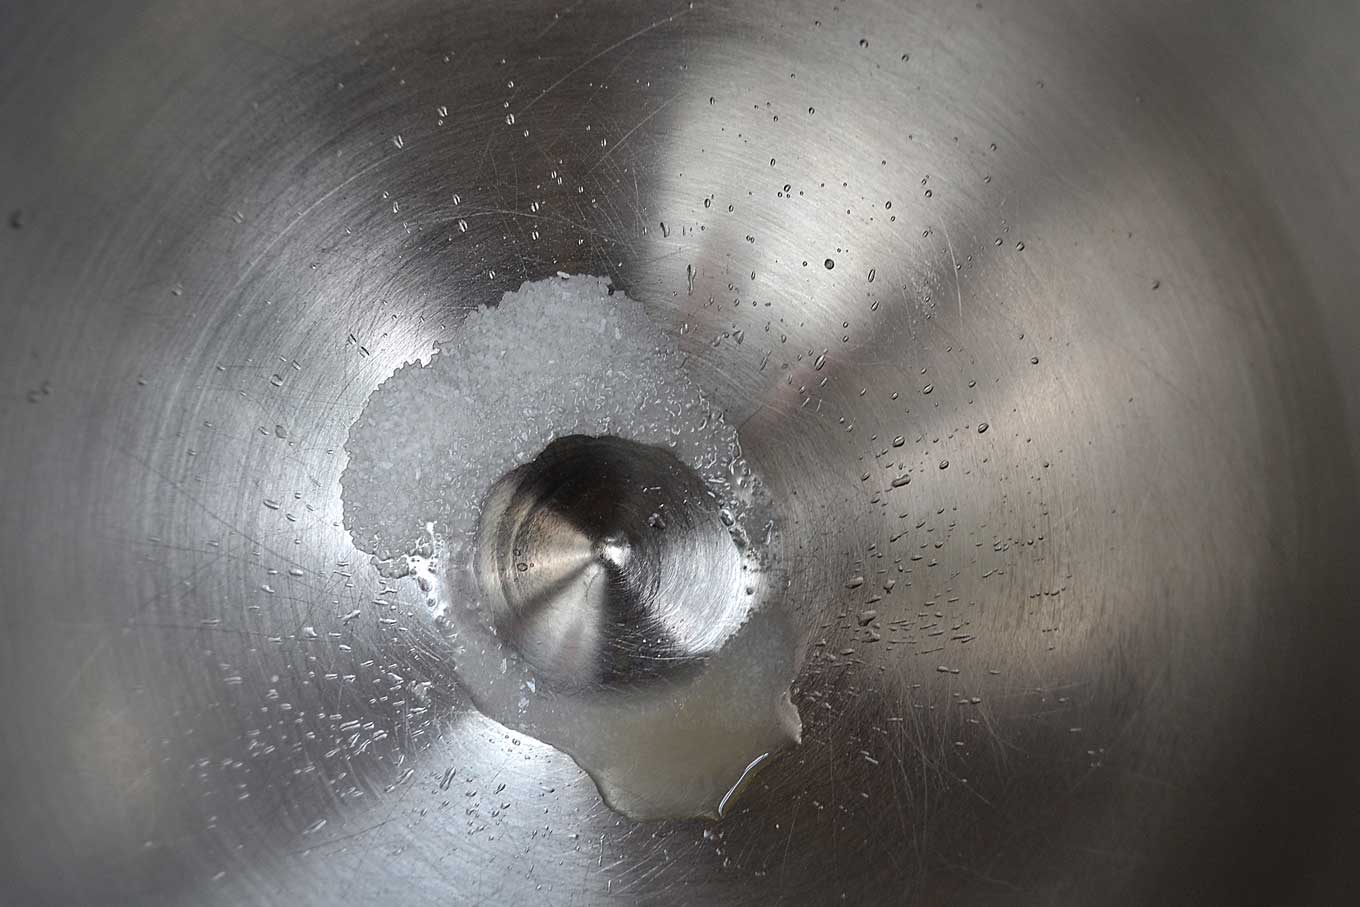
Using a paper towel, rub then entire bowl, and then rub the whisk attachment you will be using. Then, with another paper towel, rub them both dry.
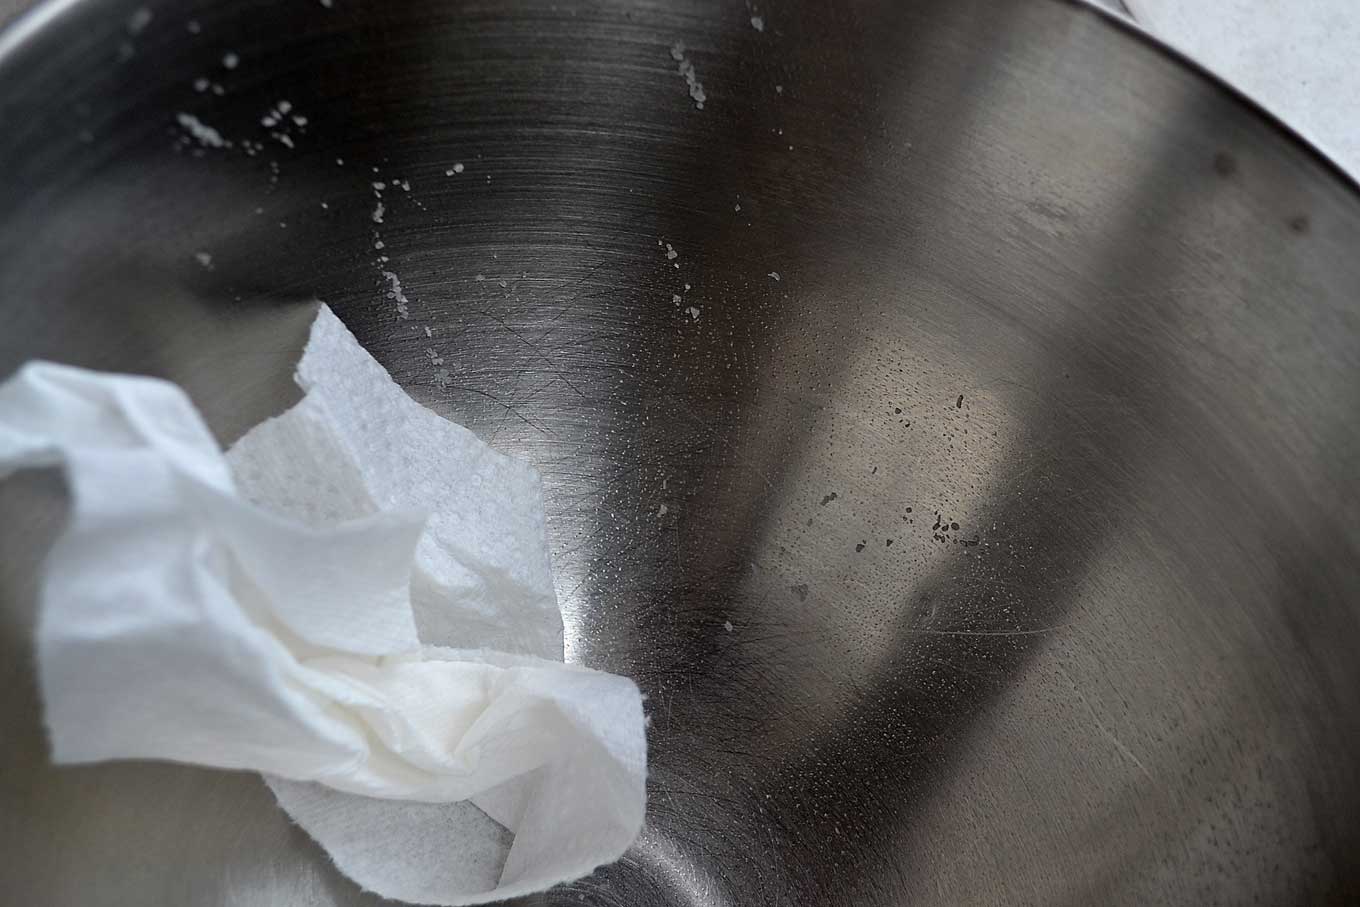
Do not rinse the bowl or the whisk with water after doing this. Don’t worry if a speck of salt gets left behind…as Julia Child said in The Way To Cook: ‘the traces of vinegar and salt help stabilize the egg whites.’
Feel free to use elbow grease, by the way. A standing mixer tends to yield a more stable meringue, but if you decide to beat by hand, use the biggest, finest-wired whisk you own, or can borrow. Many chefs swear that hand-whisking whites in a copper bowl leads to the fluffiest and more stable of whites, but I prefer leaving the heavy lifting to my electric gadgetries…which is, by the way, why I love my washing machine! 😉
Preheat the oven to 300°F.
Transfer the egg whites, adding a pinch of salt, into the mixer.
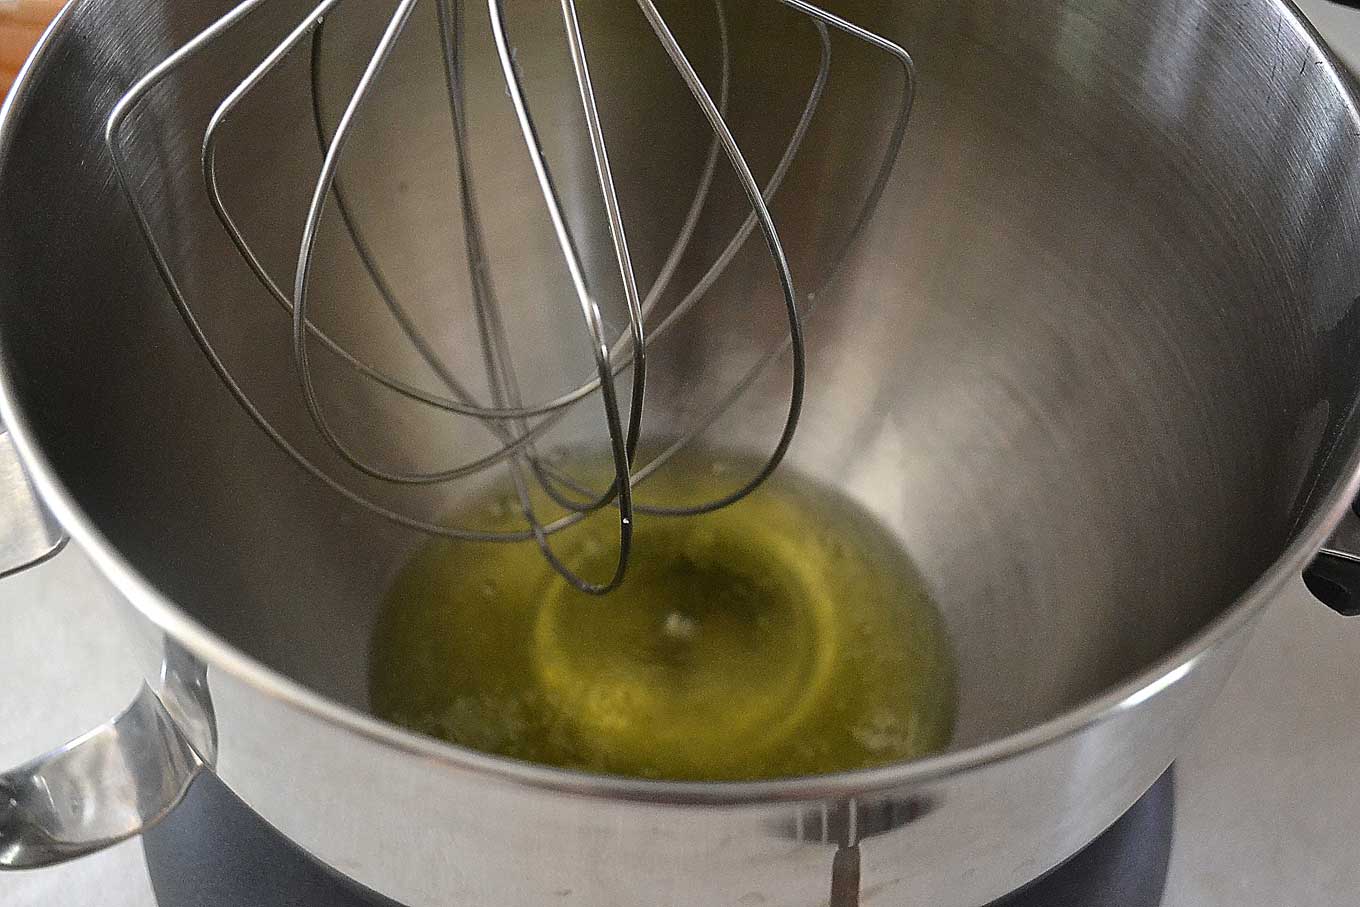
and start whipping on the slowest setting for 1 minute.
That’s right. One minute. Then you’re going to increase the speed by one notch and whip for another minute.
Bear with me…I’m not going crazy. Well, not about this, anyway…
Finally, increase the speed to medium high and continue to mix until the whites become frothy, which should take about 3-4 minutes or so.
Why all the speed changes? Because I learned that egg white proteins apparently don’t like to be tousled without a nice warm up first. According to food and cooking authority Harold McGee, author of the seminal book On Food and Cooking, a nice, strong start on high speed will not intimidate those whites into stiff peak submission. Instead, they turn passive-aggressive by turning gooey and ruining your dessert. (Chemically speaking, the protein strands break.) The incremental speed shifts basically cajole them into cooperating with us. Pretty cool.
Now that you have frothy egg whites, add 1/4 teaspoon of cream of tartar.
Cream of tartar mimics the chemical reaction that occurs when eggs are whisked in a copper bowl, making the meringue stronger and less likely to deflate. Acid, such as cream of tartar or lemon juice, don’t effect the volume of egg whites, but they do stabilize the foam by decreasing the pH level in the albumen. This makes them less likely to collapse. Just don’t think adding more will create even better results, however…as too much will prevent the liquid proteins from thickening into solid form (also known as coagulation), during baking.
By the way, if you – like me – tire of finding ways to use the remaining egg yolks (I mean, how much zabaione can a girl eat???), you can use liquid egg whites for the job. I bought mine at the health food store, making sure they were organic, because it just made me more comfortable…since they had already been processed and manhandled a bit. I was afraid that they wouldn’t hold up as well, but I was wrong. I must say, I don’t mind being wrong in situations that make my life easier.
Continue to beat the egg whites on medium high speed until soft peaks form, which should take about another 5-6 minutes or so.
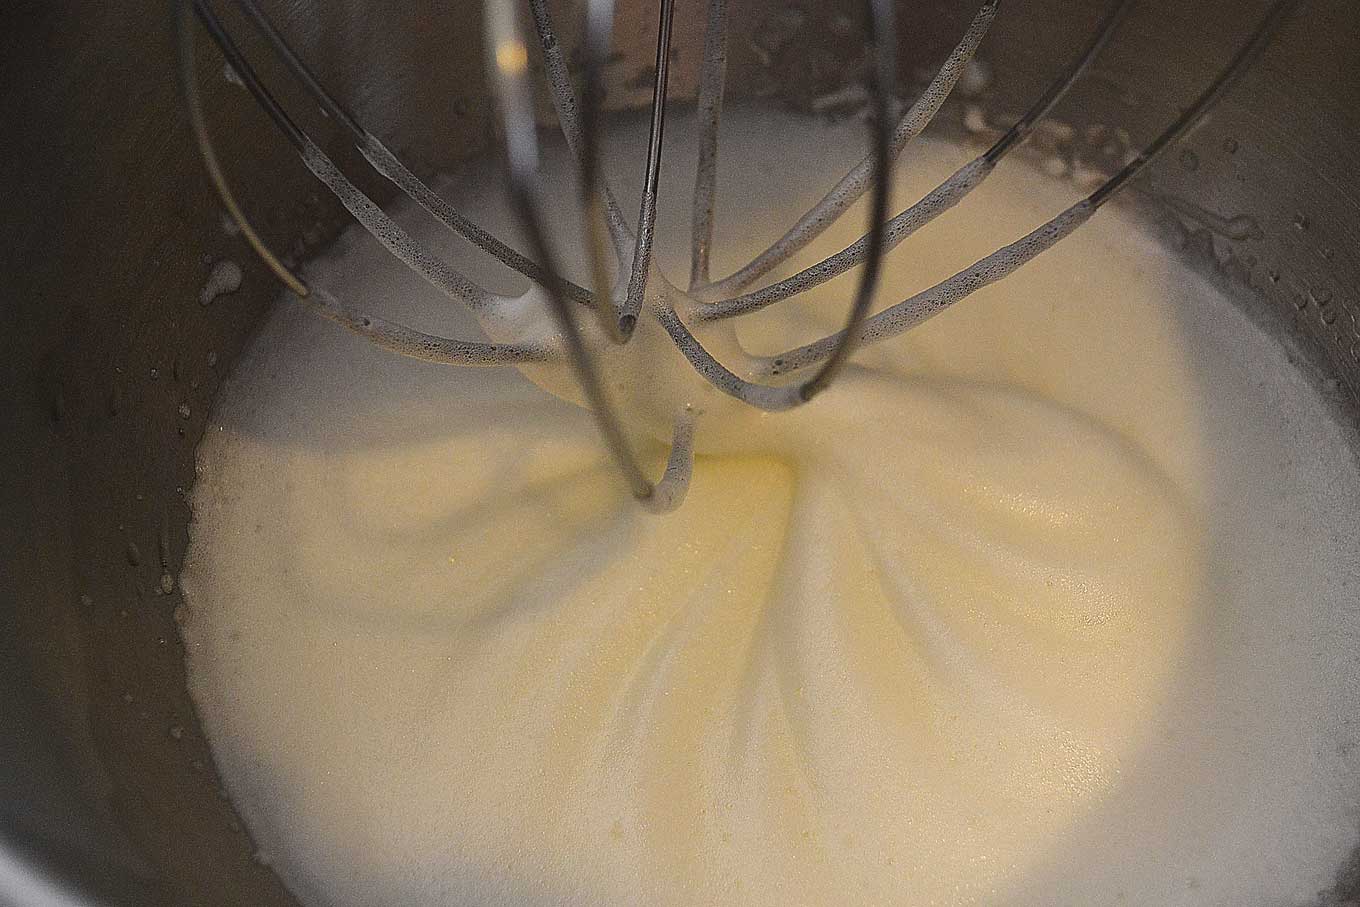
You know you have soft peaks when the egg whites become shiny and, upon lifting the beater, the whites lift up and then rather gracefully curve over slightly into the prettiest lilt. Another indicator that you are ready to start adding the sugar is that the volume of the egg whites should have come close to quadrupling in size.
Begin adding 1 cup of caster (superfine) sugar, one tablespoon at a time, to the egg whites. I used to think that it was okay to substitute regular granulated sugar, ground in a coffee grinder for a few seconds, for the caster sugar, but I was wrong. After making meringues with both the ground regular granulated sugar and the caster sugar, I found that meringues made with the latter baked sturdier and cooked better on the inside, where they were still soft but not gooey.
Sugar is important in meringue not just because it adds sweetness, but because it also stabilizes the egg whites. It coats them with sugar so they can be beaten longer without drying out as fast. Meringues can be tricky, and using the right sugar can help ensure success. Superfine or caster sugar works best, as opposed to regular granulated sugar, because it dissolves faster and leaves no gritty texture. It also prevents any undissolved grain of sugar from melting in the meringue while baking and forming that pesky weeping liquid that ruins the whole thing.
It’s also important to note that sugar also decreases the volume and lightness of the meringue, however, which makes adding it gradually so important. This, by the way, is also why you add the sugar AFTER the egg whites have been whipped to at least four times their original volume. It’s a two steps forward, one step backward kind of thing…
Tip: To test to see if the sugar has completely dissolved, rub a little of the meringue between your thumb and index finger. If it feels gritty the sugar has not fully dissolved; keep beating until it feels smoother between your fingers.
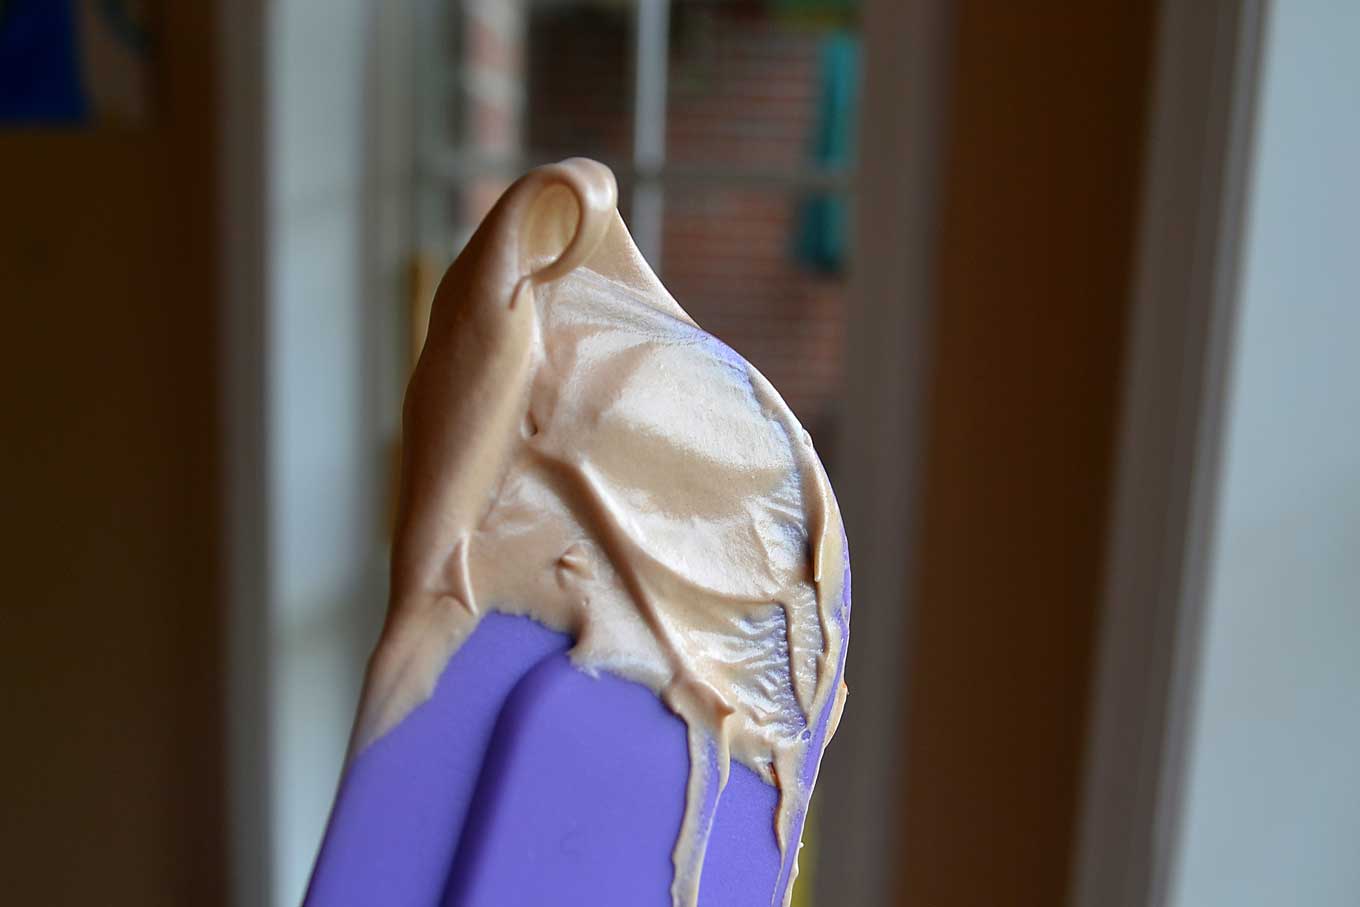
Once all the sugar has been poured in, increase speed to medium fast and beat until the egg whites form stiff, shining, upstanding peaks.This should take about 5-6 more minutes at a high speed.
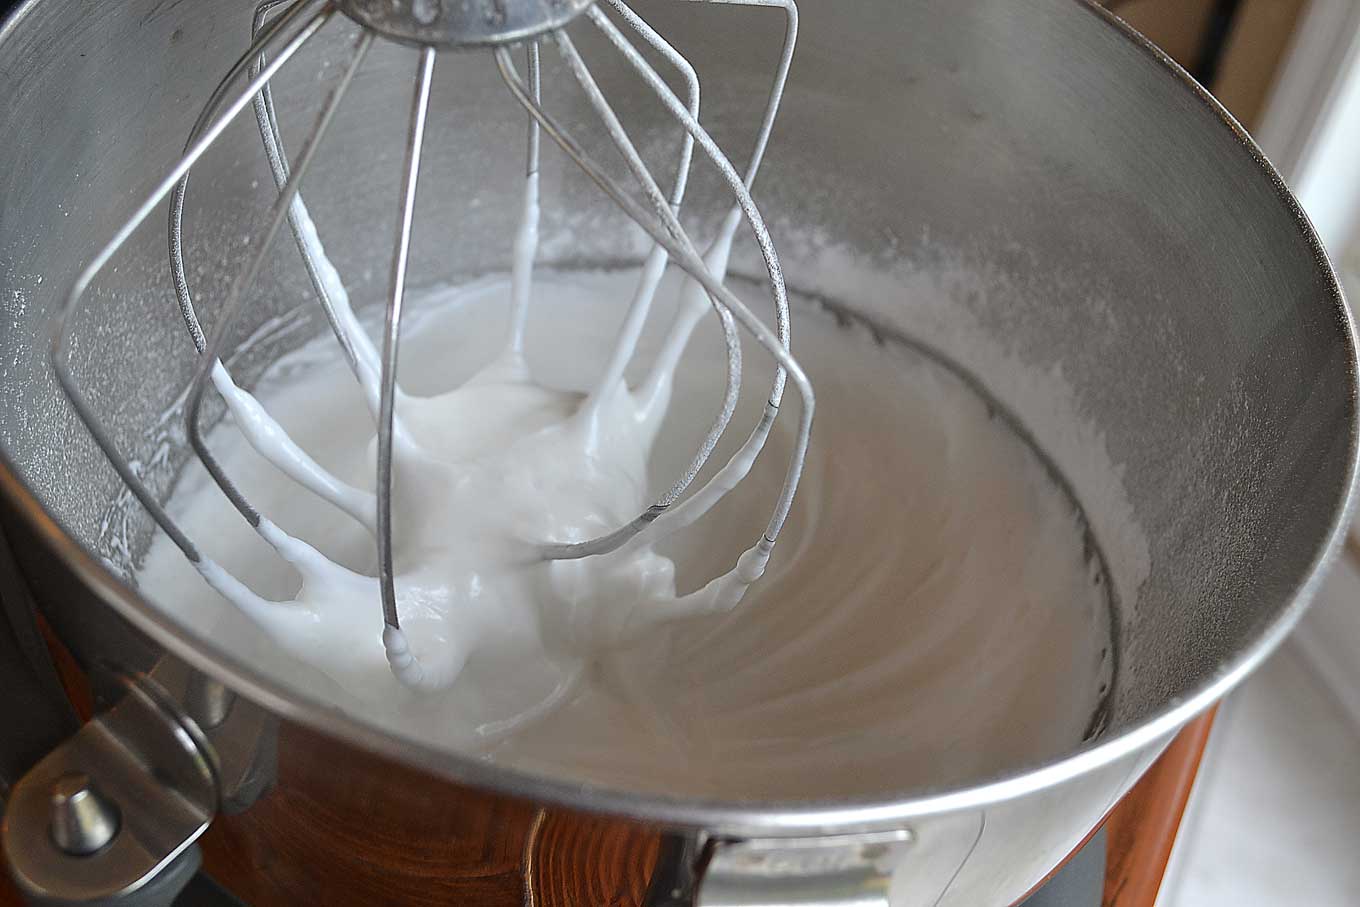
You now have officially prepared meringue and are ready to use it as you will. Granted, I have never been able to whip egg whites so stiff and sturdy that they looked like they could goo out of the bowl and start vacuuming my rug, but they don’t weep and they stand up to the oven heat and the cooling process without turning wishy mushy, and that makes me happy.
So anyway…for the purpose of making these delightful little chocolate mounds, we are going to add a few more things.
Lower the speed of your processor to its lowest setting and add 2 sifted tablespoons of unsweetened cocoa powder and 1 sifted teaspoon of cornstarch.
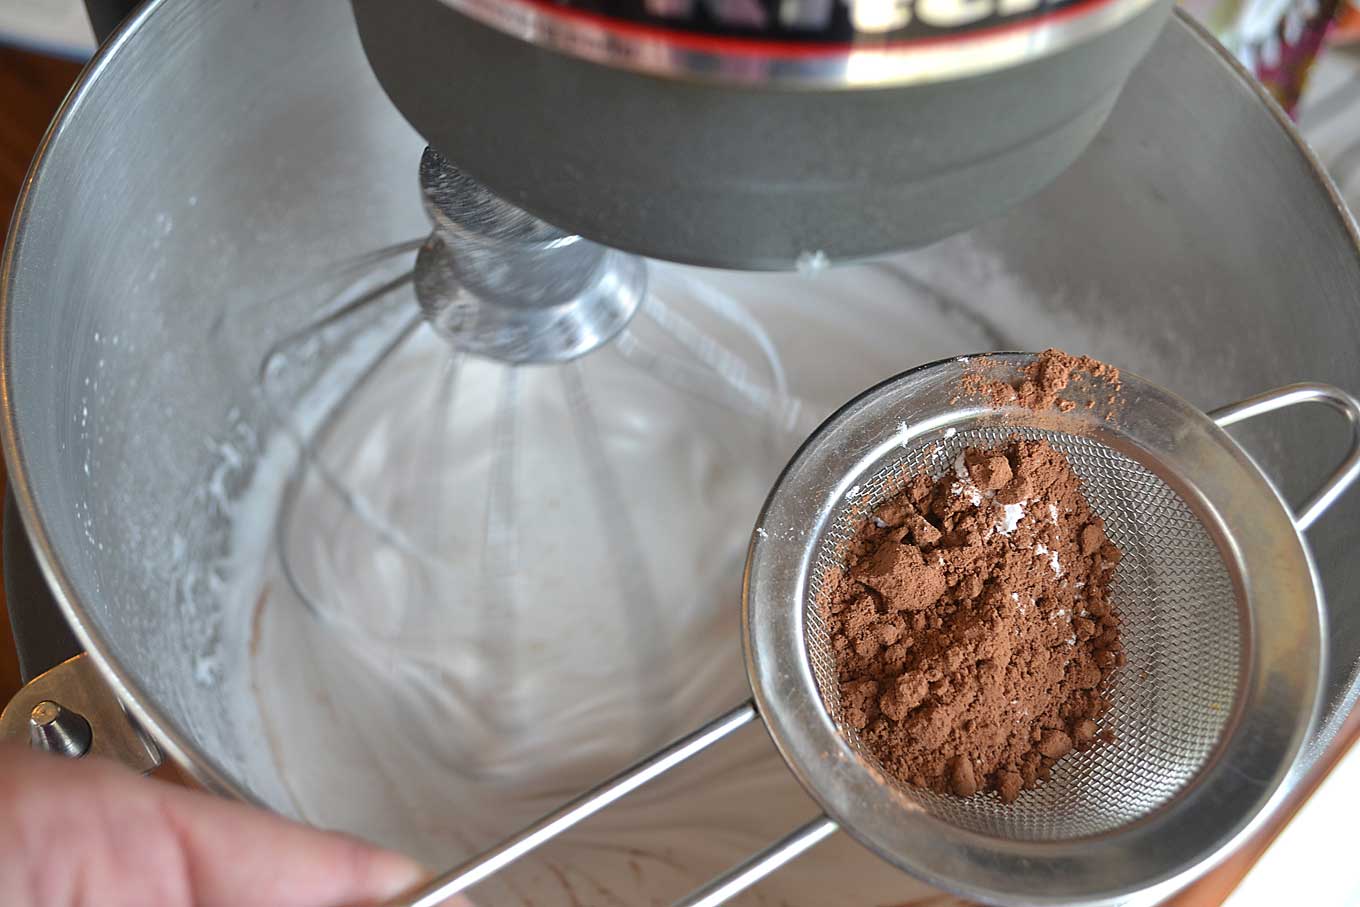
I once forgot to slow down my mixer and it looked like a cocoa nuclear explosion had gone off in my kitchen. My 9-year old enjoyed laughing at me for the rest of the day for that…
Increase the speed to medium once you add the cocoa and mix until it is completely incorporated into the whites.
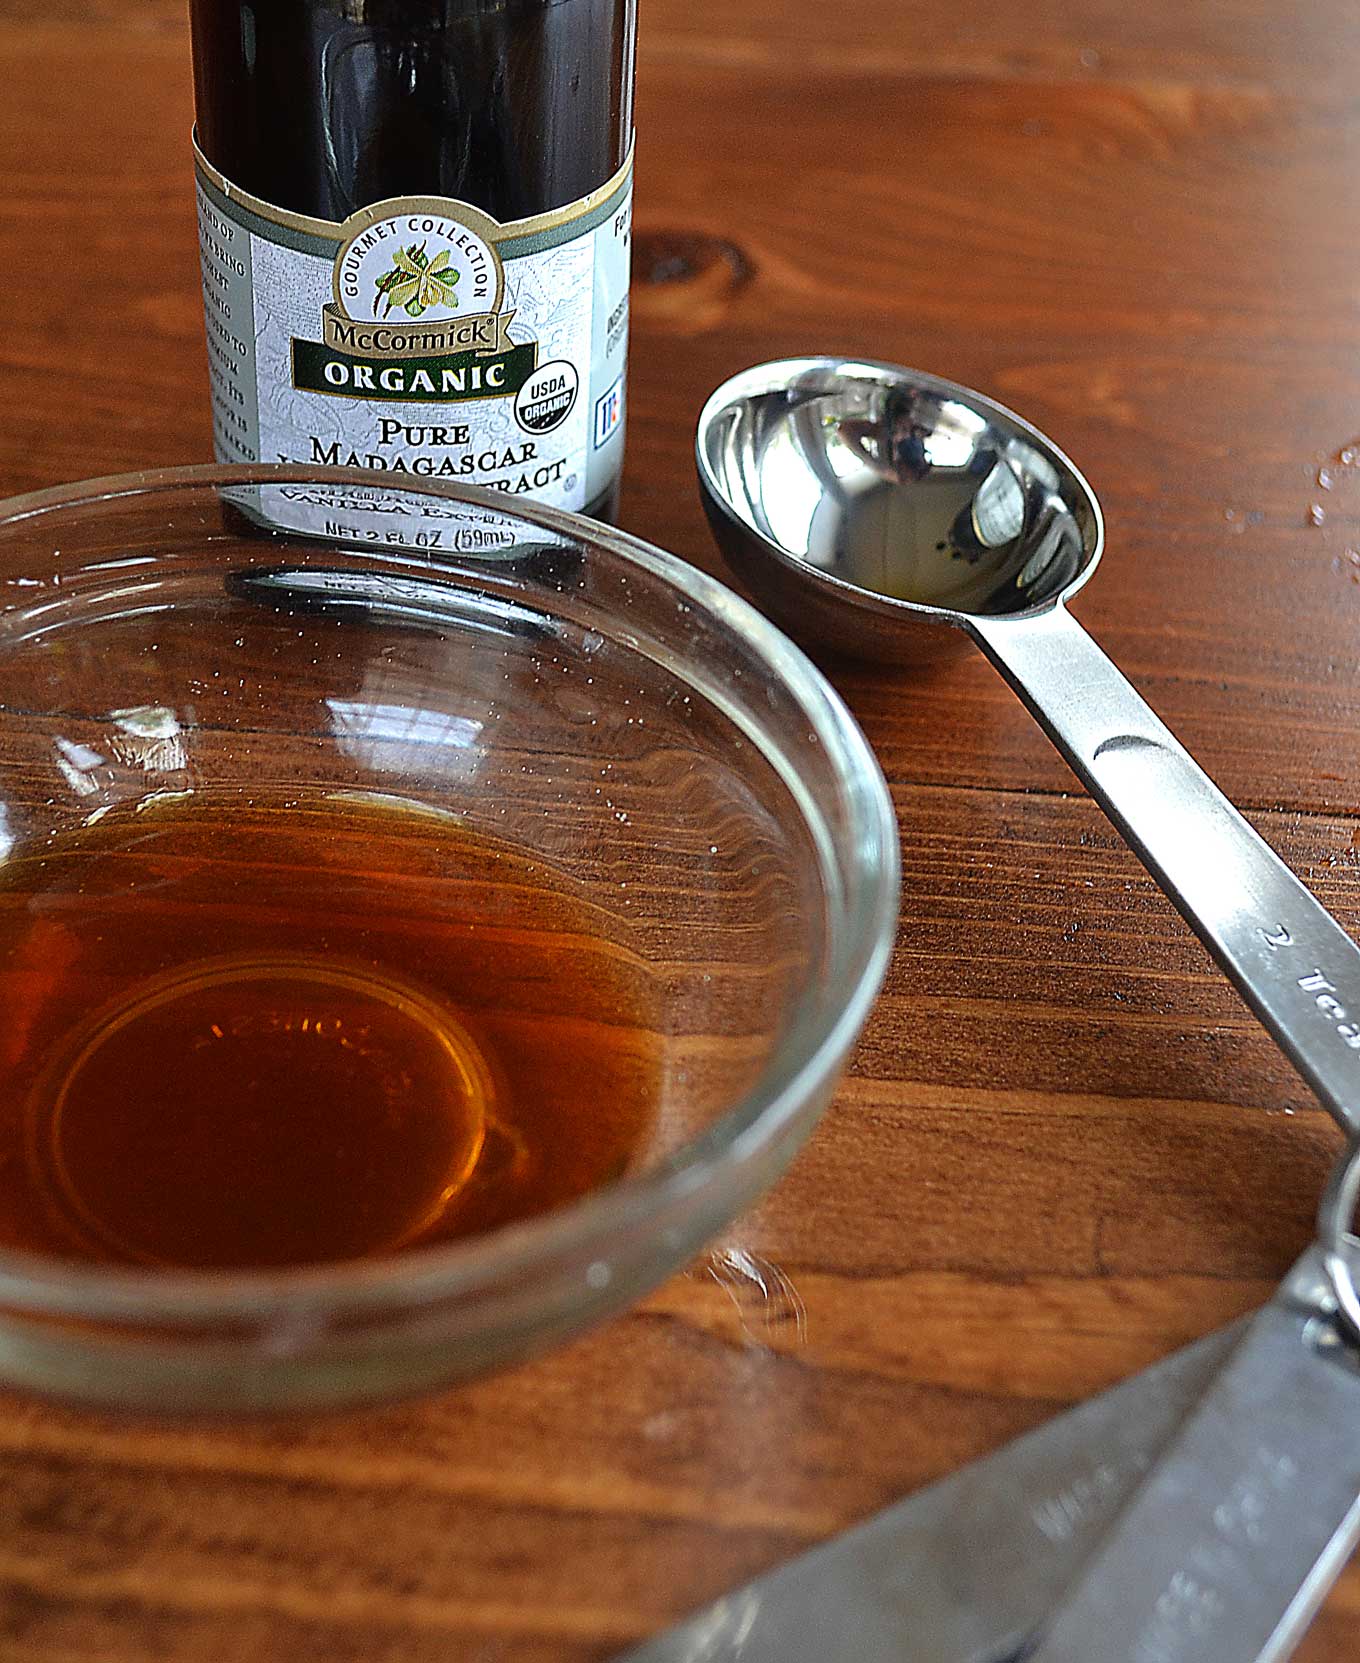
Add 1 teaspoon of white distilled vinegar and 2 teaspoons of vanilla flavor.
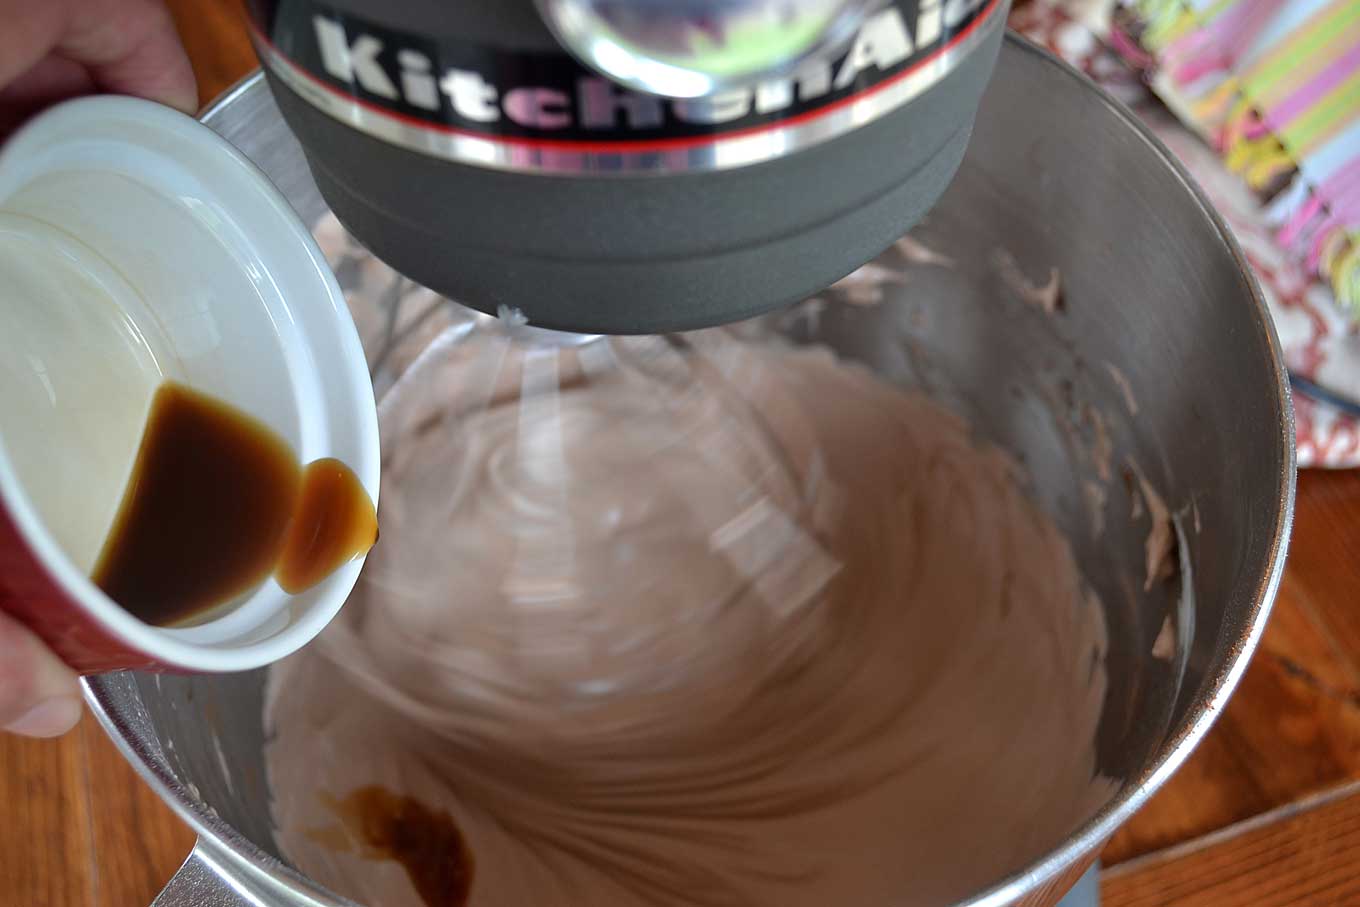
Increase the speed to medium high and mix for a good minute or so to ensure that everything is mixed thoroughly. I was so scared the first time I added vinegar to my stiff egg whites. The whole time I was thinking…sure, I’ve managed to fluff these suckers up nice and stiff and now I’m adding crazy vinegar and it’s going to create this sweet, slightly acidic sludge and I’m going to scream and jump up and down and scare my cat…but it didn’t happen. The vinegar further stabilizes the meringue, so it’s really our friend.
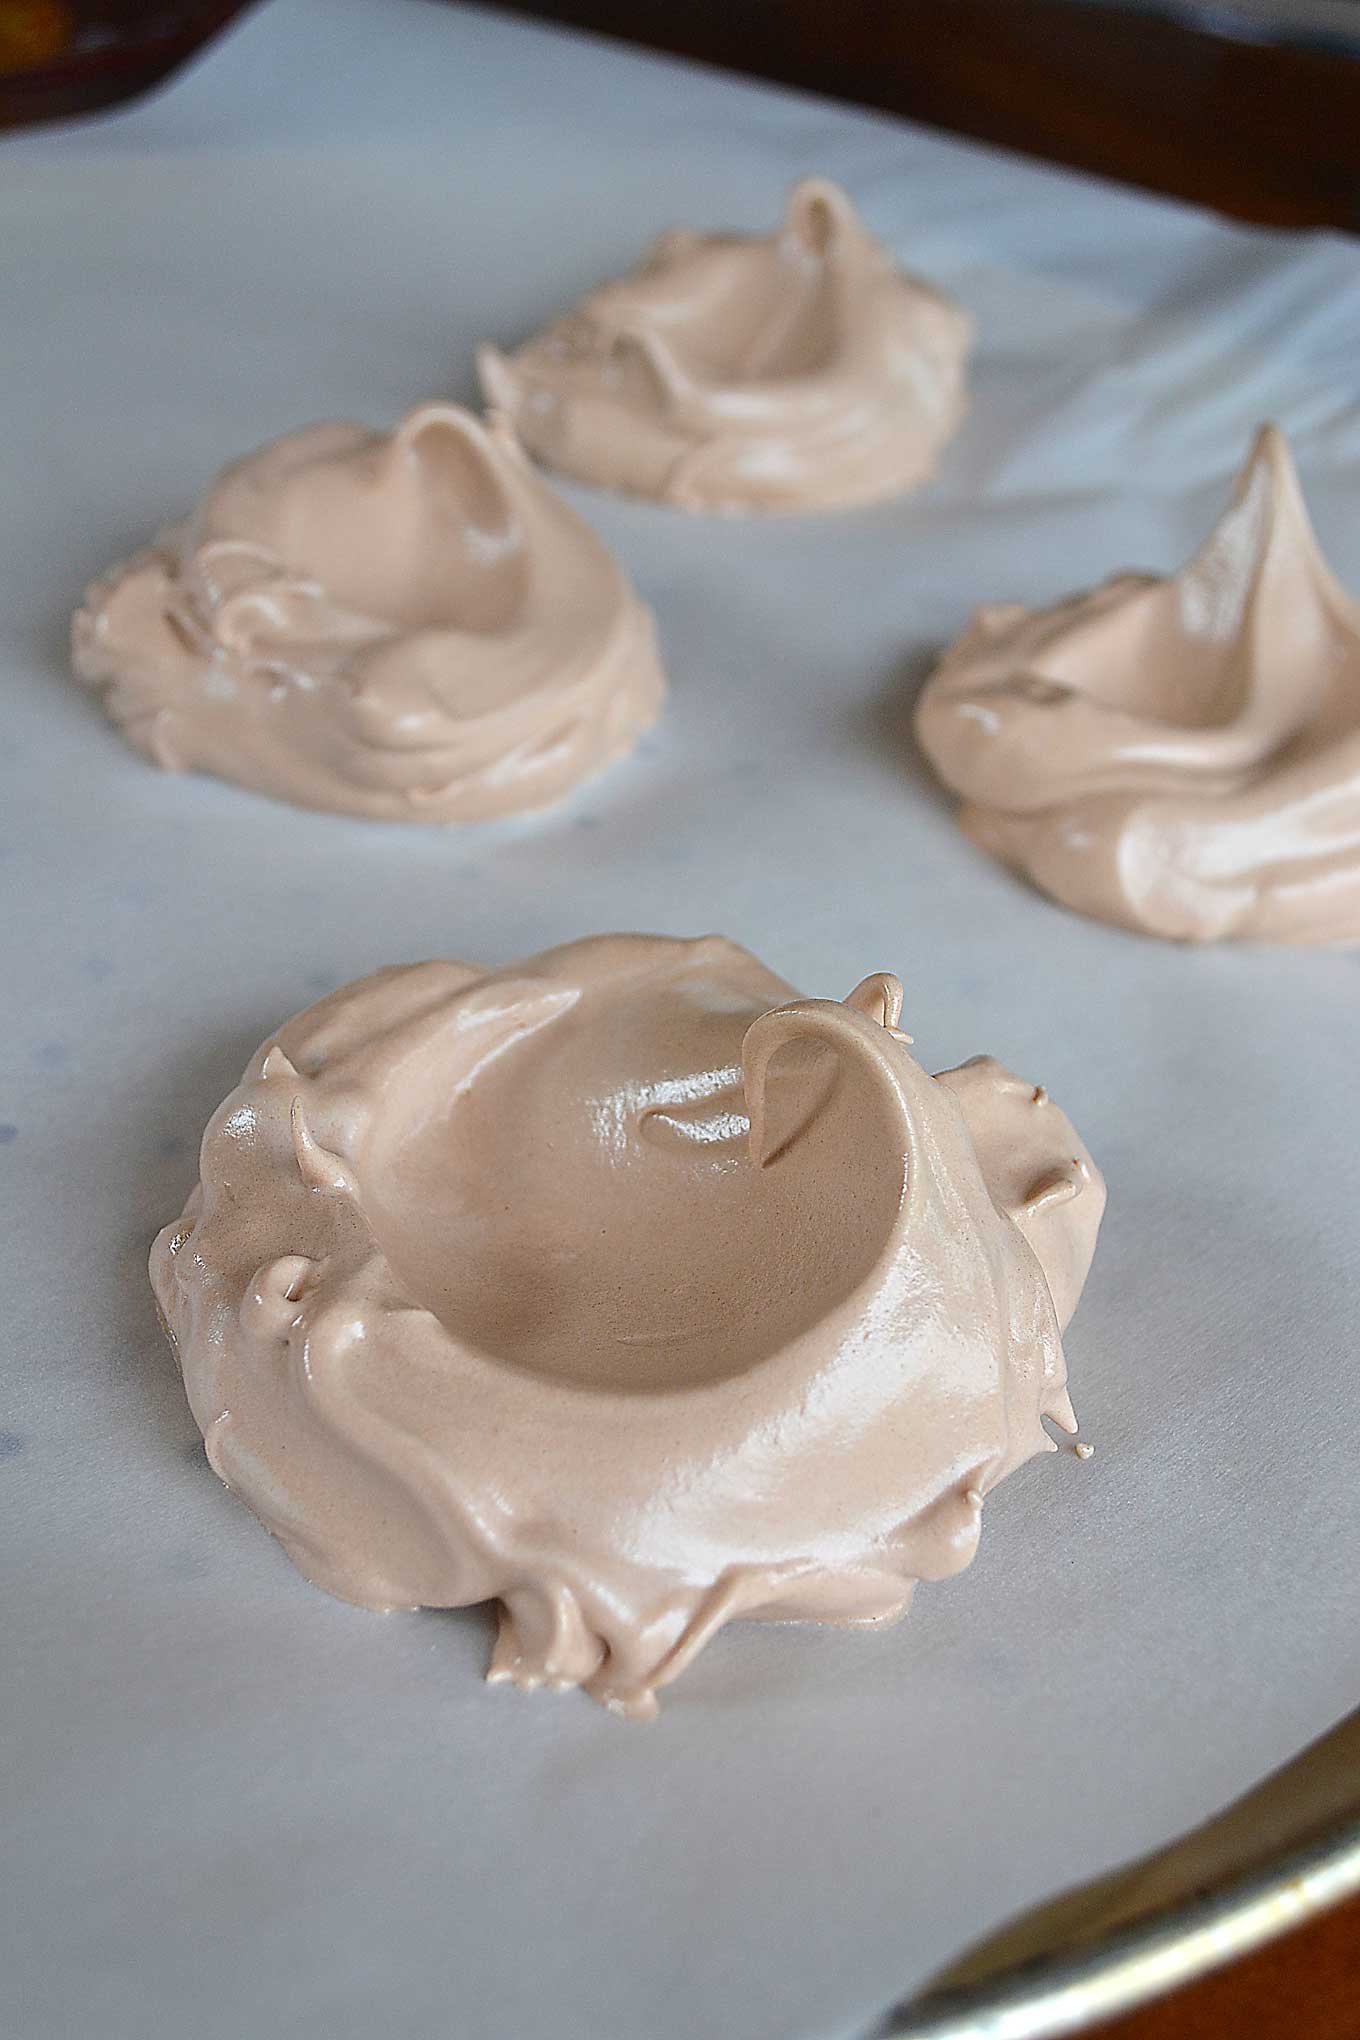
Place parchment paper on a baking tray and begin dolloping spoonfuls of meringue on top.
Meringues don’t expand much so you can place the dollops fairly close to one another. Shape each mound with the back of your spoon to give it that little slightly curved wisp on top. You will need to work in two batches, as it’s unlikely they will all fit on one tray. Place the tray in the oven and turn the temperature down to 250°F. Bake for 60-70 minutes.
I know it seems like a long time, but that’s what it takes to allow the slow evaporation of the moisture within the meringues. If the temperature is too high, they will cook too quickly on the outside but remain heavy and gooey on the inside. Once out of the oven and cooled, the fragile exterior won’t be able to sustain the weight of its inside and it will crumble on you, leaving delicious chocolate goo on your palm. Granted, I’ve had worse things happen to me…
While the first batch is baking, repeat the process with the remaining meringue on a second tray. It is better to arrange them as they will bake right after the meringue has been mixed rather than letting it rest in its mixing bowl for an hour or so while the other tray bakes.
Begin checking the meringues at the minimum baking time. They will be done when you can easily lift it off the baking sheet. If they don’t lift easily, return them to the oven and check on them every 3-4 minutes or so. Make sure not to over-bake them, as that too will cause them to weep. Remove them from the oven and allow to cool completely in the oven. Store in airtight container to avoid having the moisture in the air turn them into mushy mounds.
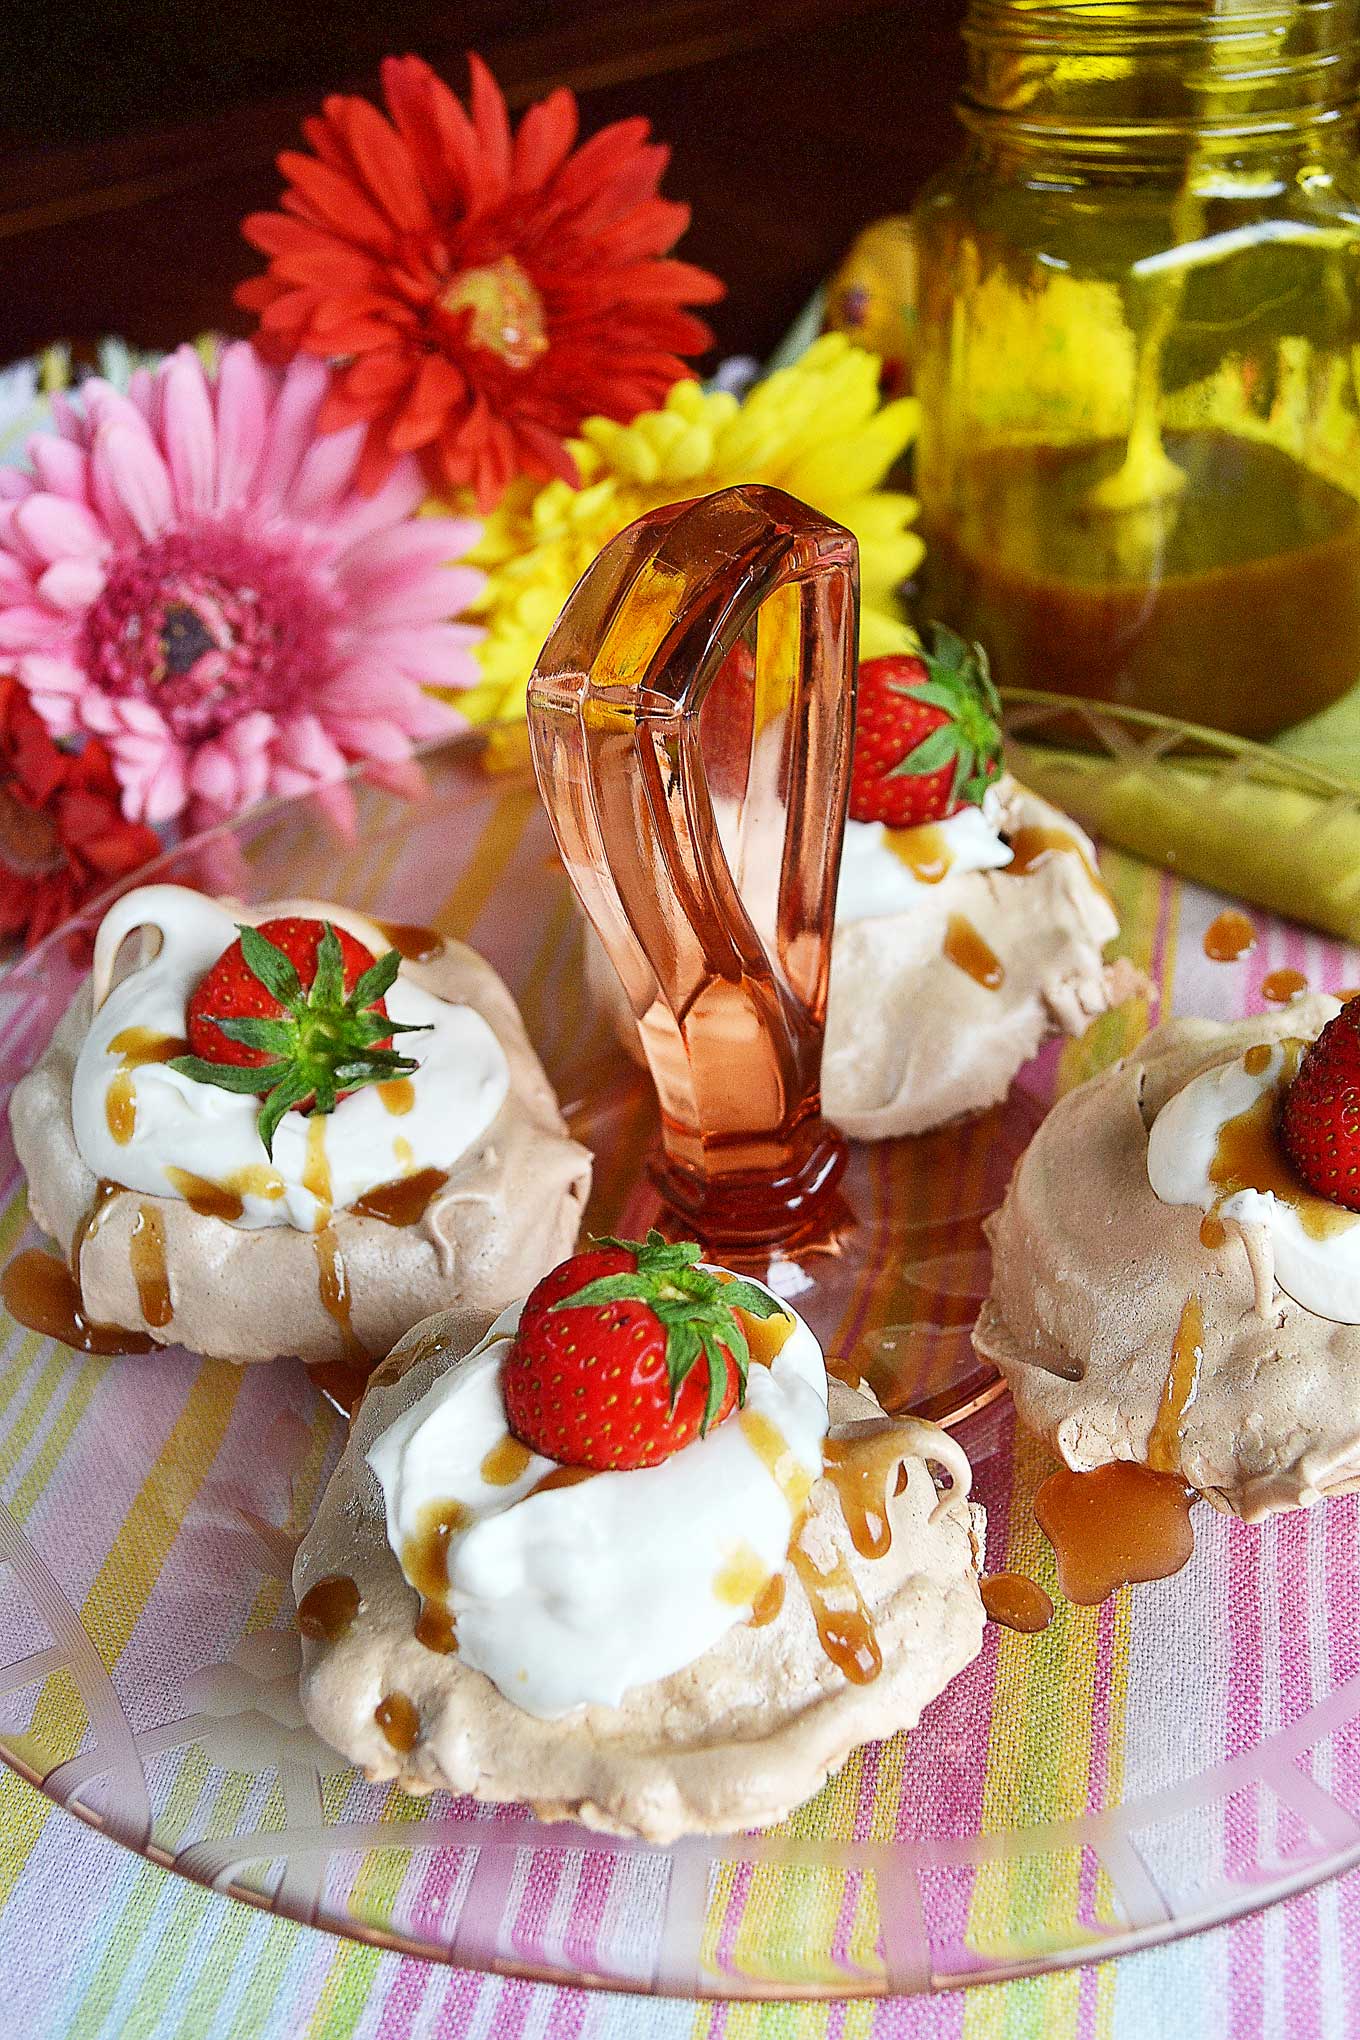
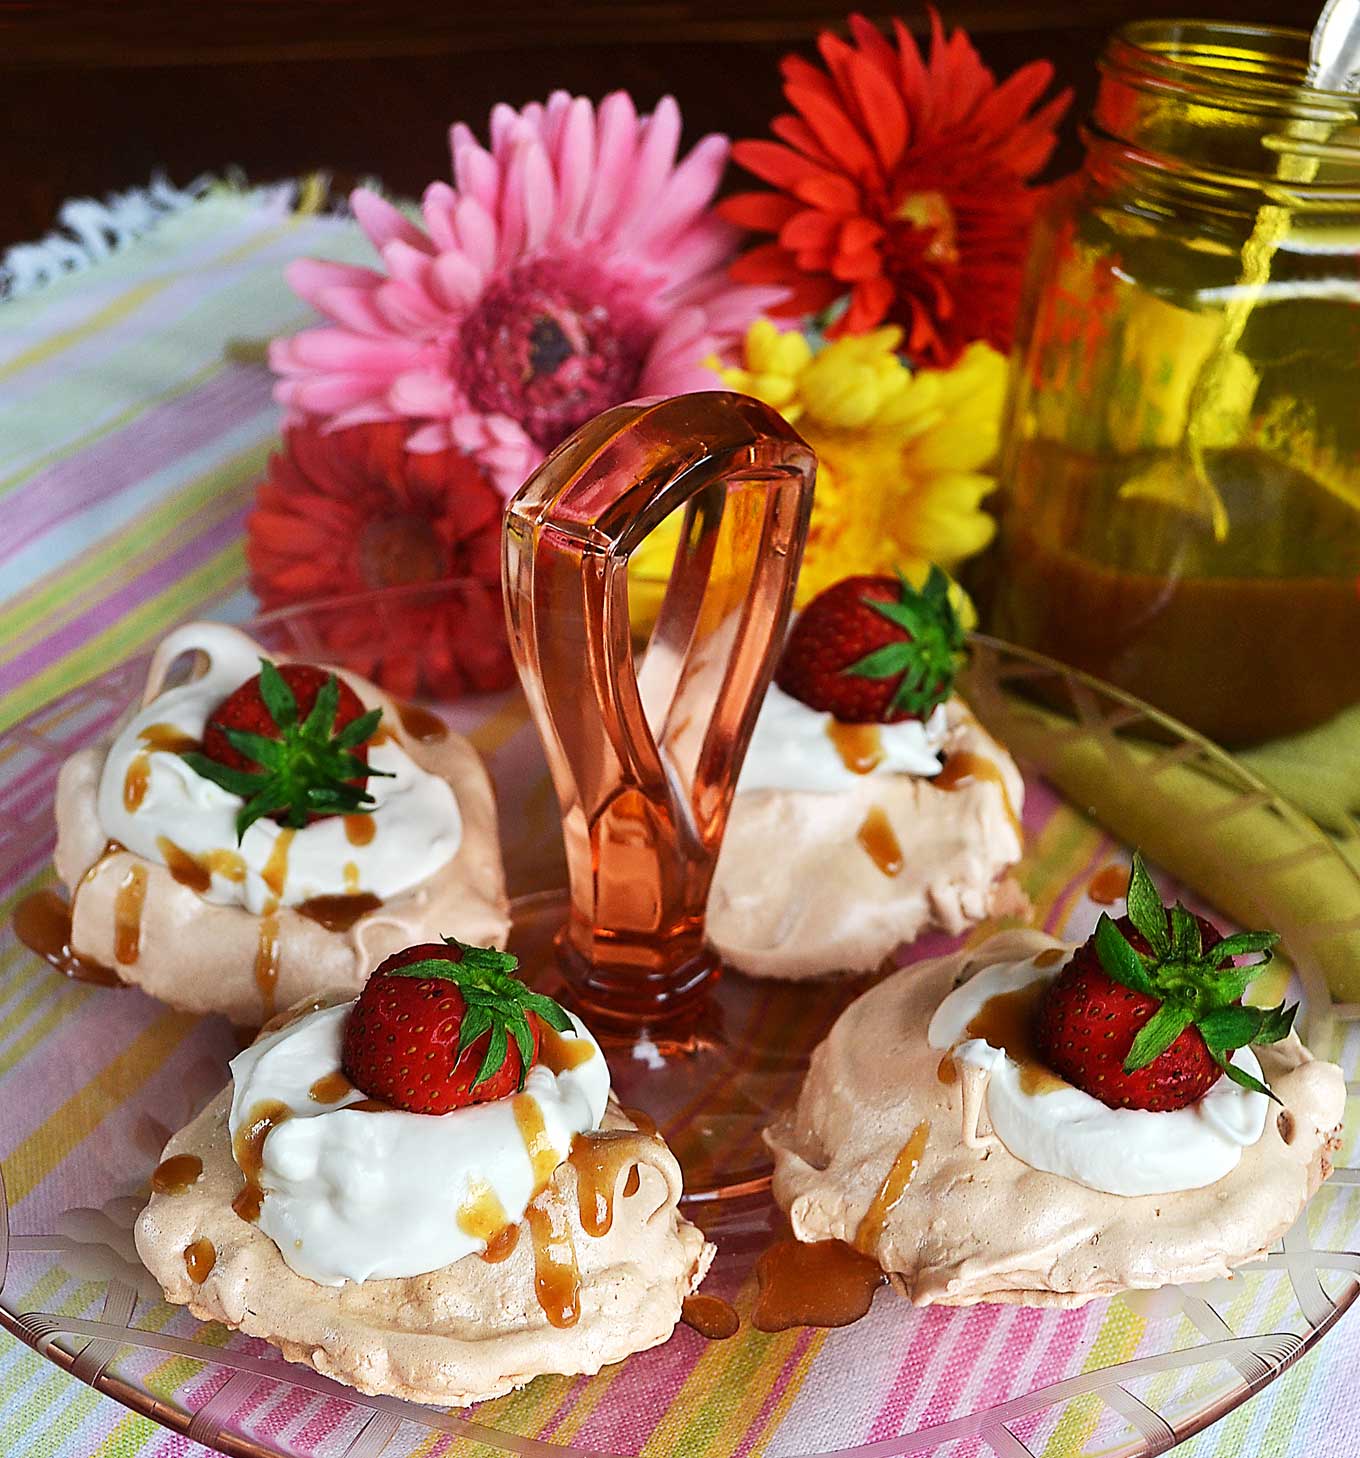
Once fully cooled, arrange them on a platter and dollop them with some optional whipped cream and a drizzle of caramel sauce (look below for a super tasty & easy recipe to make!). Top with optional strawberries and you’re all set.
Or you can eat them as is. Plain, light, fluffy and delicious. Makes 15-16 meringues.



Leave a Reply