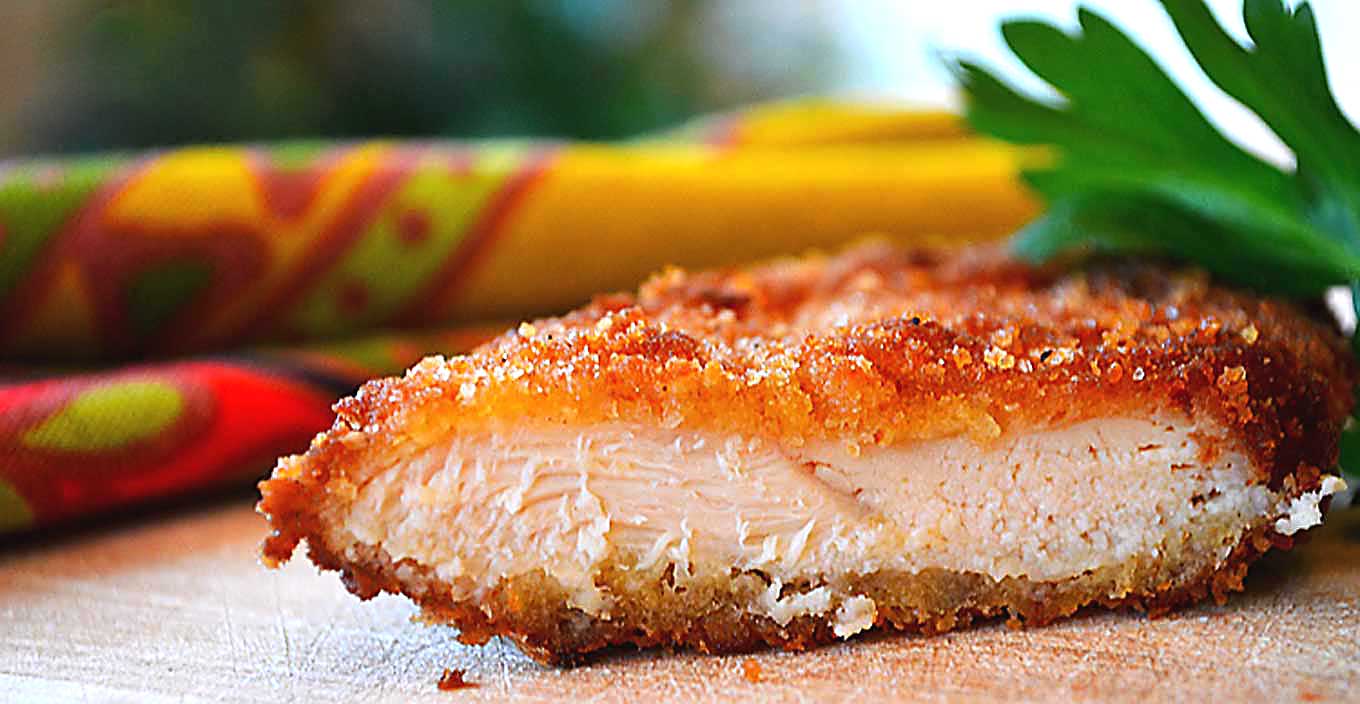
A breaded cutlet by any other name would taste as good.
Indeed.
The appeal is universal. Austria calls its deep-fried slice of veal a wiener schnitzel. Argentina shallow-fries just about any type of meat, often topping it with a fried egg, and calls it a milanesa. The Japanese have their tonkatsu, which is a deep-fried pork fillet or loin that’s often accompanied by shredded cabbage. Italy’s favorite cotoletta is made with milk-fed veal that’s shallow-fried in butter.
But we needn’t venture overseas for proof that everyone loves their fried meat. In the U.S., particularly in Southern cuisine, we have a number of delicious variations. Fried chicken, country fried steak, and pan-fried pork immediately come to mind.
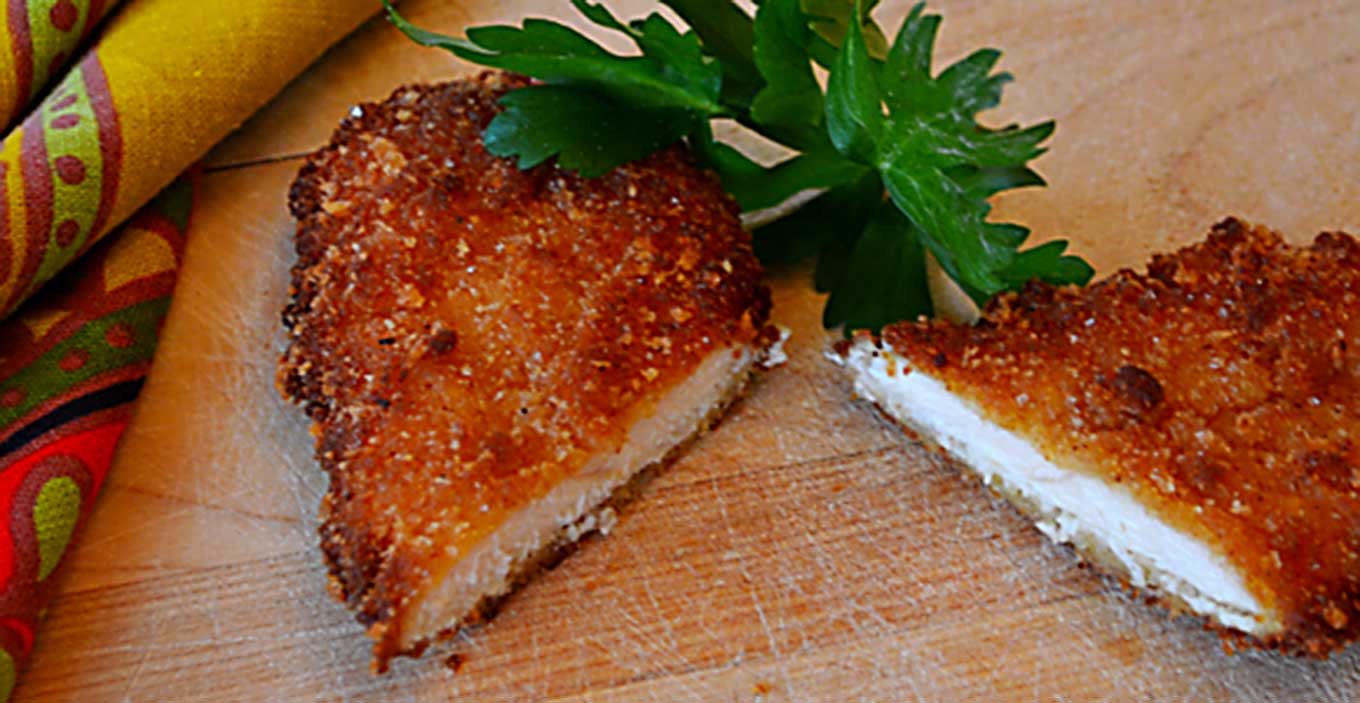
It’s magical really, what happens when we fry meat in a little cooking fat. Within minutes we have warm, succulent comfort surrounded by a delightfully crunchy, light crust. What’s there not to love? They plain make you happy when you bite into a well-prepared one. In addition to the gratifying side of cutlets, cooking meat this way also addresses a more practical matter. It allows us to enjoy thin slices of meat that would otherwise dry out on the grill or under the broiler.
Yet, despite their popularity, I suspect some people shy away from putting this rustic jewel on their regular menu rotation. Eating ‘fried’ anything doesn’t exactly smack of healthy living, after all. When properly cooked, however, cutlets can become a guilt-free occasional indulgence. Cooking Light magazine, a mainstay of healthy recipes and nutritional tips, proved this by experimenting with frying techniques in their test kitchen. Through experimentation, they discovered that 6 catfish fillets and a whole basket of hush puppies could be cooked in just a ¼ cup of oil. Not bad at all.
By following four simple steps, we too can enjoy a ‘healthful’ cutlet from time to time.
- Use a high-smoke point vegetable oil. The smoke point is the temperature at which oil chemically begins to break down, imparting a bitter taste to food and, more importantly, releasing potentially carcinogenic substances into the oil. High-smoke point oils such as peanut, sunflower and a combination of olive oil and organic canola oil all work well. Regular olive oil – NOT the extra virgin variety which has a low-smoke point – has a fairly acceptable smoke point as well, although I personally find it far too heavy tasting for most pan-frying jobs.
- When pan-frying your food, always use a fresh batch of oil. While being thrifty is admirable (especially in rustic cuisine!), reusing oil causes sediments from previous frying to burn, imparting a bitter flavor to the food. It also darkens the crust, which detracts from its appearance. Plus, we just don’t use that much of it for it to be a weighty cost consideration. Pitch it after each use and your palate and body will thank you. Deep-frying, on the other hand, is a little different. It requires gallons of oil, and ‘recycling’ it is certainly understandable. By using high-smoking point oils, closely monitoring the cooking temperature, straining it thoroughly and storing it properly, we can reuse oil safely.
- Fry the cutlets in oil that is good and hot. If you choose to measure the temperature, the oil should stay at 350°F (175°C) throughout cooking. Temperature is especially important here because oil that is too hot oil will burn the crust before the meat is fully cooked. When oil is not hot enough, the breadcrumb coating absorbs too much oil, adding calories and rendering the cutlet soggy and greasy. Greasy fried food is really just badly fried food.
- Finally, don’t overcrowd the pan. Doing so will make it harder to flip the cutlets and prevents the edges from cooking and crisping properly.
Once we master the frying process, then making cutlets simply becomes a matter of choosing the cut of meat. Chicken, turkey, pork or veal all work nicely. For an extra kick, you also can add flavoring agents to the breadcrumbs. Chopped parsley and finely chopped capers or olives all add a savory and piquant flavor. Or, more simply, try squeezing a slice of lemon over them after they’re cooked. The acidity of the lemon brightens the flavor beautifully. If you appreciate a little heat on the tongue, consider adding a few drops of hot chile oil.
However you prepare them, children and adults alike climb over furniture, and each other, to rush to the table whenever they – whatever they are called – are served.
making breaded chicken cutlets
Trim 1 1/2 lbs. of chicken tenders from any small clumps of fat and the main white vein. Then, for easy clean-up, place each tender in a small plastic freezer bag and gently pound with the smooth side of a meat tenderizer. Each slice will now be consistently flat and will cook more evenly. Place them on a plate.
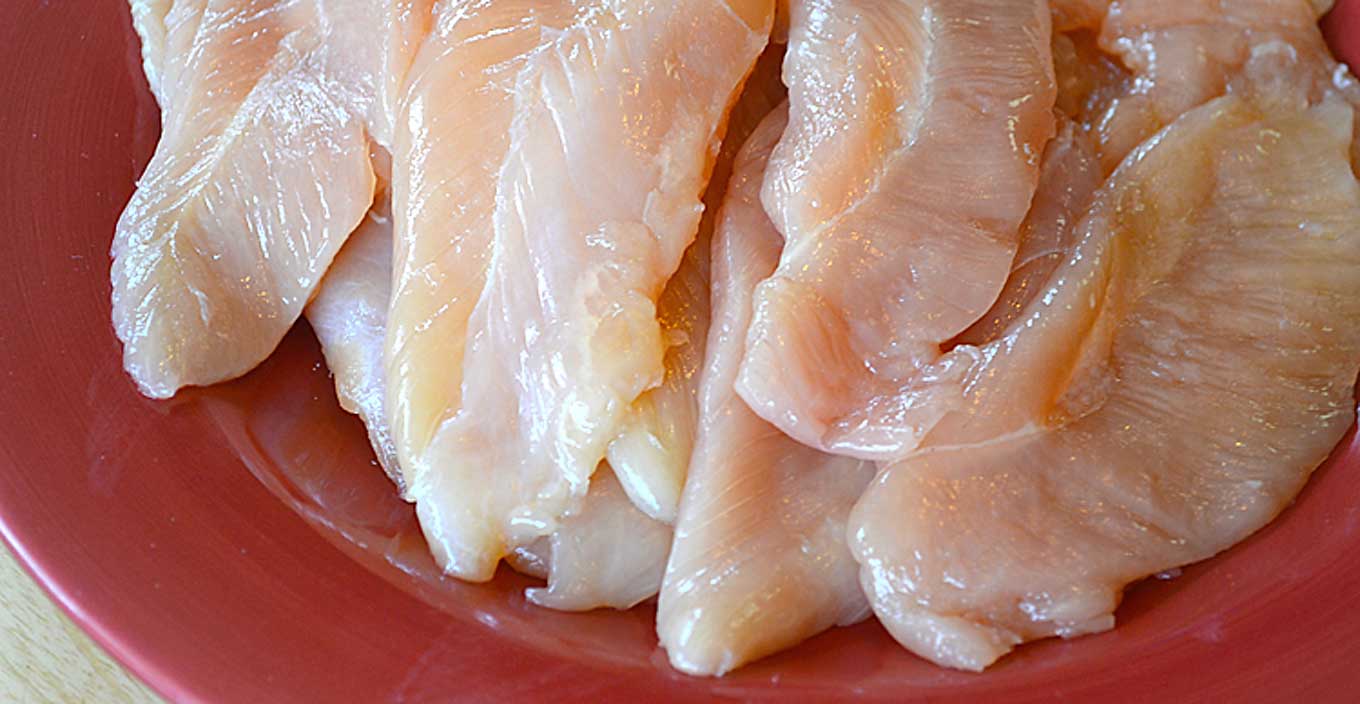
Two cutlets will make one servings.
In a medium-sized bowl, thoroughly beat 4 eggs with a couple pinches of salt.
Fill a small baking pan with plenty of breadcrumbs. And I mean PLENTY. If you like your cutlets crunchy, use lots and lots. Consider double-dipping the cutlets in the egg and then breadcrumbs. Now, while I love to make my own breadcrumbs, sometimes I just don’t have any stale bread with which to make them. In those instances, I cheat and create a concoction made out of half plain breadcrumbs and half panko breadcrumbs. I do this because I find plain breadcrumbs far too sandy and panko breadcrumbs too big and flaky for the job. When combined together, however, they are perfect.
You are now ready to create what I call a ‘cutlet assembly line.’
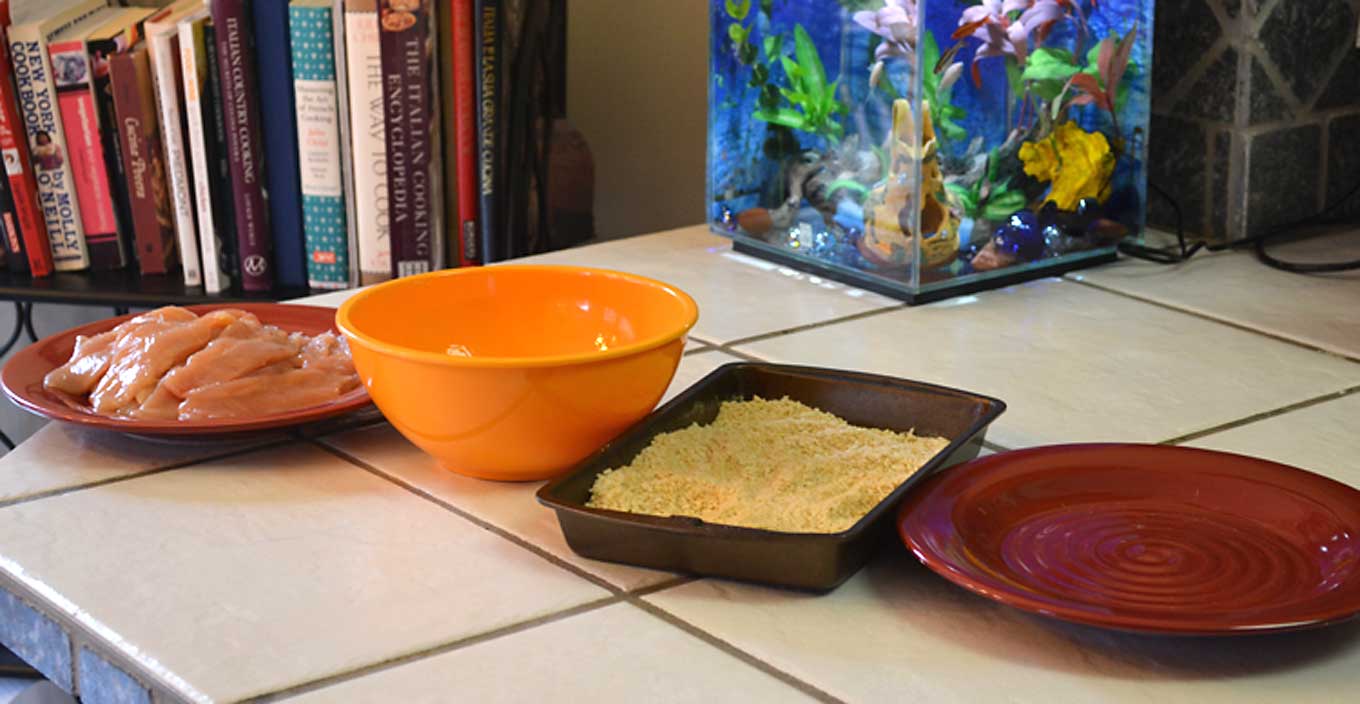
Place the plate of tenders, the bowl with the beaten eggs and the baking dish with the breadcrumbs – in that order – on the kitchen counter. Now you can comfortably dip the cutlet into the egg mixture and then dredge it through the breadcrumbs without making a big mess. I have never found it necessary to dip the cutlets in flour before dredging them through the flour, which is why that particular step is missing here.
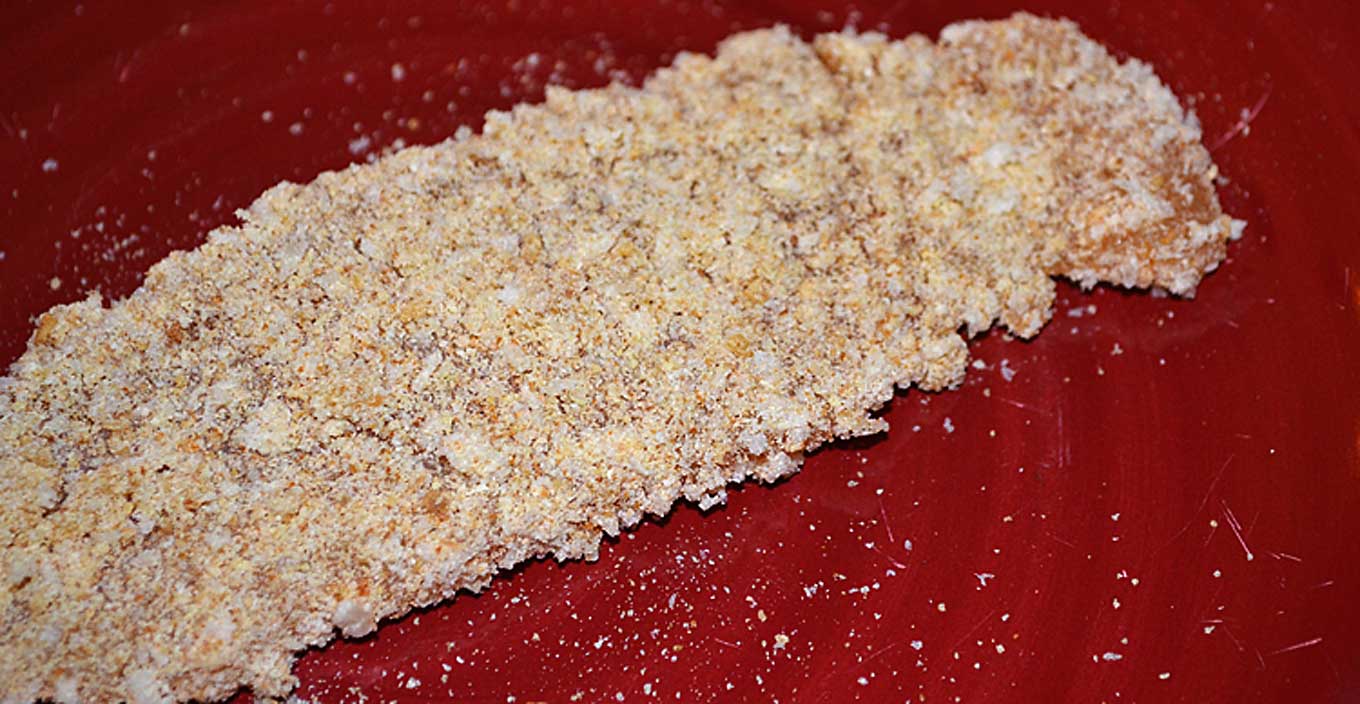
Prepare a large plate or platter by lining it with two layers of paper towels.
Once all the cutlets are breaded, pour just enough of the frying oil of your choice to amply cover the bottom of a 10- to 12-inch nonstick skillet. Turn the heat to medium high. Once the oil begins to swirl in the skillet but doesn’t yet smoke, add a few of the cutlets, making sure to not overcrowd the pan. You may need to make them in 2 or 3 different batches.
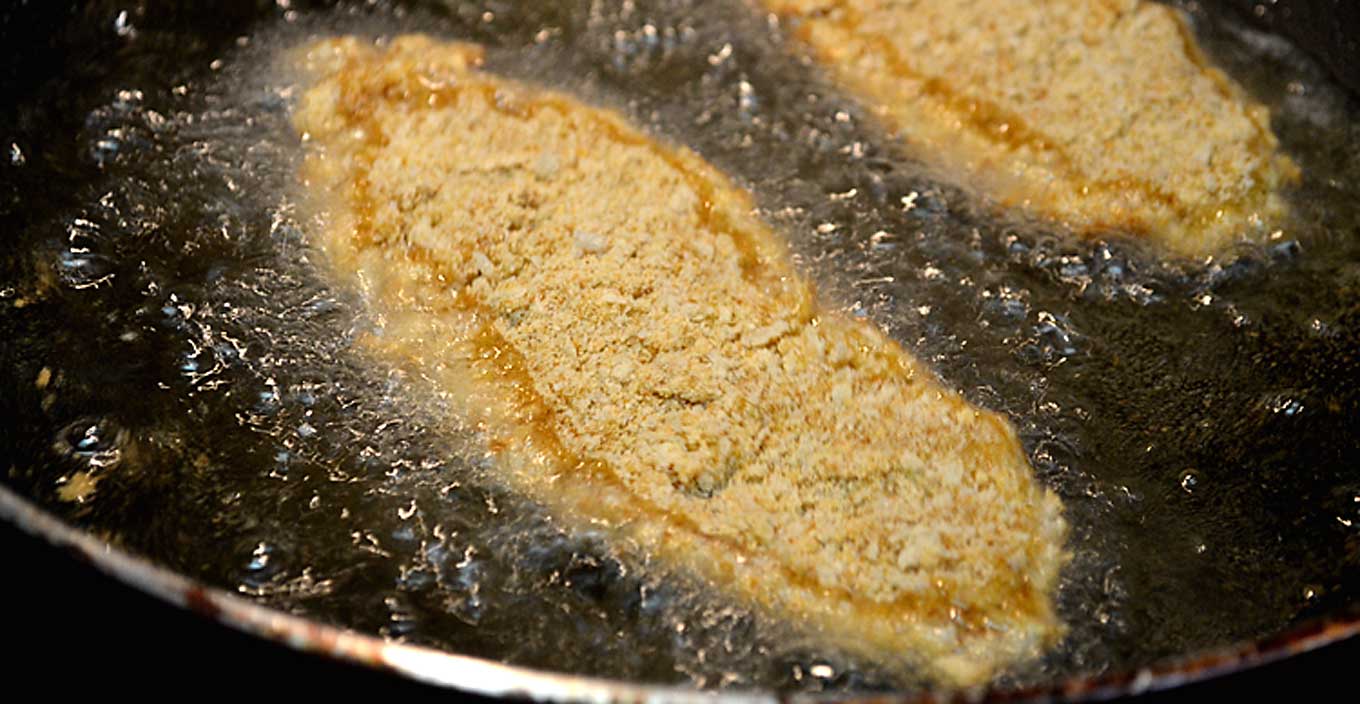
When you add the first cutlet, you want to hear a nice, happy sizzle. If you don’t, interrupt what you’re doing and turn up your flame a bit and wait a few minutes and then start again. Once they are nice and golden on the bottom, carefully flip them over and allow the other side to turn equally golden.
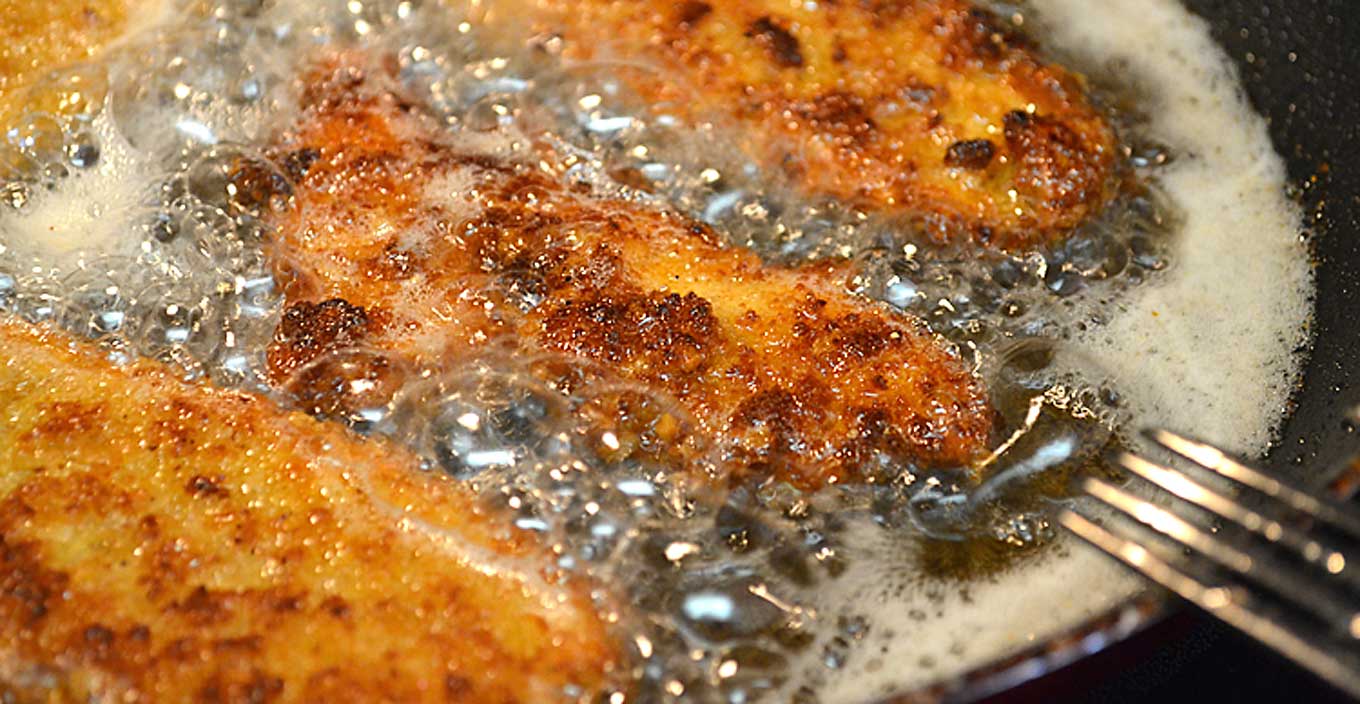
When cooked, place them on a plate or platter lined with paper towels to absorb any excess oil.
As you fry through your cutlets, you may need to stack them on top of each other. If you do this, make sure to separate them with paper towels. Place them on a serving platter and enjoy. Makes either 6 servings or 4 servings and leaves leftovers for lunch the next day.



Leave a Reply